Tesla Model 3: Carrier - Front End (Remove and Replace)-Install
Tesla Model 3 2017-2024 Service Manual / Body / Body Panels / Carrier - Front End (Remove and Replace) / Carrier - Front End (Remove and Replace)-Install
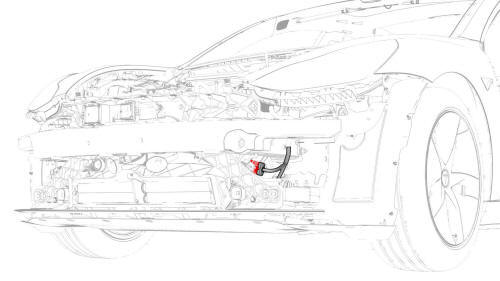
- Install the clips that attach the front end module electrical harness to the front end carrier.
- Install the hood latch.
- Install the secondary hood latch actuator.
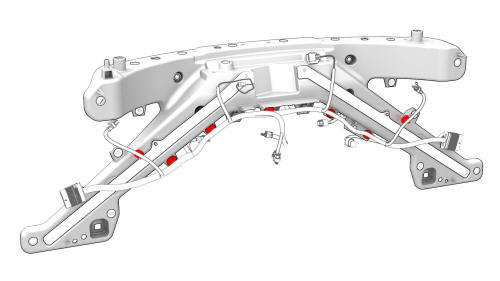
- With an assistant, position the front end carrier onto the vehicle for installation.
Note: Hand-tighten the upper bolts of the front end carrier to avoid it from falling when installing the ankle catcher.
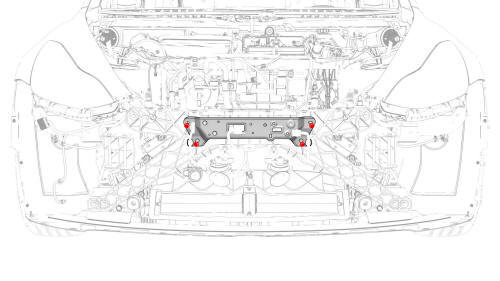
- Install the ankle catcher.
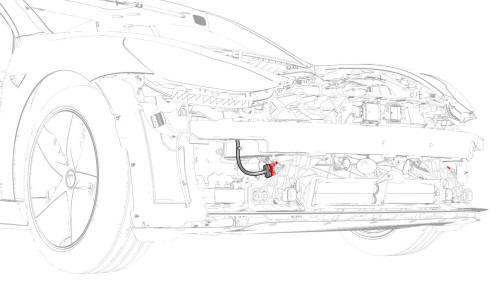
- Connect the AGS actuator electrical connector.
- Install the high tone horn.
- Install the low tone horn.
- Install the bolts that attach the radar bracket to the front end carrier.
 Torque
8 Nm
Torque
8 Nm - Install the front Bluetooth passive entry antenna.
- Install the HomeLink transmitter module.
- Install the front radar sensor.
- Connect the electrical harness onto the RH front end carrier electrical connector.
- Connect the electrical harness onto the LH front end carrier electrical connector.
- Install the front bumper.
- Install the front fascia assembly.
- Install the underhood storage unit.
- Install the hood latch cover.
- Install the cabin intake duct.
- Install the rear underhood apron.
- Remove the vehicle from the lift.
READ NEXT:
 Door - Front - LH (Remove and Install)
Note:
This procedure was formulated using a release candidate or production
model. Follow safety requirements and use extreme caution when working on or
near high-voltage systems and components.
Door - Front - LH (Remove and Replace)
Remove
Disconnect 12V power.
Remove the LH front door trim panel.
Remove the LH front door inner belt seal.
Remove the LH front door outer belt seal.
Remove the LH front window motor/regulato
SEE MORE:
Control Arm - Upper - Front - LH - Install
Install
Install the LH front upper control arm into the front upper control arm
mount, and then install and hand-tighten the bolts (x2) that attach the
control arm to the mount.
Install the FUCA ride height tool onto the front upper control arm mount
at the rear outer mounting hole.
SIM Card - Car Computer (Remove and Replace)
DRAFT
Warning:
This procedure was derived from pre-production computer models, and
might not reflect the real-world situation. Warnings and cautions might be
missing. Follow safety requirements and use extreme caution when working on or
near high voltage systems and components.
Remove
Remove
© 2019-2024 Copyright www.tmodel3.com
