Tesla Model 3: Fender Assembly - Front - LH (Remove and Replace)- Install
Tesla Model 3 2017-2024 Service Manual / Body / Body Panels / Fender Assembly - Front - LH (Remove and Replace) / Fender Assembly - Front - LH (Remove and Replace)- Install
Install
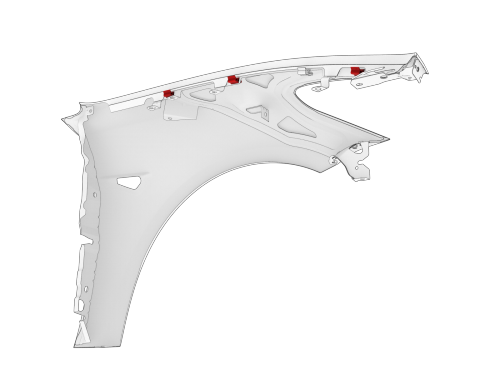
- Install the underhood storage unit clips (3x) on the new LH front fender.
Note: Replace any broken or damaged clips.

- Install the headlight grommet on the new LH front fender.

- Position the LH cowl screen carrier bracket on the new LH front fender, and then install the clip that attaches the bracket to the fender.
- Load urethane into a caulking gun, and then cut an opening that is 3.5 mm wide and 1.5 mm tall.
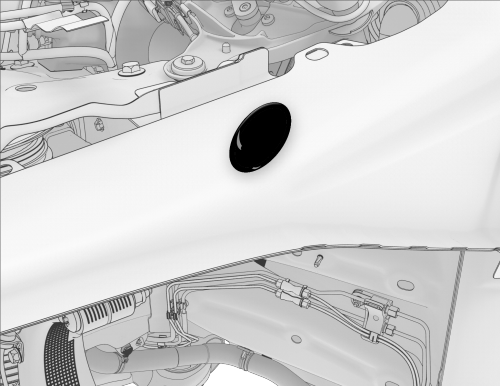
- Apply a dollop of urethane on top of the primed surface of the LH outer shotgun panel.
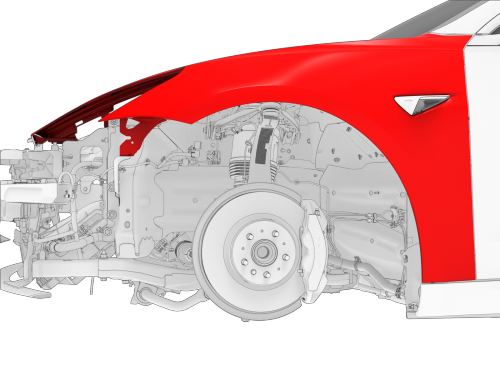
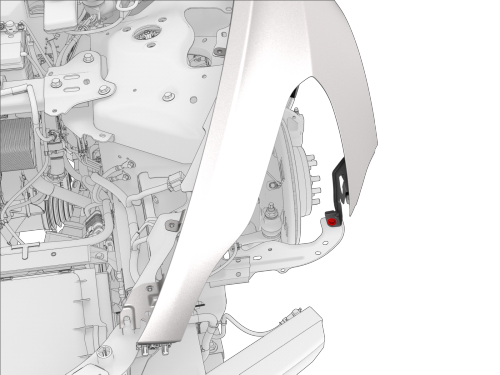
- Position the new LH front fender on the vehicle.
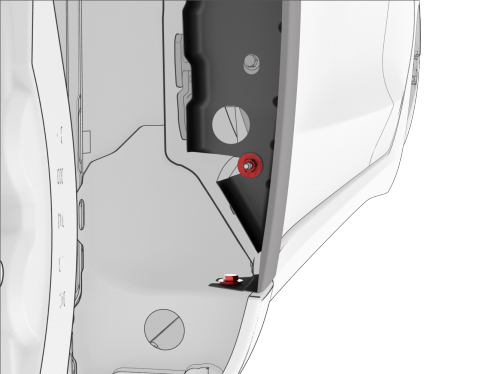
- Install the bolt and nut that attach the lower LH front fender to the
vehicle.
 Torque 9.8 Nm
 Torque 9.8 Nm
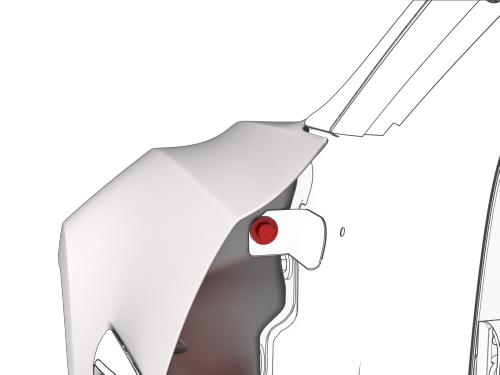
- Install the bolt that attaches the rear LH front fender to the vehicle. Torque 9.8 Nm
- Install the bolt that attaches the lower LH front fender to the vehicle.
Torque 9.8 Nm
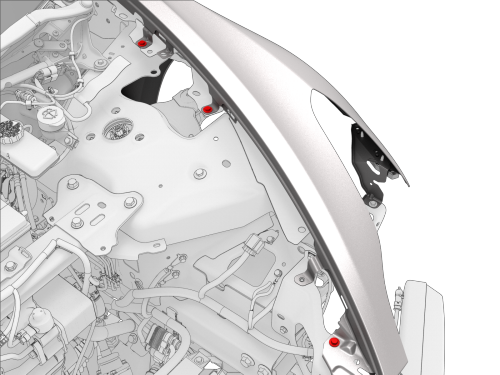
- Install the bolts that attach the upper LH front fender to the vehicle.
Torque 9.8 Nm
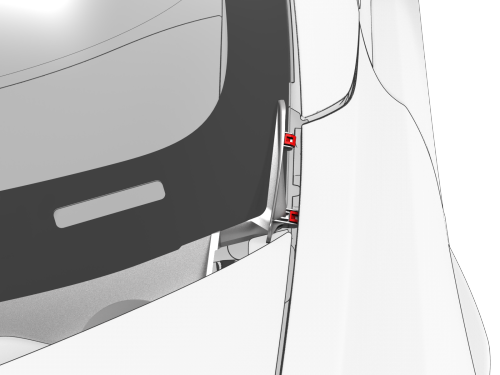
- Install the cowl screen panel clips (2x) on the LH front fender bracket.
- Install the LH fascia side to fender bracket. See Bracket - Fascia Side to Fender - LH (Remove and Replace).
- Install a new LH front side repeater light. See Light - Side Repeater - Front - LH (Remove and Replace).
- Install the LH headlight. See Headlight - LH (Remove and Replace).
- Install the front fascia. See Fascia - Front (Remove and Install).
- Install the underhood storage unit. See Underhood Storage Unit (Remove and Replace).
- Install the hood latch cover. See Cover - Hood Latch (Remove and Replace).
- Install the cabin intake duct. See Duct - Cabin Intake (Remove and Replace).
- Install the rear underhood apron. See Underhood Apron - Rear (Remove and Replace).
READ NEXT:
 Hood (Remove and Install)
Remove
Remove the LH and RH hood gas struts. See Gas Strut - Hood - LH (Remove
and Replace).
Use tape to mark the mounting locations of the LH and RH hood hinges on
the hood.
Wit
Hood (Remove and Replace)- Remove
This procedure assumes the hood striker, hinges, bump stops, and plugs are
undamaged. Inspect these components from the old hood and if necessary, replace
with new parts.
Remove
RH shown, LH s
SEE MORE:
Adjacent Lane Speed
Due to market region and vehicle
configuration, this feature may not be
available on your vehicle.
When your vehicle is moving at a significantly
faster speed than neighboring lanes, Model 3
automatically reduces your driving speed. This
is especially helpful in heavy traffic situations
or wh
Mounting - A/C Compressor (Remove and Replace)
Remove
Remove the 2nd row lower seat cushion. See Seat Cushion - Lower - 2nd
Row (Remove and Replace).
Remove the rear underhood apron. See Underhood Apron - Rear (Remove and
Replace).
Remove the cabin intake duct. See Duct - Cabin Intake (Remove and
Replace).
Remove the hood latch cove
© 2019-2024 Copyright www.tmodel3.com
