Tesla Model 3: Turn Signals
The turn signals flash three times or continuously, depending on how far up or down you move the lever. Lightly push the turn signal lever up or down for a three-flash sequence. For a continuous signal, push the lever fully up or down.

The turn signals stop operating when canceled by the steering wheel, by moving the lever in the opposite direction, or lightly pushing the lever in the same direction once more.
 The corresponding turn signal
indicator lights up on the
touchscreen when a turn signal is
operating. Model 3 also emits a
clicking sound.
Warning: If you have purchased an optional Autopilot package and Traffic- Aware Cruise Control is active, engaging a turn signal can cause Model 3 to accelerate when using Traffic-Aware Cruise Control in specific situations. If Autosteer is active on a vehicle with Auto Lane Change, engaging a turn signal may cause Model 3 to change lanes.
Hazard Warning Flashers
To turn on the hazard warning flashers, press the button located above the rear view mirror.
All turn signals flash. Press the button again to turn off the hazard warning flashers.
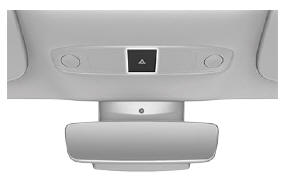
Note: Hazard warning flashers operate even when Model 3 cannot detect a key.
READ NEXT:
 Overview
The touchscreen displays the status of Model
3 at all times. What you see depends on
whether the vehicle is:
Parked (shown below).
Driving
Charging
When Model 3 is parked, the status area
Driving Status
When Model 3 is driving (or ready to drive),
the touchscreen shows your current driving
status and a real-time visualization of the road
as detected by the Autopilot components. The
visualization
SEE MORE:
Air Extractor - LH (Remove and Replace)
Remove
Remove the rear fascia. See
Fascia - Rear (Remove and Install).
Press downward at the top to release the tabs that attach the air
extractor to the body, then swing the upper portion of the air extractor
outwards, and then remove the air extractor from the vehicle.
Install
P
Harness - Body - RH- Remove
Remove
Open all doors.
Place wheel chocks on both rear wheels.
Put vehicle in Neutral.
Open the trunk
Remove the 2nd row lower seat cushion. See
Seat Cushion - Lower - 2nd Row (Remove and Replace).
Remove the LH and RH trunk stops.
Remove the floor rear trunk trim. See
Trim - Floor - Tru
