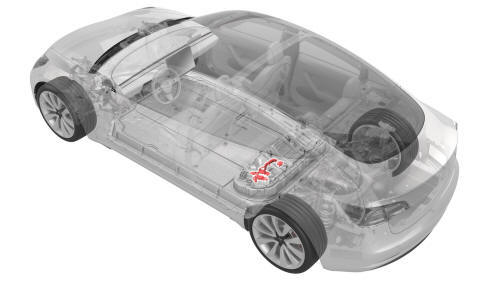
Tesla Model 3: Harness - AC Inlet - HV Battery (Remove and Replace)
SPECIAL TOOLS Resistance meter, microohm, Hioki RM 3548 (1076927-00-A) Warning: Only technicians who have been trained in High Voltage Awareness are
permitted to perform this procedure. Proper personal protective equipment (PPE)
and insulating HV gloves with a minimum rating of class 0 (1000V) must be worn
at all times a high voltage cable, busbar, or fitting is handled. Refer to Tech
Note TN-15-92-003, "High Voltage Awareness Care Points" for additional safety
information. Remove
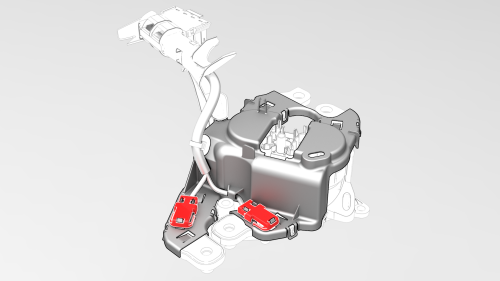
Caution: The cover is a one-time use as the clips are fragile and break
easily.
Install
Note: The maximum acceptable resistance is 0.150 mΩ (150 μΩ). If
the resistance is above this value, escalate a Toolbox session, as appropriate.
Note: The maximum acceptable resistance is 0.150 mΩ (150 μΩ). If
the resistance is above this value, escalate a Toolbox session, as appropriate.
Harness - AC Inlet - HV Battery- Remove
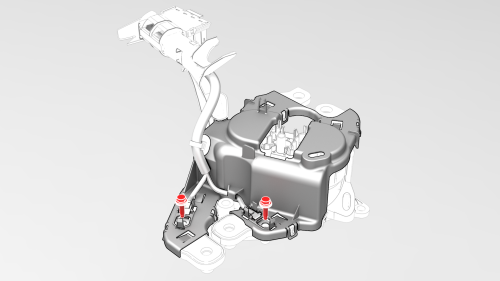

Harness - AC Inlet - HV Battery- Install
 Torque 4.4 Nm
.jpg) Generic Measurement - Actual busbars and fasteners might appear
different
Generic Measurement - Actual busbars and fasteners might appear
different
Generic Measurement - Actual busbars and fasteners might appear
different
READ NEXT:
 Harness - Penthouse - HV Battery (Remove and Replace)
Harness - Penthouse - HV Battery- Remove
SPECIAL TOOLS
Ratchet, 1/4" Sq Dr, HV Insulated (1057602-00-A)
Ext Bar, Wobble, 1/4" Dr, HV Insulated (1057603-00-A)
Skt, 1/4" Sq Dr, 13mm, HV Insulated (105
SEE MORE:
Drive Unit - Rear (Remove and Replace)
Remove
Remove the rear drive unit from the subframe
assembly. See Drive Unit - Rear (Remove and Install).
Charging Instructions
Opening the Charge Port
The charge port is located on the left side of
Model 3, behind a door that is part of the rear
tail light assembly. Before charging, park
Model 3 to ensure that the charge cable easily
reaches the charge port.
With Model 3 unlocked (or an authenticated
phone is within
