Tesla Model 3: Brake Lines - Master Cylinder to ABS (Remove and Replace)
SPECIAL TOOLS
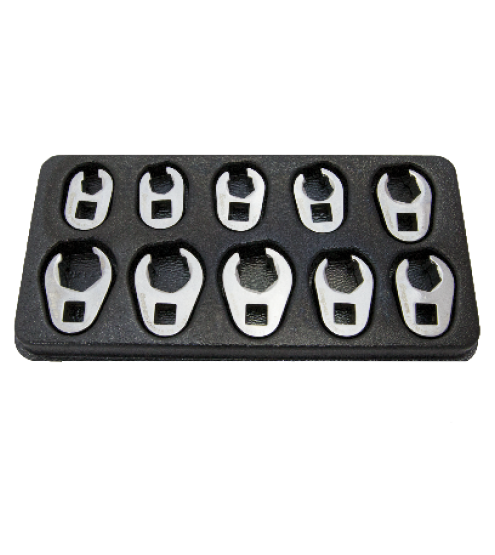
Flare nut crowfoot set (1079041-00-A)
Remove Note: Dispose of used brake fluid in a manner consistent
with local environmental codes.
Install
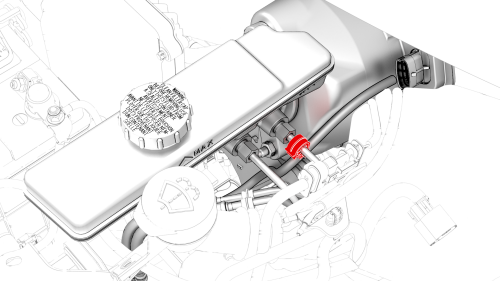
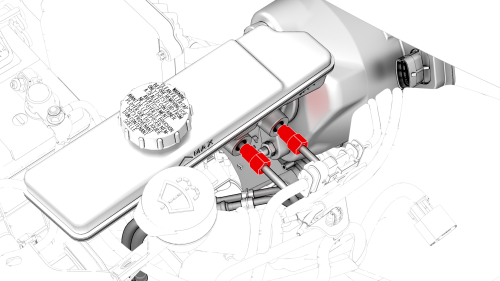
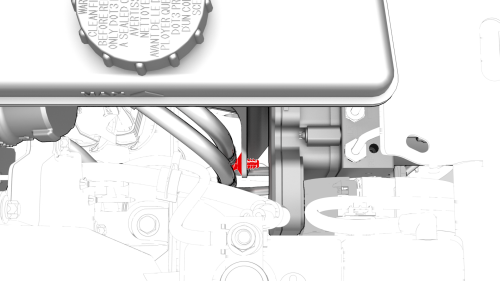
Brake Lines - Master Cylinder to ABS - Remove

.png)
.png)
.png)
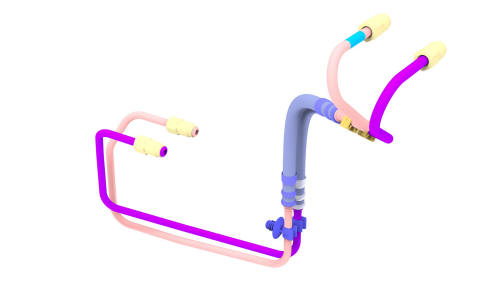
Brake Lines - Master Cylinder to ABS - Install
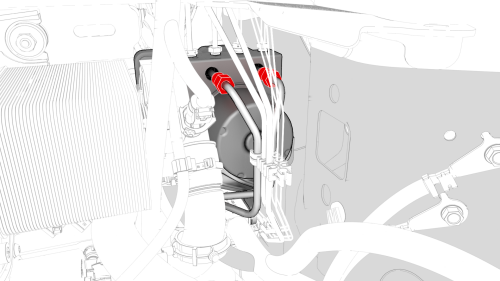
 Torque 16 Nm
 Torque 16 Nm
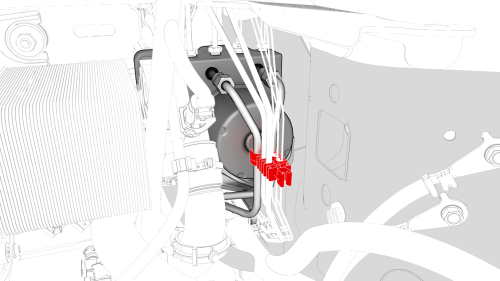
.png) Torque 8 Nm
Torque 8 Nm
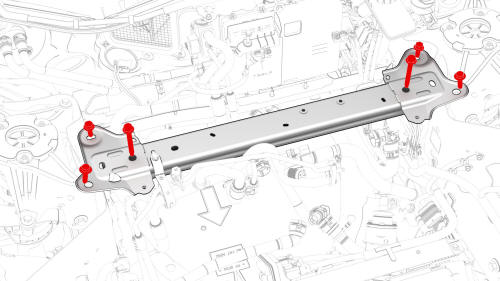
.jpg) Torque Rear Bolts 67 Nm
Torque Rear Bolts 67 Nm
.jpg) Torque Outer Bolts 62 Nm
Torque Outer Bolts 62 Nm
.jpg) Torque Inner Bolts 67 Nm
Torque Inner Bolts 67 Nm
READ NEXT:
 Brake Lines - Rear - LH to Sill (Remove and Replace)
SPECIAL TOOLS
Flare nut crowfoot set (1079041-00-A)
SEE MORE:
Hose - Inverter Inlet - Front Drive Unit (Remove and Replace)
Hose - Inverter Inlet - Front Drive Unit - Remove
Remove
Remove the 2nd row lower seat cushion. See Seat
Cushion - Lower - 2nd Row (Remove and Replace).
Remove the rear underhood apron. See Underhood Apron
- Rear (Remove and Replace
Glass - Backlight (Remove and Replace)
Glass - Backlight (Remove and Replace) - Remove
Remove
Release the clips that attach the screw covers to the LH and RH rear
coat hooks.
Remove the screws that attach the LH and RH rear coat hooks to the body.
Remove the package tray trim. See Trim - Package Tray (Remove and
Install).
