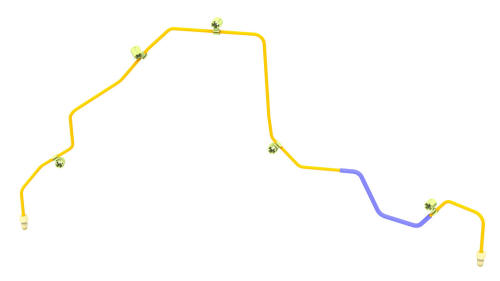
Tesla Model 3: Brake Lines - Rear - LH to Sill (Remove and Replace)
Tesla Model 3 2017-2026 Service Manual / Brakes / Brake Pipes and Hoses / Brake Lines - Rear - LH to Sill (Remove and Replace)
SPECIAL TOOLS
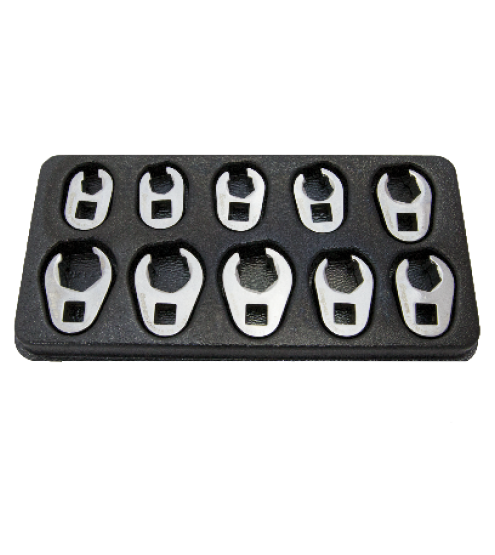
Flare nut crowfoot set (1079041-00-A)
Remove
Caution: Brake fluid dissolves paint. Have clean towels and plenty of water standing by to wash spilled brake fluid off painted surfaces.Note: Dispose of used brake fluid in a manner consistent with local environmental codes.
- Remove the LH rear wheel arch liner. See Wheel Arch Liner - Rear - LH (Remove and Replace).
- Position the oil drain under the brake line junction block.
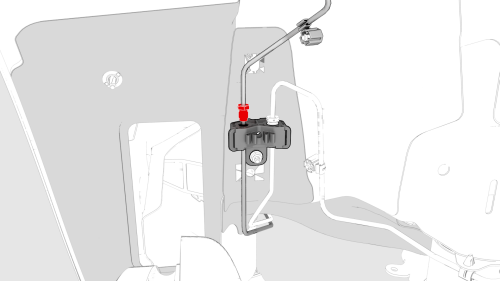
- Remove the brake line tube nut from the junction block, and allow the fluid to drain.
- Position the oil drain under the rear LH brake hose.
.png)
- Remove the brake line tube nut from the brake hose at the jounce hose bracket, and allow the fluid to drain.
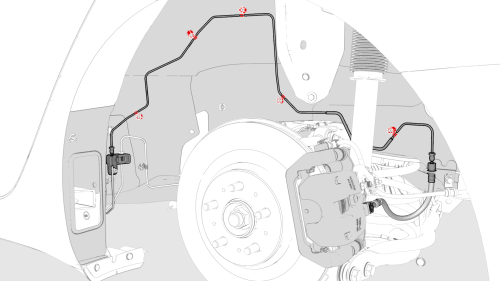
- Release the clips that attach the brake line
to the body, and then remove the brake line from the
vehicle.
Install
- Install the brake line to the body, and then fasten the clips that attach the brake line to the body.
- Insert the brake line into the junction block, and
then use a crowfoot extension to install the brake line
tube nut into the junction block.
.png) Torque 16 Nm
Torque 16 Nm
- Bleed the brake line for the rear LH caliper. See Brake Fluid Bleed - One Caliper.
- Install the LH rear wheel arch liner. See Wheel Arch Liner - Rear - LH (Remove and Replace)
READ NEXT:
 Brake Lines - Rear - RH to Sill (Remove and Replace)
SPECIAL TOOLS
Flare nut crowfoot set (1079041-00-A)
Parking Brake
Parking Brake - Caliper - Rear - LH (Release)
SEE MORE:
Brake Lines - 4 Tube Bundle - ABS to Wheels (Remove and Replace)
Brake Lines - 4 Tube Bundle - ABS to Wheels - Remove
SPECIAL TOOLS
Flare nut crowfoot set (1079041-00-A)
Disconnect 12V power. See 12V Power (Disconnect and
Connect).
HV Header - HV Battery (Remove and Replace)
HV Header - HV Battery- Remove
SPECIAL TOOLS
Extractor, Battery HV Header, Model 3 (1140423-00-B)
Lever Lock, HV Connector, Model 3 (1140311-00-A)
Warning:
Only technicians who have been trained in High Voltage Awareness are
permitted to perform this procedure. Proper personal protective equipment
© 2019-2026 Copyright www.tmodel3.com
