Tesla Model 3: Brake Lines - Rear - RH to Sill (Remove and Replace)
SPECIAL TOOLS
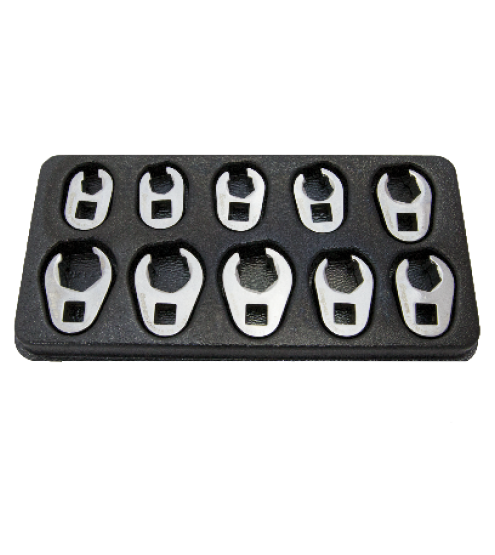
Flare nut crowfoot set (1079041-00-A)
Remove
Caution: Brake fluid dissolves paint. Have clean towels and plenty of water standing by to wash spilled brake fluid off painted surfaces.Note: Dispose of used brake fluid in a manner consistent with local environmental codes.
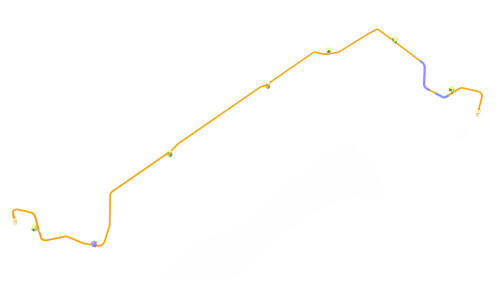
- Remove the rear subframe assembly. See Subframe Assembly - Rear (Remove and Install).
- Position the oil drain under the brake line junction block.

- Remove the brake line tube nut from the junction block, and allow the fluid to drain.
- Position the oil drain under the rear RH brake hose.
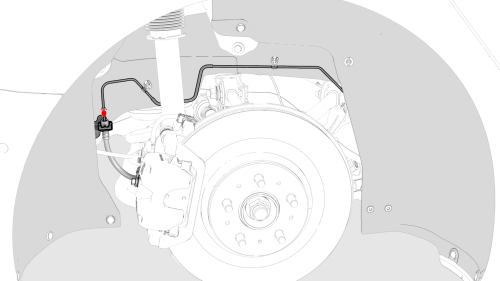
- Remove the brake line tube nut from the brake hose at the jounce hose bracket, and allow the fluid to drain.

- Release the clips that attach the brake line
to the body, and then remove the brake line from the
vehicle.
Install
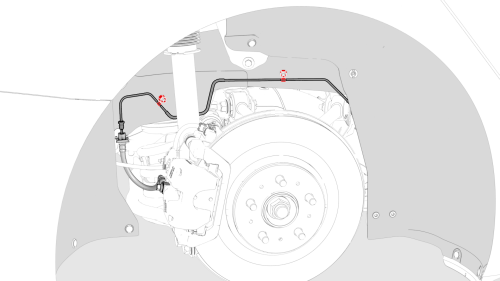
- Install the brake line to the body, and then fasten the clips that attach the brake line to the body.
- Insert the brake line into the brake hose at the
jounce hose bracket, and then use a crowfoot extension
to install the brake line tube nut into the brake hose.
 Torque 16 Nm
- Insert the brake line into the junction block, and
then use a crowfoot extension to install the brake line
tube nut into the junction block.
 Torque 16 Nm
- Install the rear subframe assembly. See Subframe Assembly - Rear (Remove and Install).
- Bleed the brake line for the rear RH caliper. See Brake Fluid Bleed - One Caliper.
READ NEXT:
 Parking Brake
Parking Brake - Caliper - Rear - LH (Release)
ABS Modulator (Remove and Replace)
ABS Modulator - Remove
Remove
Raise and support the vehicle. See Raise Vehicle - 2
Post Lift.
Remove the 2nd row
SEE MORE:
Cooling System (Check and Fill)
Remove
Remove the rear underhood apron. See Underhood Apron - Rear (Remove and
Replace).
Remove the cabin intake duct. See Duct - Cabin Intake (Remove and
Replace).
Remove the outer HVAC plenum duct. See Duct - HVAC Plenum - Outer
(Remove and Replace).
Procedure
Connect a laptop with
Seal - Outer Belt - Rear Door - LH (Remove and Replace)
Note:
This procedure was formulated using a release candidate or production
model. Follow safety requirements and use extreme caution when working on or
near high-voltage systems and components.
Remove
Open the LH rear door and lower the window.
Pry the outer belt seal from the rear do
