Tesla Model 3: Duct - Air Wave - LH (Remove and Replace)
Tesla Model 3 2017-2026 Service Manual / Thermal Management / Cabin HVAC / Duct - Air Wave - LH (Remove and Replace)
Remove
- Remove the IP carrier. See IP Carrier (Remove and Replace).

- Remove the screws (x2) that attach the LH air wave duct to the cross bar
beam, and then remove the duct from the vehicle.
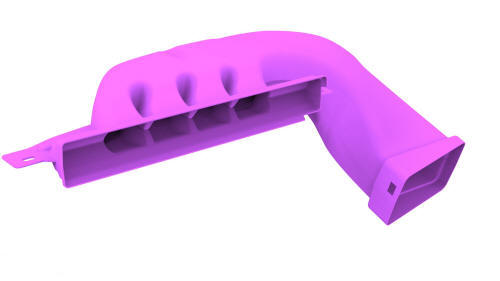
Install
- Install the LH air wave duct to the cross car beam, and then install the
screws (x2) that attach the duct to the beam.
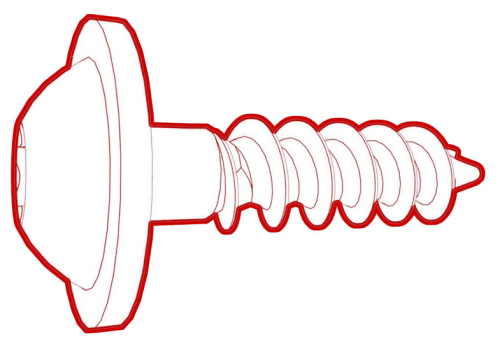 Torque 2.3 Nm
 - Install the IP carrier. See IP Carrier (Remove and Replace).
READ NEXT:
 Duct - Air Wave - RH (Remove and Replace)
Remove
Remove the glove box. See
Glove Box (LHD) (Remove and Replace).
Remove the RH footwell air duct from the HVAC module, and then remove
the duct from the vehicle.
Release the cli
Duct - Cabin Intake (Remove and Replace)
Remove
Remove the rear underhood apron. See
Underhood Apron - Rear (Remove and Replace).
Release the clips (x4) that attach the cabin intake duct to the cowl
screen panel, and then remove
Duct - Footwell - LH (Remove and Replace)
Remove
Remove the LH center console side panel carpet. See
Carpet - Side Panel - Center Console - LH (Remove and Replace).
Disconnect 12V power. See
12V Power (Disconnect and Connect).
Remove
SEE MORE:
Penthouse Air Leak Test
SPECIAL TOOLS
Pack Enclosure Leak Tester, HV Battery (1026636-00-A)
Pack Kit, Enclosure, Leak Test, HV Battery, Complete (1140501-00-A)
Kit, Encl Leak Test Adapters, HV Battery (1144879-00-A)
Kit, Dummy Plug (1455410-00-A)
Cap, Logic Conn, Inv, 3DU (1108272-00-B)
Parent topic:
1610 - HV Battery En
Cooling System (Vacuum Refill)
SPECIAL TOOLS
Refiller, Cooling System (1050448-00-A)
Procedure
Note: It is important that the drive rails remain off throughout
this procedure. If the drive rails become active, such as from touching the
brake pedal, an error is displayed in Toolbox. If this happens, you must disable
the drive r
© 2019-2026 Copyright www.tmodel3.com
