Tesla Model 3: Striker - Door - Front - LH (Remove and Replace)
Tesla Model 3 2017-2026 Service Manual / Closures / Latches Strikers and Pinch Sensors / Striker - Door - Front - LH (Remove and Replace)
Remove
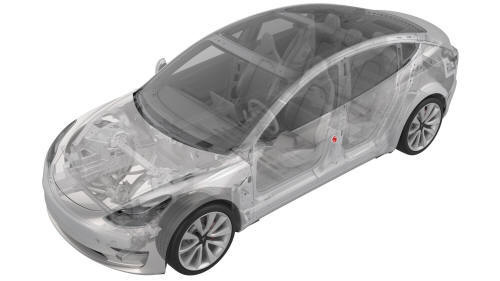
- Open the LH front door.
- Mark the position of the LH front door striker using masking tape.
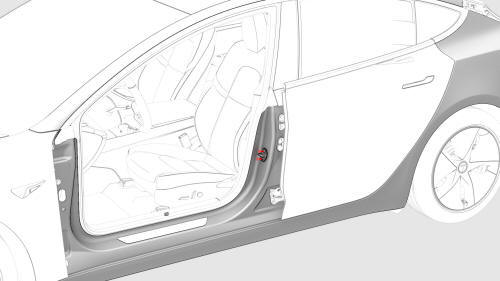
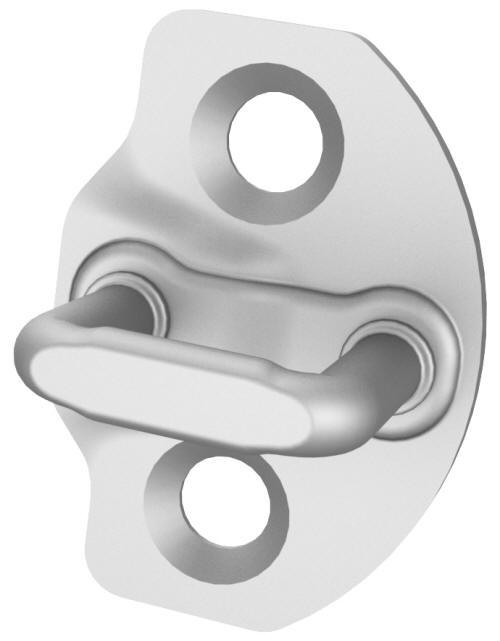
- Remove the bolts that attach the LH front door striker to the body, and
then remove the striker from the vehicle.
Install
- Hand-tighten the bolts that attach the LH front door striker to the body.
- Close the LH front door and verify the door position; adjust the position of the striker and verify fitment, if necessary.
- Tighten the bolts that attach the LH front door striker to the body.
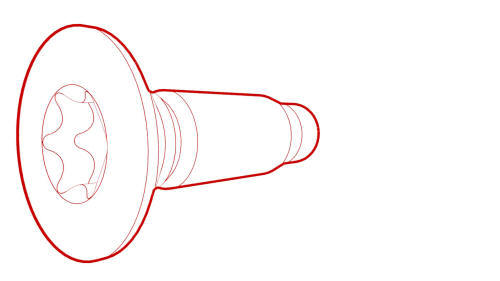 Torque 26 Nm
 - Remove the masking tape from the body
- Close the LH front door.
READ NEXT:
 Striker - Door - Rear - LH (Remove and Replace)
Remove
Open the LH rear door.
Mark the position of the LH rear door striker using masking tape.
Remove the bolts that attach the LH rear door striker to the body, and
then remove the striker
Striker - Hood (Remove and Replace)
DRAFT
Warning:
This procedure was derived from pre-production computer models, and
might not reflect the real-world situation. Warnings and cautions might be
missing. Follow safety requirements
Striker - Trunk (Remove and Replace)
Remove
Remove the rear trunk sill trim. See Trim - Sill - Trunk (Remove and
Replace).
Use masking tape to mark the location of the trunk striker.
Remove the bolts that attach the trunk s
SEE MORE:
Speaker - Dash - Center (Remove and Replace)
Remove
Remove the LH and RH instrument panel end caps. See End Cap - Instrument
Panel - LH (Remove and Replace).
Remove the LH and RH middle A-pillar trims. See Trim - A-Pillar - Middle
- LH (Remove and Replace).
Remove the LH and RH upper A-pillar trims. See Trim - A-Pillar - Upper -
LH
HV Header - Inverter - Rear Drive Unit (Remove
and Replace)
HV Header - Inverter - Rear Drive Unit - Remove
SPECIAL TOOLS
Extractor, Drive Unit HV Header, Model 3
(1142608-00-B)
Lever Lock, HV Connector, Model 3 (1140311-00-A)
© 2019-2026 Copyright www.tmodel3.com
