Tesla Model 3: Reflex Lens - Rear - RH (Remove and Replace)
Tesla Model 3 2017-2026 Service Manual / Electrical / Exterior Lights / Reflex Lens - Rear - RH (Remove and Replace)
Remove
Note: This procedure applies only to the RH side. The LH rear reflex lens is part of the charge port.
- Apply masking around the RH rear reflex lens.
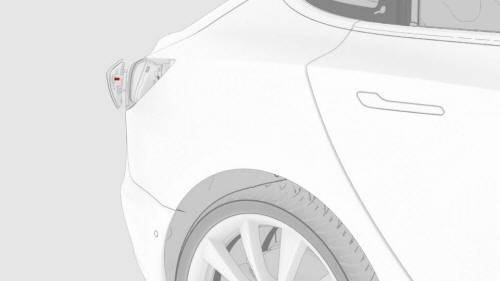
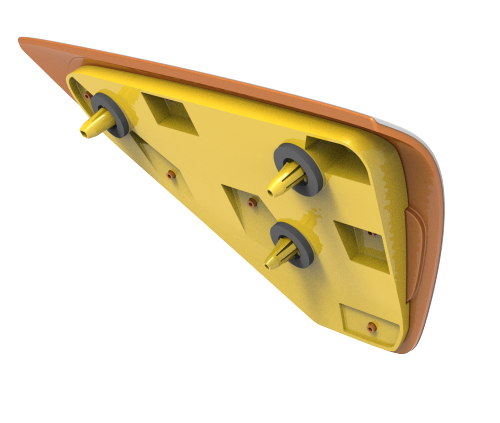
- Use a plastic trim tool to release the clips that attach the RH rear reflex lens to the body, and then remove the RH rear reflex lens from the vehicle.
Note: Partially release the upper right clip first, then release
the rest of the clips.
Install
- Install the RH rear reflex lens to the vehicle, and then fasten the clips that attach the lens to the body.
Note: Carefully and firmly press the RH rear reflex lens to fully seat the clips.
- Remove the masking tape from the body.
- Make sure that the RH rear reflex lens to body gap and flush are within specifications.
READ NEXT:
 Reflector - Fascia - Rear - LH (Remove and Replace)
Remove
Remove the rear fascia assembly and place it on a padded surface. See
Fascia - Rear (Remove and Install).
Remove the rear fascia assembly and place it on a padded surface. See
Fascia
Antenna - Bluetooth Passive Entry - Front (Remove and Replace)
Remove
Raise and support the vehicle. See
Raise Vehicle - 2 Post Lift.
Remove the rear underhood apron. See
Underhood Apron - Rear (Remove and Replace).
Remove the cabin intake duct. See
Duct -
SEE MORE:
Module - Steering Column Control (Remove and Replace)
Module - Steering Column Control - Remove
Remove
Remove the 2nd row lower seat cushion. See Seat
Cushion - Lower - 2nd Row (Remove and Replace).
Remove the rear underhood apron. See Underhood Apron
- Rear (Remo
Charge Port Voltage Check
Procedure (Single - Phase)
SPECIAL TOOLS
Insulation Multimeter, Fluke 1507 (NA)
(1076921-00-B)
Insulation Multimeter, Fluke 1587 (EMEA)
(1076921-00-A)
© 2019-2026 Copyright www.tmodel3.com
