Tesla Model 3: Striker - Trunk (Remove and Replace)
Tesla Model 3 2017-2026 Service Manual / Closures / Latches Strikers and Pinch Sensors / Striker - Trunk (Remove and Replace)

Remove
- Remove the rear trunk sill trim. See Trim - Sill - Trunk (Remove and Replace).
- Use masking tape to mark the location of the trunk striker.
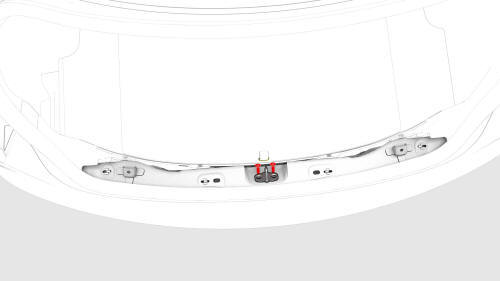
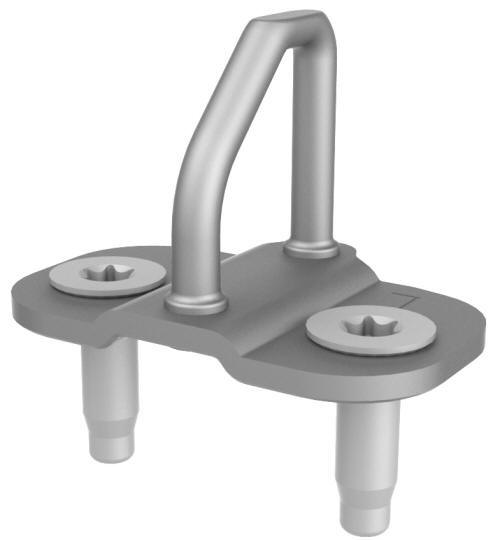
- Remove the bolts that attach the trunk striker to the body, and then
remove the striker from the vehicle.
Install
- Align the trunk striker with the masking tape on the body, and then hand-tighten the bolts that attach the trunk striker to the body
- Close the trunk and check gap/flush.
- Open the trunk and adjust the striker position as necessary.
- Repeat step 2 and step 3 until alignment is satisfactory.
- Fully tighten the bolts that attach the trunk striker to the vehicle.
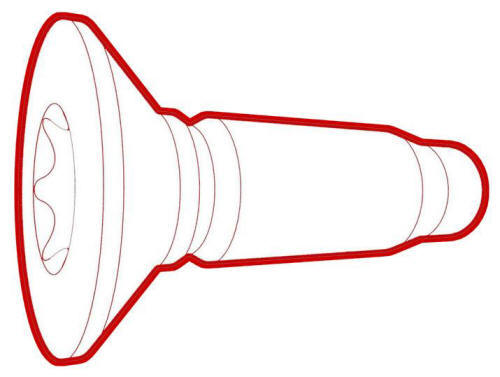 Torque 24 Nm
 - Remove the masking tape and install the rear trunk sill trim. See Trim - Sill - Trunk (Remove and Replace).
READ NEXT:
 Switch - Exterior Release - Trunk (Remove and Replace)
Remove
Remove the trunk lid trim. See Trim - Lid - Trunk (Remove and Replace).
Disconnect the electrical connectors from the trunk exterior release
switch and the rear facing camera.
Hall Sensor - Exterior Release - Door - Front - LH (Remove and Replace)
Remove
Remove the LH front door trim panel. See Panel - Door Trim - Front - LH
(Remove and Install).
Remove the LH front door inner belt seal. See Seal - Inner Belt - Front
Door - LH (Remove
SEE MORE:
Mirror - Rear View (Remove and Replace)
Remove
Remove the lower quad camera cover. See
Quad Camera Cover - Lower (Remove and Replace).
Grip the rear view mirror stalk, and then turn counterclockwise to
release the rear view mirror.
Caution:
Do not turn the rear view mirror itself.
Disconnect the electrical connector f
Harness - Door - Rear - LH (Remove and Replace)
Warning: The side impact airbag deployment depends on the front door
sensor's ability to detect a side impact from air pressure. Make sure that there
are no uncovered holes in the front door shells. Additionally, always reinstall
plugs or tape when servicing or inspecting the front doors and th
© 2019-2026 Copyright www.tmodel3.com
