Tesla Model 3: Torque Specifications - Brakes
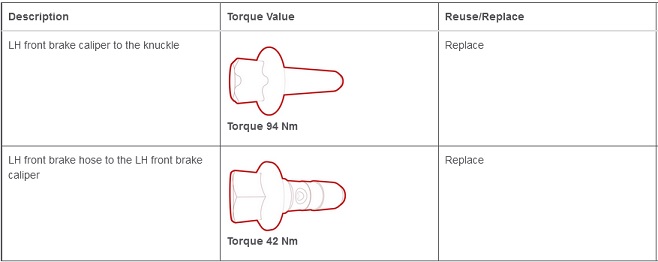
Table 1.
Torque Specifications: Brake
Caliper - Front
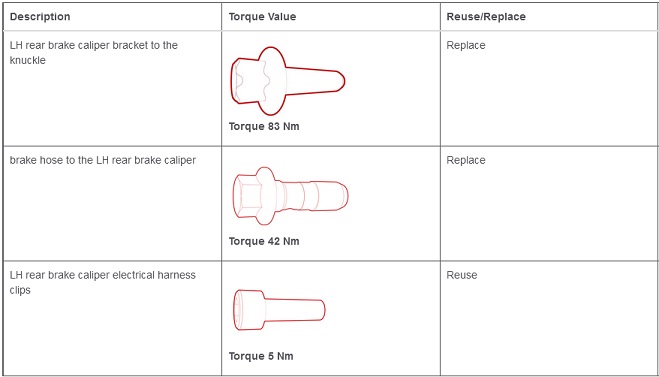
Table 2.
Torque Specifications: Brake
Caliper - Rear
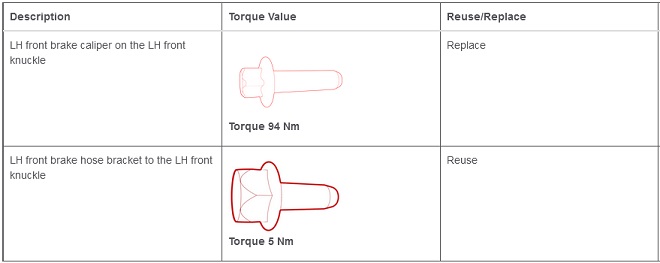
Table 3.
Torque Specifications: Brake Pad
Kit - Front (Sport Brakes)
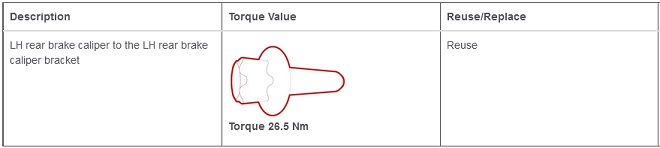
Table 4.
Torque Specifications: Brake Pad
Kit - Rear (Base Brakes)
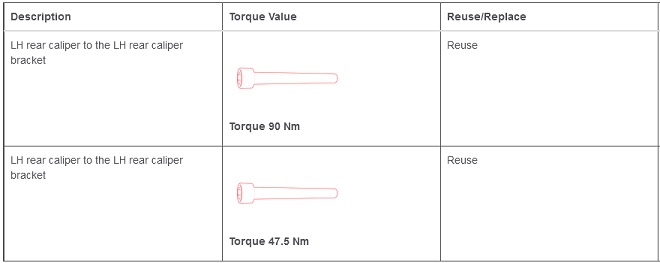
Table 5.
Torque Specifications: Brake Pad
Kit - Rear (Sports Brakes)
Table 6.
Torque Specifications: Brake
Rotor - Front - LH
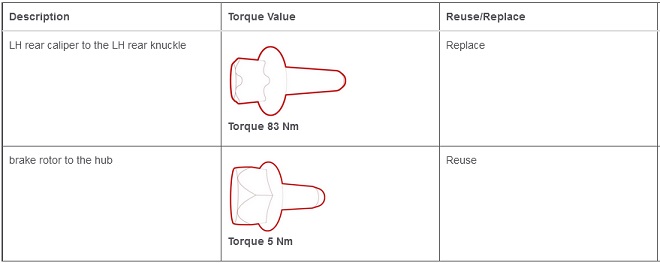
Table 7.
Torque Specifications: Brake
Rotors - Rear - LH
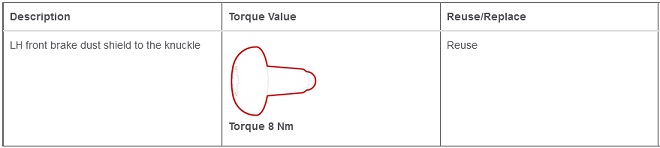
Table 8.
Torque Specifications: Shield -
Dust - Brake - Front - LH

Table 9.
Torque Specifications: Shield -
Dust- Brake - Rear - LH

Table 10.
Torque Specifications: Shield -
Dust - Brake - Rear - LH and RH
(Retrofit)
READ NEXT:
 Brake Caliper - Front - LH (Remove and Replace)
SPECIAL TOOLS
Skt, 1/2" Dr, E18 Torx
(1133187-00-A)
Skt, 1/2" Dr, E18 Torx
(1133187-XX-A & -01-A)
Remove
Brake Caliper - Rear - LH (Remove and Replace)
Brake Caliper - Rear - LH - Remove
SPECIAL TOOLS
Kit, EPB Release, Handheld (1134520-00-A)
SEE MORE:
Headlights - Adjust - EMEA (Wall Method)
Adjust Headlights Using a Wall
Apply Tape to Wall
Apply tape to a wall 23.6 in (60 cm) from the ground.
Apply tape to the floor 31.1 ft (9.5 m) from the wall.
Note: EU vehicles require a 1 to 1.5 degree downward inclination in
the headlight beam. For example, a vehicle parked 10 m from the
Speaker - Parcel Shelf - LH (Remove and Replace)
Note:
This procedure was formulated using a release candidate or production
model. Follow safety requirements and use extreme caution when working on or
near high-voltage systems and components.
Remove
Remove the 2nd row lower seat cushion. See Seat Cushion - Lower - 2nd
Row (Remove and Rep
