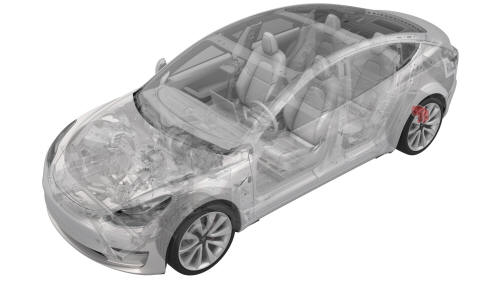
Tesla Model 3: Brake Caliper - Rear - LH (Remove and Replace)
SPECIAL TOOLS
Kit, EPB Release, Handheld (1134520-00-A)
XP-10 Power Supply, XP-10 (1129348-00-A)
Install
Brake Caliper - Rear - LH - Remove
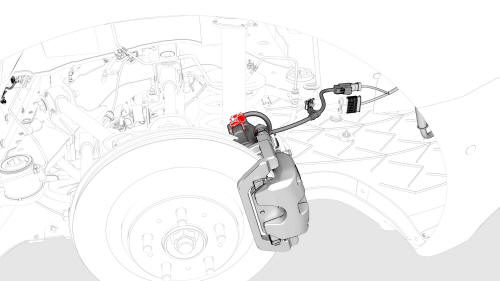
Brake Caliper - Rear - LH - Install
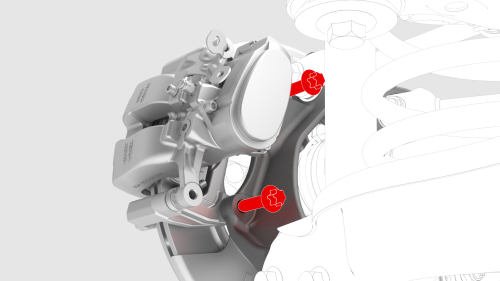
.jpg)
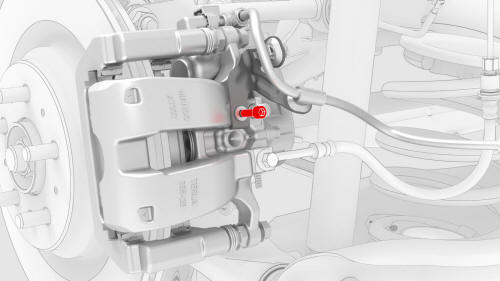
.jpg) Torque 83 Nm
Torque 83 Nm 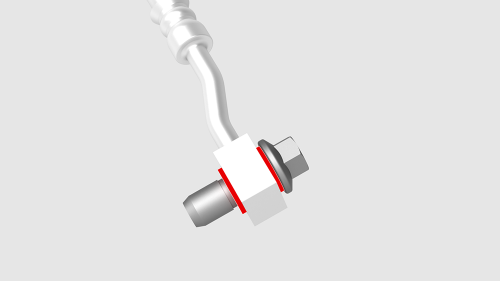
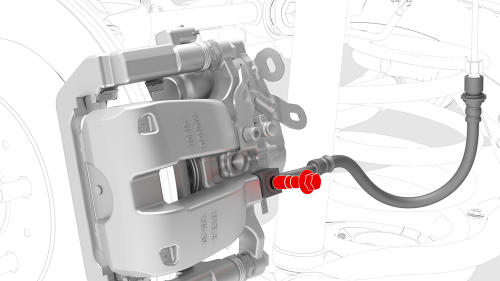
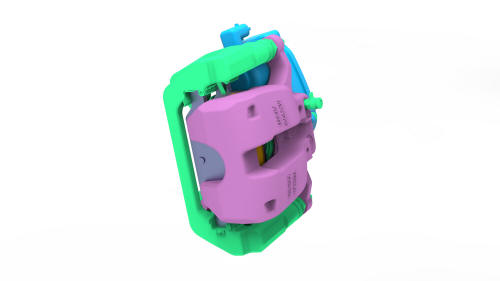
 Torque 42 Nm
.png) Torque 5 Nm
Torque 5 Nm
READ NEXT:
 Brake Pads - Burnishing
Warning: Be sure to comply with all local traffic safety laws and
only perform maneuvers in a suitable location where such activity is legal, with
little to no traffic
Procedure
On the touchscre
SEE MORE:
Beam - Cross Car (Remove and Replace) - Remove
Remove
Remove the IP carrier. See
IP Carrier (Remove and Install).
Remove the LH air wave duct. See
Duct - Air Wave - LH (Remove and Replace).
Remove the LH footwell duct. See
Duct - Footwell - LH (Remove and Replace).
Remove the clips that attach the LH side of the main carpet to th
Hood (Remove and Install)
Remove
Remove the LH and RH hood gas struts. See Gas Strut - Hood - LH (Remove
and Replace).
Use tape to mark the mounting locations of the LH and RH hood hinges on
the hood.
With an assistant, remove the nuts that attach the hood assembly to the
LH and RH hood hinges.
With
