Tesla Model 3: Striker - Hood (Remove and Replace)
Tesla Model 3 2017-2026 Service Manual / Closures / Latches Strikers and Pinch Sensors / Striker - Hood (Remove and Replace)
DRAFT
Warning:
This procedure was derived from pre-production computer models, and might not reflect the real-world situation. Warnings and cautions might be missing. Follow safety requirements and use extreme caution when working on or near high voltage systems and components.
Do not redistribute this content.
Parent topic: 1135 - Latches Strikers and Pinch Sensors
Remove
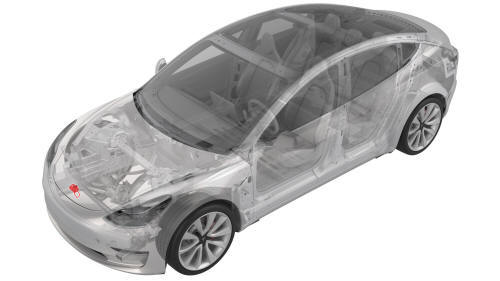
- Open the hood.
- Use masking tape to mark the location of the hood striker on the hood assembly.
.jpg)
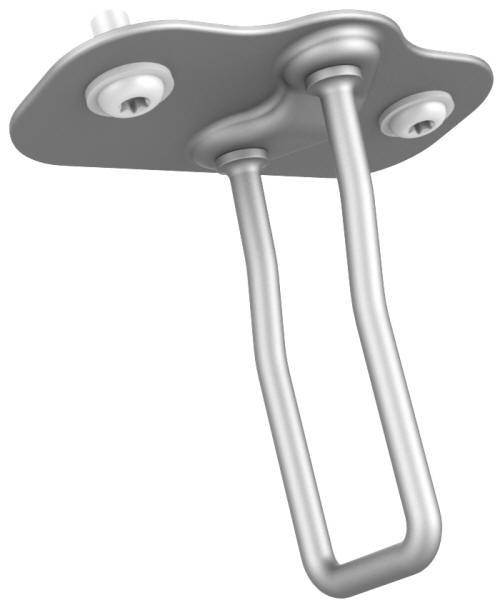
- Remove the bolts that secure the striker to the hood, and then remove
the striker from the hood.
.jpg) Torque 18 Nm
Torque 18 Nm
Install
- Install the striker on to the hood, but do not fully torque the bolts
Note: Use the masking tape as a guide.
- Close the hood and verify alignment.
- Open the hood and adjust the striker position as necessary.
- Repeat step 2 and step 3 until alignment is satisfactory.
- Fully tighten the bolts.
- Remove the masking tape, and then close the hood.
READ NEXT:
 Striker - Trunk (Remove and Replace)
Remove
Remove the rear trunk sill trim. See Trim - Sill - Trunk (Remove and
Replace).
Use masking tape to mark the location of the trunk striker.
Remove the bolts that attach the trunk s
Switch - Exterior Release - Trunk (Remove and Replace)
Remove
Remove the trunk lid trim. See Trim - Lid - Trunk (Remove and Replace).
Disconnect the electrical connectors from the trunk exterior release
switch and the rear facing camera.
SEE MORE:
Park Assist
How Park Assist Works
Model 3 has several sensors designed to
detect the presence of objects. When driving
slowly in Drive or Reverse (for example, when
parking), the sensors alert you if an object is
detected in close proximity of your Model 3.
Objects are only detected in the direction of
Module - Steering Column Control (Remove and Replace)
Module - Steering Column Control - Remove
Remove
Remove the 2nd row lower seat cushion. See Seat
Cushion - Lower - 2nd Row (Remove and Replace).
Remove the rear underhood apron. See Underhood Apron
- Rear (Remo
© 2019-2026 Copyright www.tmodel3.com
