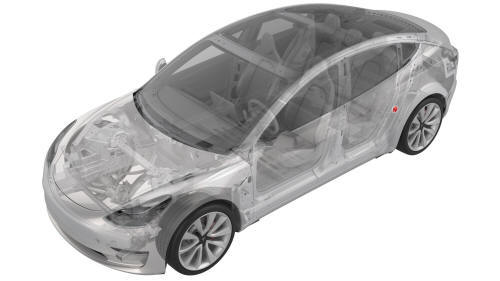
Tesla Model 3: Striker - Door - Rear - LH (Remove and Replace)
Tesla Model 3 2017-2026 Service Manual / Closures / Latches Strikers and Pinch Sensors / Striker - Door - Rear - LH (Remove and Replace)

Remove
- Open the LH rear door.
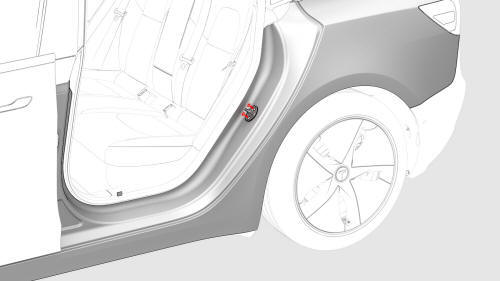
- Mark the position of the LH rear door striker using masking tape.
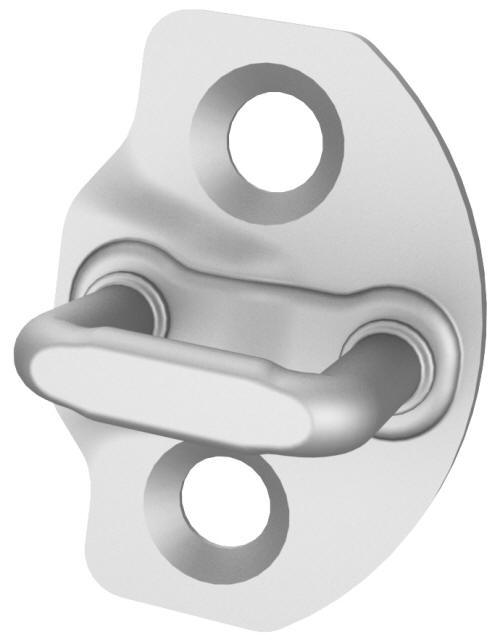
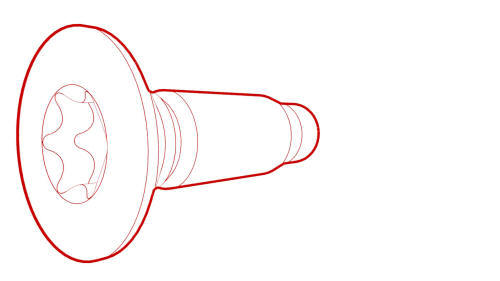
- Remove the bolts that attach the LH rear door striker to the body, and
then remove the striker from the vehicle.

Install

- Hand-tighten the bolts that attach the LH rear door striker to the body.
- Close the LH rear door and verify the door position; adjust the position of the striker and verify fitment, if necessary.
- Tighten the bolts that attach the LH rear door striker to the body.
 Torque 26 Nm
 - Remove the masking tape from the body
- Close the LH rear door.
READ NEXT:
 Striker - Hood (Remove and Replace)
DRAFT
Warning:
This procedure was derived from pre-production computer models, and
might not reflect the real-world situation. Warnings and cautions might be
missing. Follow safety requirements
 Striker - Trunk (Remove and Replace)
Remove
Remove the rear trunk sill trim. See Trim - Sill - Trunk (Remove and
Replace).
Use masking tape to mark the location of the trunk striker.
Remove the bolts that attach the trunk s
 Switch - Exterior Release - Trunk (Remove and Replace)
Remove
Remove the trunk lid trim. See Trim - Lid - Trunk (Remove and Replace).
Disconnect the electrical connectors from the trunk exterior release
switch and the rear facing camera.
SEE MORE:
 Bracket - License Plate - Front (EMEA) (Retrofit using Template)
Procedure
Clean the front center surface of the front fascia.
Align the template with the parking sensors, and then use masking tape
to hold the template in place.
LH side shown, RH side similar
Align the front license plate bracket over the template, and then secure
the bracket
 Window Regulator - Front - LH (Recalibrate)
Connect a laptop with Toolbox to the vehicle.
In Toolbox, select the connection status icon at the top right corner,
and then select Connect Locally.
Get into the driver seat, and then close the door.
In Toolbox, type window in the search field.
Note: Make sure that "Actions" is selected, if
© 2019-2026 Copyright www.tmodel3.com

