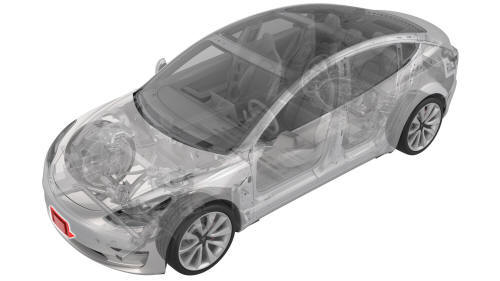
Tesla Model 3: Bracket - License Plate - Front (EMEA) (Retrofit using Template)
Tesla Model 3 2017-2026 Service Manual / Exterior Fittings / License Plate Mountings / Bracket - License Plate - Front (EMEA) (Retrofit using Template)
Procedure
- Clean the front center surface of the front fascia.
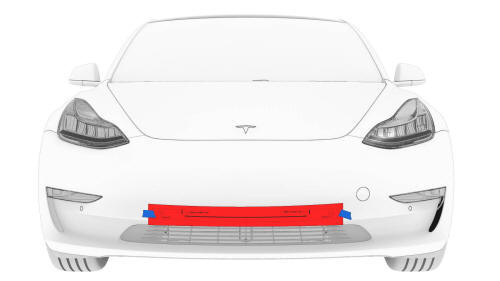
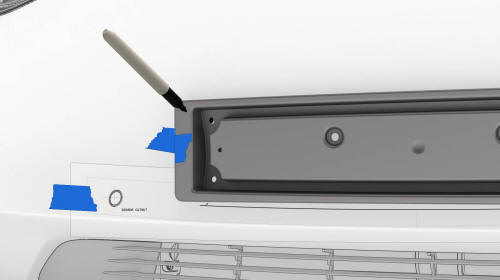
- Align the template with the parking sensors, and then use masking tape to hold the template in place.
LH side shown, RH side similar
- Align the front license plate bracket over the template, and then secure the bracket to the front fascia with masking tape
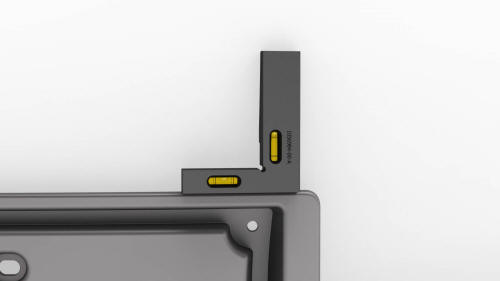
- Verify that the front license plate bracket is level with a bubble level. Make sure that there is no variance compared to level ground.
RH side
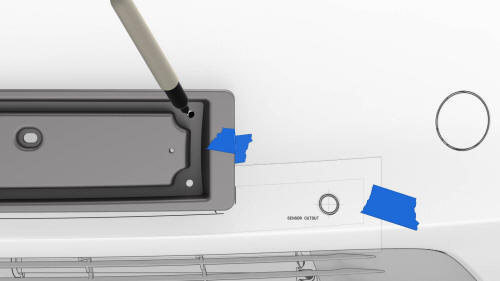
- Paint the top 2 bracket holes on the front fascia with a paint marker; use the pilot holes to mount the front license plate bracket. The bottom holes cover the template.

LH side
Note: The template must be removed before fastening the front license plate bracket to the front fascia.
- Remove the front license plate bracket and the template.
- Wear eye and ear protection before continuing.
- Use a 7/64 in (3 mm) drill bit to drill 4 holes through the front fascia.
Caution:
Only drill though the top surface of the front fascia. Drilling too far can result in damage to the vehicle.

- Install the 2 top screws (part number 1104972-00-A) that attach the
front license plate bracket to the front fascia.
.png) Torque 1 Nm
Torque 1 Nm
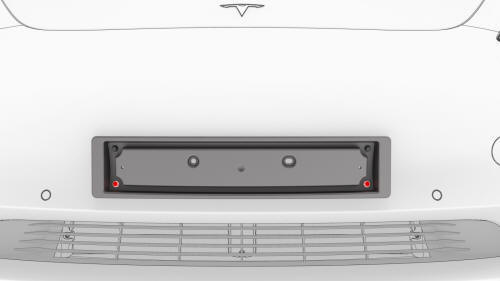
- Install the 2 bottom screws (part number 1104972-00-A) that attach the
front license plate bracket to the front fascia.
Torque 1 Nm
READ NEXT:
 Bracket - License Plate - Front (Remove and Replace)
Remove
Remove the screws that attach the front license plate to the front
license plate bracket, and then remove the license plate.
Use a trim tool around the perimeter of the front li
Bracket - License Plate - Front (NA) (Retrofit)
Retrofit
Clean the front center surface of the front fascia.
Remove the backing from the long horizontal tape strip on the new front
license plate bracket.
Fold the backing of the v
Bracket - License Plate - Rear (EMEA) (Remove and Replace)
Remove
Remove the screws (x4) that attach the rear license plate to the rear
license plate bracket, if a license plate is installed. Otherwise, skip to
the next step.
Remove the screws
SEE MORE:
Brake Fluid Check
SPECIAL TOOLS
BrakeStrip 100 Brake Fluid Test Strips
(1510075-00-A)
Procedure
Caution:
Brake fluid dissolves paint. Have clean towels and plenty of
water standing by
Track Mode
Track Mode, available only on Performance
Model 3 vehicles, modifies the vehicle's
stability control, traction control, regenerative
braking, and cooling system to increase
performance and handling while driving on
closed circuit courses. Track Mode improves
cornering ability by intelligen
© 2019-2026 Copyright www.tmodel3.com
