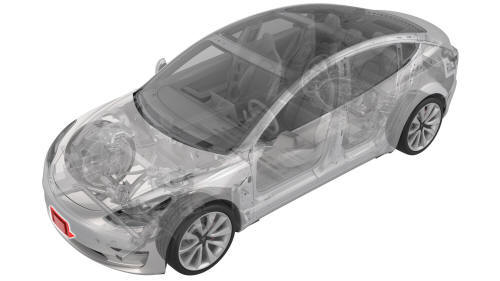
Tesla Model 3: Bracket - License Plate - Front (Remove and Replace)
Tesla Model 3 2017-2026 Service Manual / Exterior Fittings / License Plate Mountings / Bracket - License Plate - Front (Remove and Replace)
Remove

- Remove the screws that attach the front license plate to the front license plate bracket, and then remove the license plate.
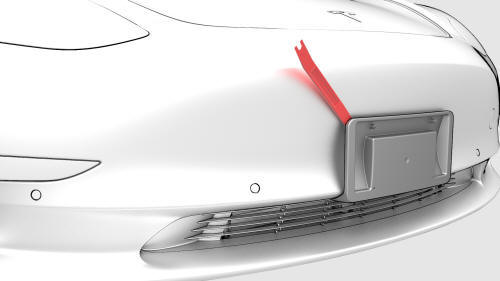
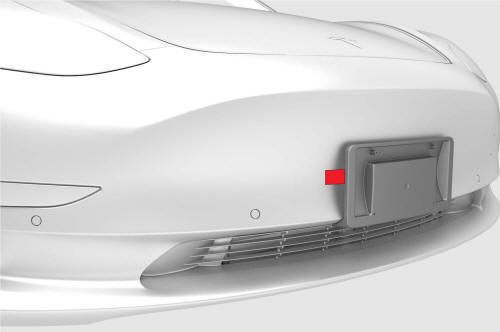
- Use a trim tool around the perimeter of the front license plate bracket to release the tape that attaches the bracket to the front fascia.
- Remove the front license plate bracket from the front fascia.
- Use alcohol wipes to clean any bracket tape, residue, or debris from the front fascia.
Install
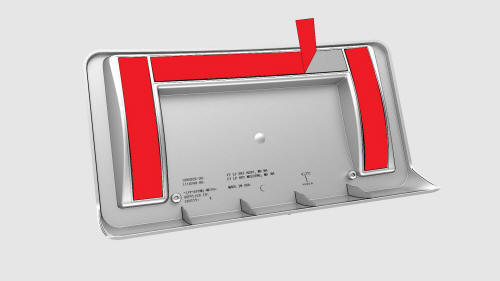
- Remove the backing from the long horizontal tape strip on the new front license plate bracket.
- Fold the backing of the vertical tape strips out at a 90 degree angle.
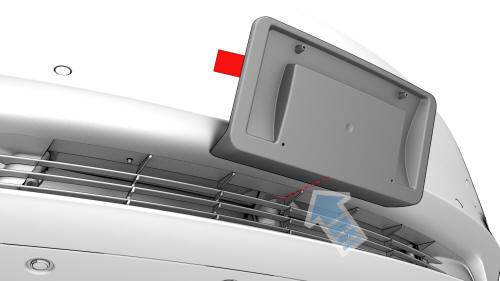
- Hold the license plate bracket horizontally and align the locator tab at the bottom lip of the bracket with the center rib of the fascia grille.
- Rotate the license plate bracket vertically and press the top edge against the front fascia.
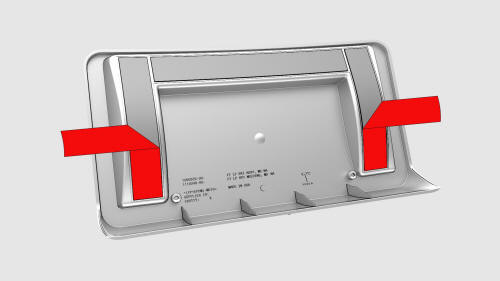
- Pull the tape strips out from the sides of license plate bracket, and then press the bracket against the front fascia.
- Install the license plate onto the front license plate bracket, and
install the screws that attach the plate to the bracket.
.png) Torque 3 Nm
Torque 3 Nm
READ NEXT:
 Bracket - License Plate - Front (NA) (Retrofit)
Retrofit
Clean the front center surface of the front fascia.
Remove the backing from the long horizontal tape strip on the new front
license plate bracket.
Fold the backing of the v
Bracket - License Plate - Rear (EMEA) (Remove and Replace)
Remove
Remove the screws (x4) that attach the rear license plate to the rear
license plate bracket, if a license plate is installed. Otherwise, skip to
the next step.
Remove the screws
SEE MORE:
Brake Pad Kit - Rear (Base Brakes) (Remove and Replace)
SPECIAL TOOLS
Kit, EPB Release, Handheld (1134520-00-A)
XP-10 Power Supply, XP-10 (1129348-00-A)
Remove
Remove the LH rear wheel. See Wheel (Re
Motor - Seat Height - Driver Seat (Remove and Replace)
Remove
Remove the 2nd row lower seat cushion. See
Seat Cushion - Lower - 2nd Row (Remove and Replace).
Remove the rear underhood apron. See
Underhood Apron - Rear (Remove and Replace).
Remove the LH instrument panel end cap. See
End Cap - Instrument Panel - LH (Remove and Replace).
Remove
© 2019-2026 Copyright www.tmodel3.com
