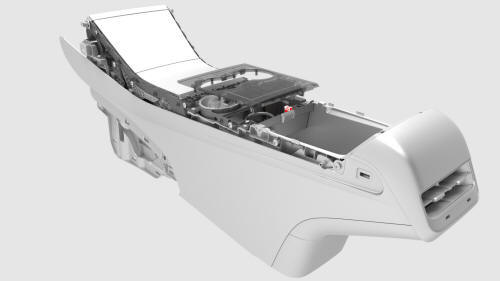
Tesla Model 3: Cup Holder (Remove and Replace)
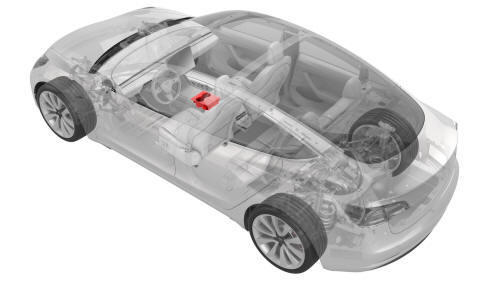
Tesla Model 3 2017-2026 Service Manual / Interior Trim / Center Console / Cup Holder (Remove and Replace)
Remove
- Disconnect 12V power. See 12V Power (Disconnect and Connect).
- Remove the center console decor trim. See Decor Trim - Center Console (Remove and Replace).
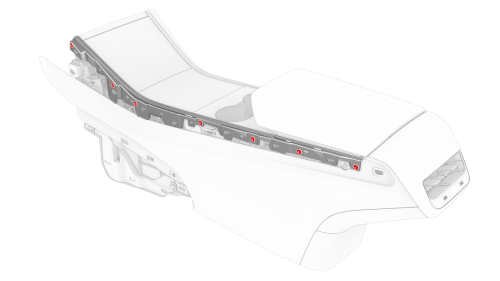
- Remove the screws and release the tabs that attach LH and RH bright
strips to the center console, and then remove the strips from the console.
 Torque 1.6 Nm
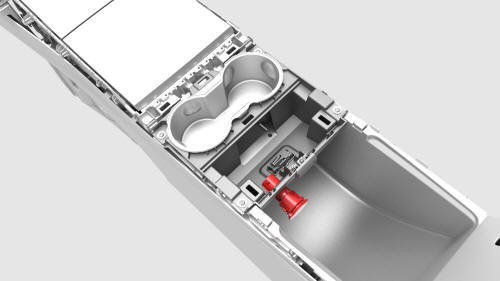
 - Open the armrest.
- Release the clips that attach the cupholder decor trim to the cupholder assembly, and then separate the trim from the center console assembly.
- Disconnect the electrical harness from the security body controller module connector, and then remove the trim from the vehicle.
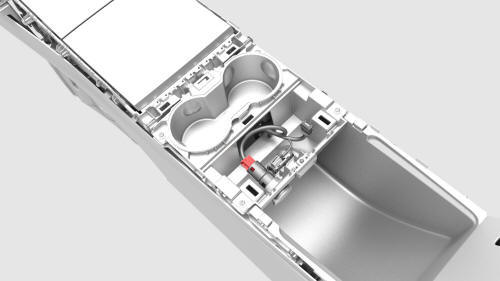
- Disconnect the electrical harness from the center console power socket connector.
- Disconnect the electrical harness from the center console puddle light connector.
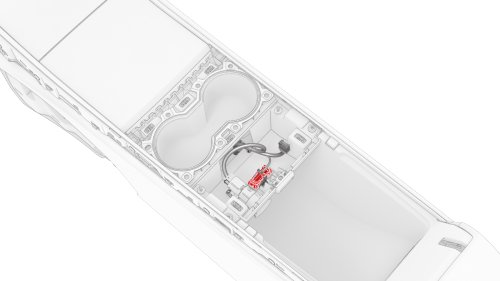
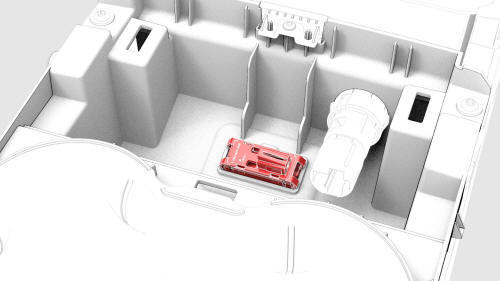
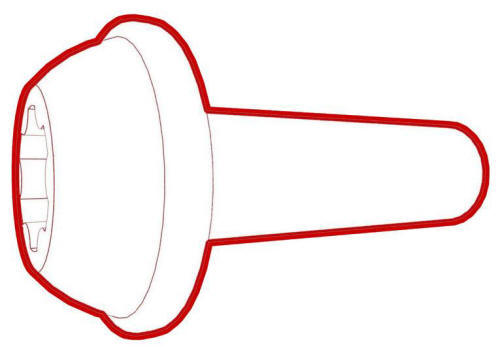
- Release the small tabs on the spring cap and slide the power socket inside the cap, so that the openings in the side of the socket align with the large tabs of the cap.
- Release the tabs of the cap and move the power socket and cap together out through the cup holder assembly.
- Release the clips that attach the puddle light to the cup holder, and then remove the puddle light from the cup holder.
- Use a plastic trim tool to remove the cup holder liner from the cup holder.
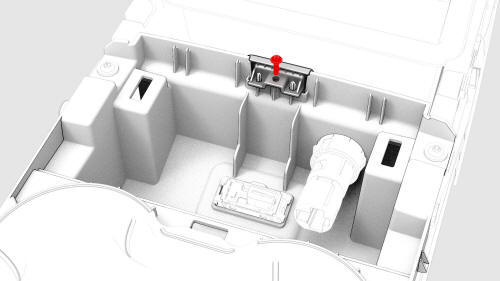
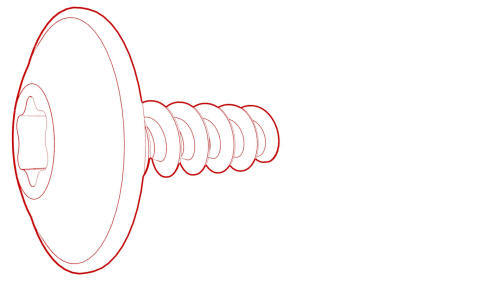
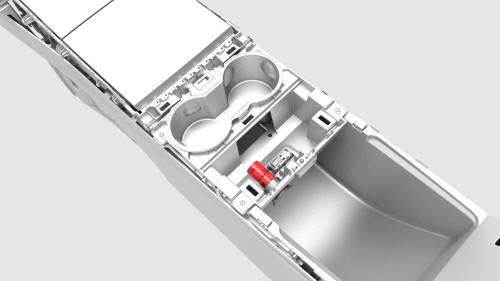
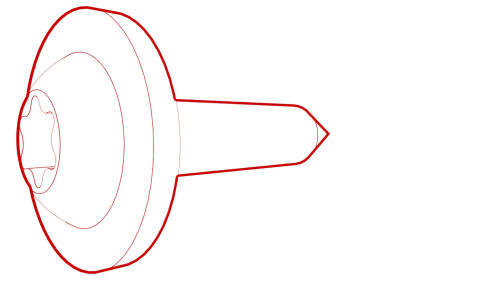
- Remove the screw that attaches the armrest latch grommet to the cup
holder.
 Torque 1.6 Nm
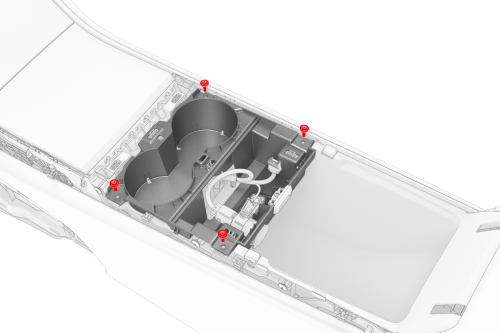
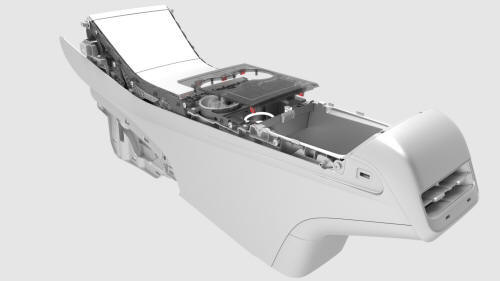
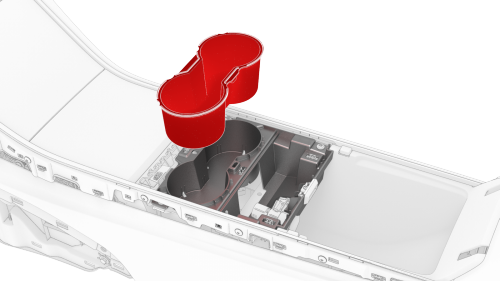
- Remove the screws that attach the cup holder lower assembly to the
center console, and remove the cup holder from the vehicle.
 Torque 1.1 Nm
Install
Installation procedure is the reverse of removal.
READ NEXT:
 Decor Trim - Center Console (Remove and Replace)
Remove
Open the LH front door.
Move the LH front seat to the lowest and most rearward position.
Clip Locations on Center Console
Clip Locations on Decor Trim
Release the clips (x9) th
End Panel - Center Console (Remove and Replace)
Remove
Remove the center console lower rear panel. See
Panel - Lower Rear - Center Console (Remove and Replace).
Remove the center console air vent panel. See
Panel - Air Vent - Center Console (R
Insert - Front Bin - Center Console (Remove and Replace)
Remove
Remove the LH front floormat.
Remove the center console. See
Center Console (Remove and Install)
Raise the center console armrest for access.
Remove the LH and RH center console decor
SEE MORE:
Horn - High Tone (Remove and Replace)
Remove
Remove the rear underhood apron. See
Underhood Apron - Rear (Remove and Replace).
Remove the cabin intake duct. See
Duct - Cabin Intake (Remove and Replace).
Remove the hood latch cover. See
Cover - Hood Latch (Remove and Replace).
Remove the underhood storage unit carpet. See
Carp
Jacking and Lifting
Follow the steps below to lift Model 3. Ensure
that any non-Tesla repair facility is aware of
these lifting points.
Position Model 3 centrally between the lift
posts.
Position the lift arm pads under the
designated body lift points at the
locations shown.
Warning: DO NOT position th
© 2019-2026 Copyright www.tmodel3.com
