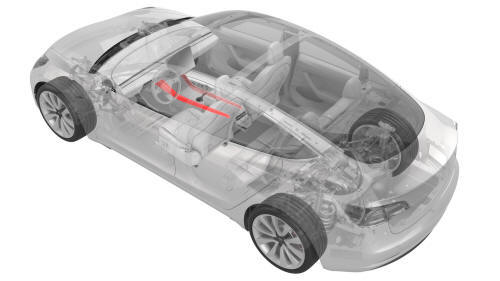
Tesla Model 3: Decor Trim - Center Console (Remove and Replace)
Tesla Model 3 2017-2026 Service Manual / Interior Trim / Center Console / Decor Trim - Center Console (Remove and Replace)
Remove
- Open the LH front door.
- Move the LH front seat to the lowest and most rearward position.
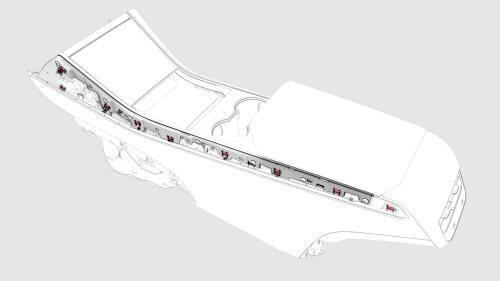
Clip Locations on Center Console
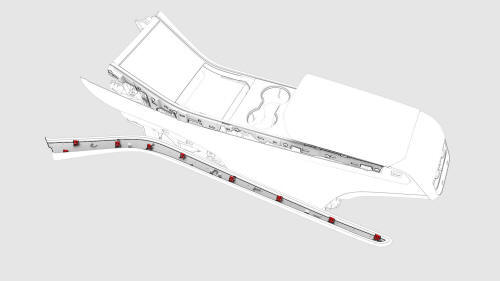
Clip Locations on Decor Trim
- Release the clips (x9) that attach the LH center console decor trim to
the center console, and then remove the decor trim.
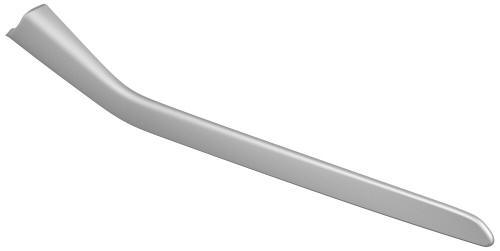
- Repeat step 1 through step 3 to remove the RH center console decor trim, if necessary.
Install
Installation procedure is the reverse of removal.
READ NEXT:
 End Panel - Center Console (Remove and Replace)
Remove
Remove the center console lower rear panel. See
Panel - Lower Rear - Center Console (Remove and Replace).
Remove the center console air vent panel. See
Panel - Air Vent - Center Console (R
Insert - Front Bin - Center Console (Remove and Replace)
Remove
Remove the LH front floormat.
Remove the center console. See
Center Console (Remove and Install)
Raise the center console armrest for access.
Remove the LH and RH center console decor
Panel - Air Vent - Center Console (Remove and Replace)
Remove
Move the driver seat and front passenger seat forward.
Release the clips (x4) that attach the center console air vent panel to
the center console, and separate the panel from th
SEE MORE:
Toe Link - Rear - LH (Remove and Replace)
Remove
Remove the LH rear wheel. See Wheel (Remove and
Install).
Remove and discard the bolt a
Bracket - 12V Battery (RWD) (Remove and Replace)
Bracket - 12V Battery (RWD) - Remove
Remove
Remove the 2nd row lower seat cushion. See
Seat Cushion - Lower - 2nd Row (Remove and Replace).
Remove the rear underhood apron. See
Underhood Apron - Rear (Remove and Replace).
Remove the cabin intake duct. See
Duct - Cabin Intake (Remove and Repla
© 2019-2026 Copyright www.tmodel3.com
