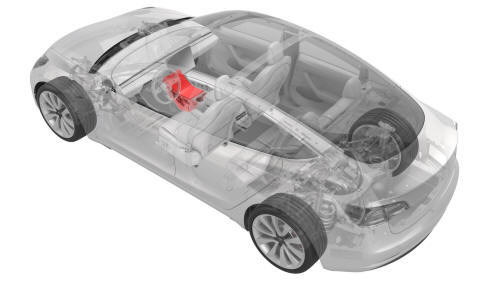
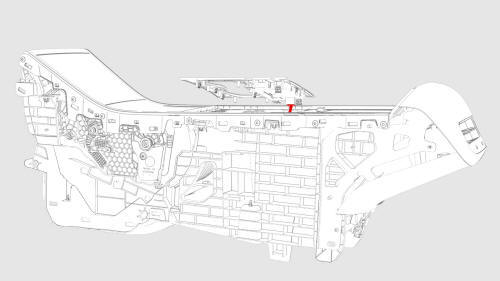
Tesla Model 3: Insert - Front Bin - Center Console (Remove and Replace)
Tesla Model 3 2017-2026 Service Manual / Interior Trim / Center Console / Insert - Front Bin - Center Console (Remove and Replace)
Remove
- Remove the LH front floormat.
- Remove the center console. See Center Console (Remove and Install)
- Raise the center console armrest for access.
- Remove the LH and RH center console decor trim. See Decor Trim - Center Console (Remove and Replace).
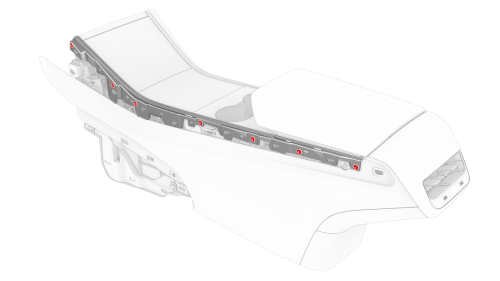
- Remove the screws that attach the LH bright strip to the center console.
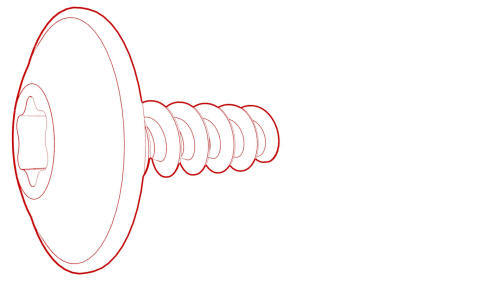 Torque 1.6 Nm
 - Release the 6 tabs that attach the bright strip to the center console, and then remove the bright strip.
- Remove the screws that attach the RH bright strip to the center console.
- Release the 6 tabs that attach the bright strip to the center console, and then remove the bright strip.
- Release the clips that attach the cup holder decor to the center console.
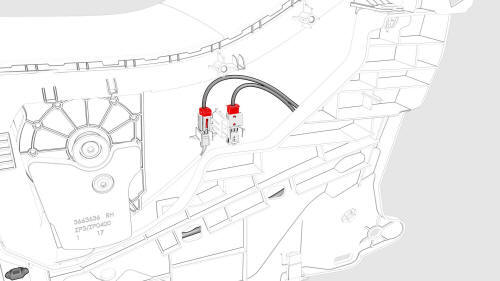
- Disconnect the electrical connector from security controller, and then remove the cup holder decor.
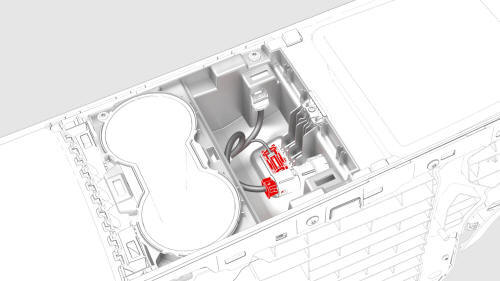
- Disconnect the connectors from the 12V outlet and the puddle light.
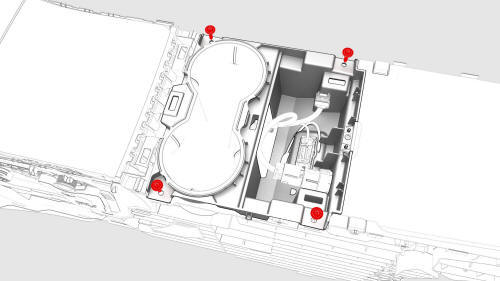
- Remove the screws that attach the cup holder assembly to the center
console.
 Torque 1.1 Nm
 - Release the clips that attach the cup holder assembly to the center console, and then remove the cup holder assembly from the center console.
- Disconnect the connectors from the RH side of the center console.
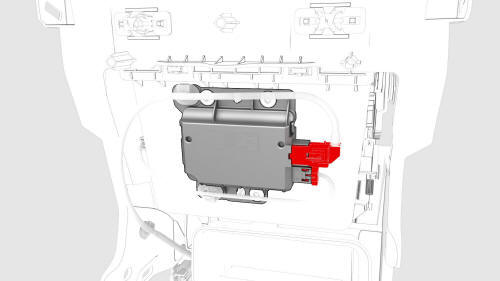
- Disconnect the connectors from the USB controller.
- Release the clips that attach the cables to the center console front bin insert.
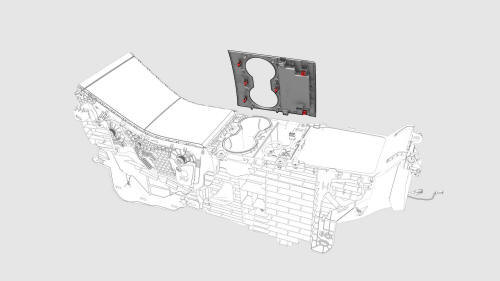
- Remove the screws that attach the center console front bin insert to the
center console.
Torque 1.1 Nm
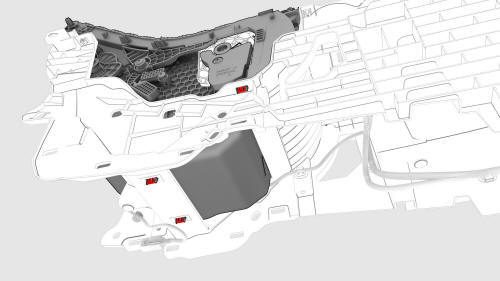
- Pull up to release the clips (x4) that attach the center console front
bin insert to the center console, and then remove the bin.
Install
Installation procedure is the reverse of removal.
READ NEXT:
 Panel - Air Vent - Center Console (Remove and Replace)
Remove
Move the driver seat and front passenger seat forward.
Release the clips (x4) that attach the center console air vent panel to
the center console, and separate the panel from th
Panel - Lower Rear - Center Console (Remove and Replace)
Remove
Move the driver seat and front passenger seat fully forward.
Note: Notice the location of the driver seat and front passenger
seat prior to moving them forward to help restore the seats
Phone Tray - Center Console (Remove and Replace)
Remove
Open both the forward and rearward center console rotating lids.
Remove and secure the customer's belongings from the phone tray, if
needed.
Remove the phone dock mat from the cen
SEE MORE:
Motor - Seat Tilt - Driver Seat (Remove and Replace)
Remove
Remove the driver seat. See
Seat - Driver (Remove and Replace).
Remove the driver seat outer side cover. See
Cover - Outer Side - Driver Seat (Remove and Install).
Disconnect the electrical harness from the driver seat tilt motor
connector.
Remove the bolts that attach t
Airbag - Curtain - LH (Remove and Replace)
Airbag - Curtain - LH - Remove
DRAFT
Warning:
This procedure was derived from pre-production computer models, and
might not reflect the real-world situation. Warnings and cautions might be
missing. Follow safety requirements and use extreme caution when working on or
near high voltage systems
© 2019-2026 Copyright www.tmodel3.com
