Tesla Model 3: Panel - Air Vent - Center Console (Remove and Replace)
Tesla Model 3 2017-2026 Service Manual / Interior Trim / Center Console / Panel - Air Vent - Center Console (Remove and Replace)
Remove
- Move the driver seat and front passenger seat forward.

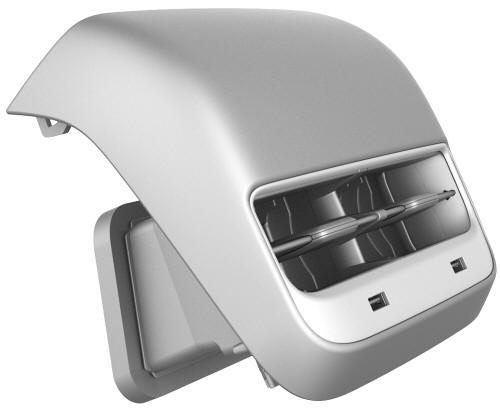
- Release the clips (x4) that attach the center console air vent panel to the center console, and separate the panel from the console.
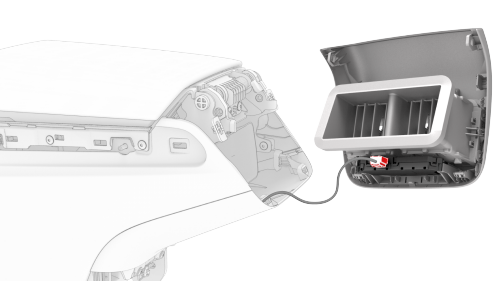
- Disconnect the electrical harness from the center console rear USB hub
connector, and then remove the center console air vent panel from the
vehicle.
Install
Installation procedure is the reverse of removal.
READ NEXT:
 Panel - Lower Rear - Center Console (Remove and Replace)
Remove
Move the driver seat and front passenger seat fully forward.
Note: Notice the location of the driver seat and front passenger
seat prior to moving them forward to help restore the seats
Phone Tray - Center Console (Remove and Replace)
Remove
Open both the forward and rearward center console rotating lids.
Remove and secure the customer's belongings from the phone tray, if
needed.
Remove the phone dock mat from the cen
SEE MORE:
Wiper Blades (Adjust)
SPECIAL TOOLS
Adjustment
Using the touchscreen, put the wipers in "Service Mode".
Clean the wiper blades and the windshield thoroughly with isopropyl
alcohol wipes, or equivalent.
Spray the windshield with the washer jets.
Cycle the wipers on high speed, and then inspect the cleaning patt
ABS Modulator (Remove and Replace)
ABS Modulator - Remove
Remove
Raise and support the vehicle. See Raise Vehicle - 2
Post Lift.
Remove the 2nd row lower seat cushion. See Seat
Cushion - Lower - 2nd Row (Remove and Replace).
Remo
© 2019-2026 Copyright www.tmodel3.com
