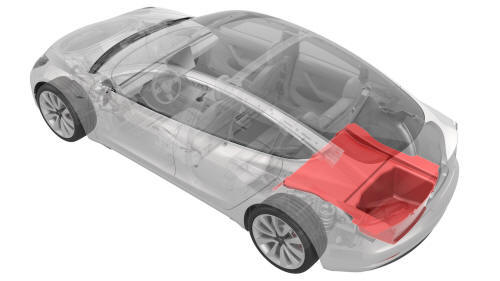
Tesla Model 3: Carpet - Rear Trunk (Remove and Replace)
Tesla Model 3 2017-2026 Service Manual / Interior Trim / Carpeting and Mats / Carpet - Rear Trunk (Remove and Replace)
DRAFT
Warning:
This procedure was derived from pre-production computer models, and might not reflect the real-world situation. Warnings and cautions might be missing. Follow safety requirements and use extreme caution when working on or near high voltage systems and components.
Do not redistribute this content.
Remove
- Remove the trunk sill trim. See Trim - Sill - Trunk (Remove and Replace).
- Release the clips that attach the trunk carpet to the sill.
- Remove the LH 2nd row seat back. See Seat Back - 2nd Row - LH (Remove and Install).
- Remove the RH 2nd row seat back. See Seat Back - 2nd Row - RH (Remove and Install).
.jpg)
- Release the clips that attach the trunk carpet to the 2nd row area.
.jpg)
- Lift the trunk carpet off the ISOFIX bars.
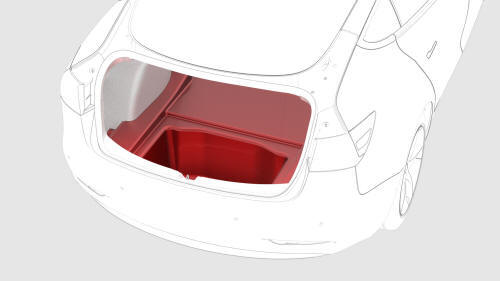
- Release the clips that attach the trunk carpet to the body studs, and
then remove the trunk carpet from the vehicle.
Install
Installation procedure is the reverse of removal.
READ NEXT:
 Carpet - Underhood Storage (Remove and Install)
Remove
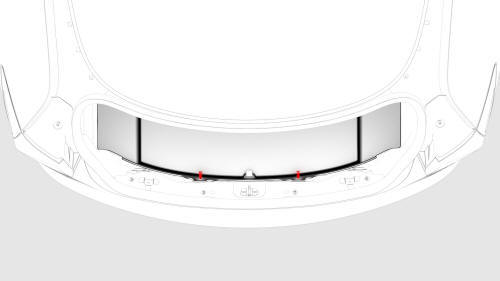
Open the hood.
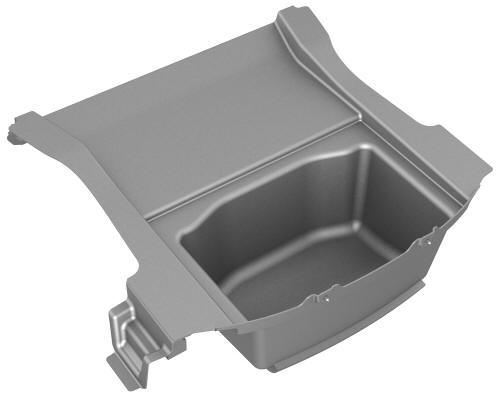
Remove the carpet from the underhood storage unit.
Install
Install the carpet into the underhood storage unit.
Close the hood.
SEE MORE:
Link - Fore - Lower - Rear - LH (Remove and Replace)
Link - Fore - Lower - Rear - LH - Remove
SPECIAL TOOLS
Tool, Spring Compressor, Hook, Model 3
(1135103-00-A)
Remove
Raise and support the vehicle. See Raise Vehicle - 2
Pos
Seal - Trunk (Remove and Replace)
Remove
Open the trunk.
Lift up the rear trunk floor, and then remove it from the vehicle.
Remove the trunk sill trim. See
Trim - Sill - Trunk (Remove and Replace).
Release the trunk seal from the trunk perimeter, and then remove the
seal from the body.
Install
Install the trunk
© 2019-2026 Copyright www.tmodel3.com
