Tesla Model 3: ABS Modulator (Remove and Replace)
Remove
Install
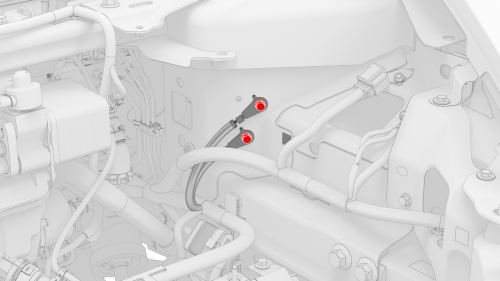
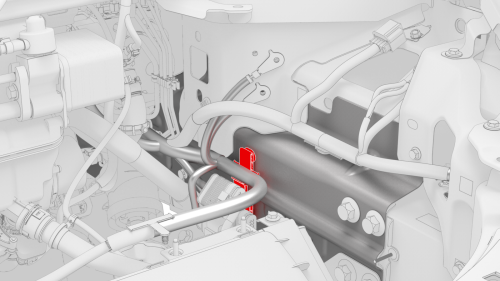
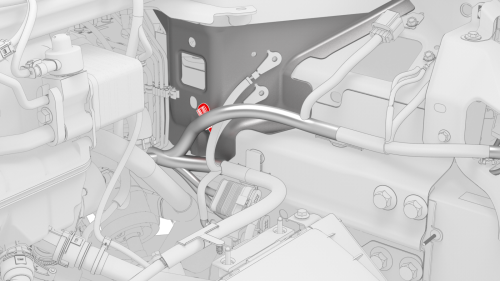
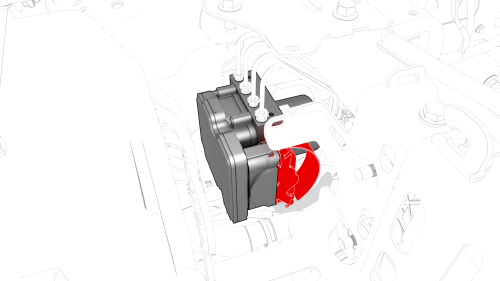
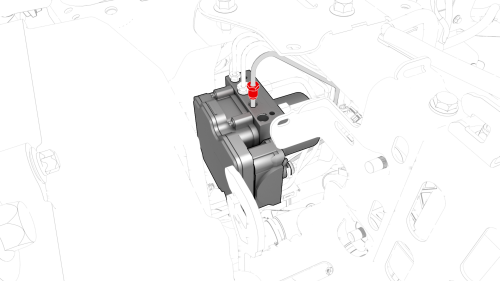
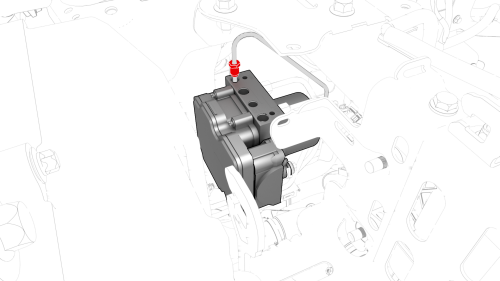
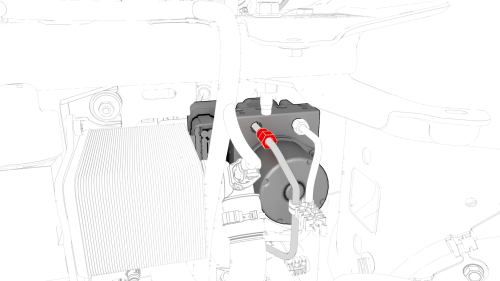
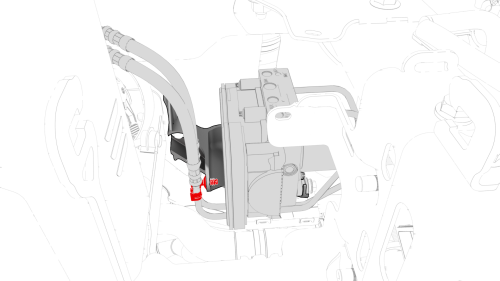
ABS Modulator - Remove


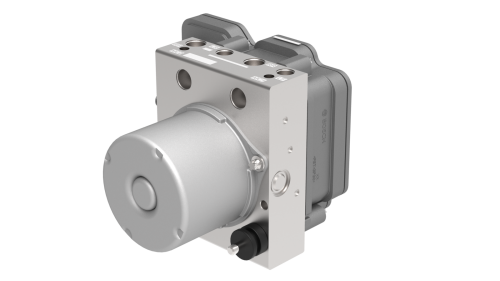
ABS Modulator - Install
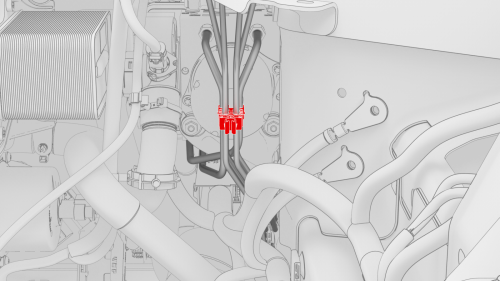
.png) Torque 8 Nm
Torque 8 Nm
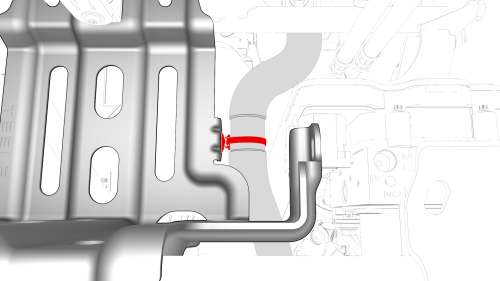
 Torque 10 Nm
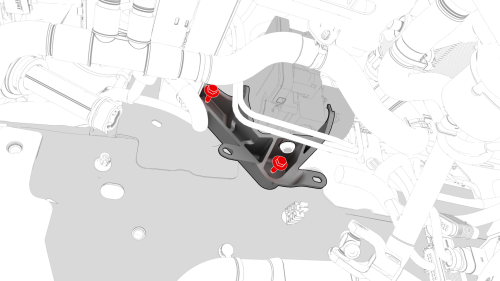
 Torque 16 Nm
Torque 16 Nm
 Torque 16 Nm
Torque 16 Nm
Torque 16 Nm
Torque 16 Nm
 Torque 10 Nm
READ NEXT:
 Sensor - Wheel Speed - ABS - Front - LH (Remove and Replace)
Remove
Remove the front LH wheel. See Wheel (Remove and
Install).
Remove the front LH wheel arch line
SEE MORE:
Link - Fore - Lower - Rear - LH (Remove and Replace)
Link - Fore - Lower - Rear - LH - Remove
SPECIAL TOOLS
Tool, Spring Compressor, Hook, Model 3
(1135103-00-A)
Remove
Raise and support the vehicle. See Raise Vehicle - 2
Pos
SD Card - Car Computer (Remove and Replace)
Remove
Remove the 2nd row lower seat cushion. See Seat Cushion - Lower - 2nd
Row (Remove and Replace).
Remove the rear underhood apron. See Underhood Apron - Rear (Remove and
Replace).
Remove the cabin intake duct. See Duct - Cabin Intake (Remove and
Replace)
Disconnect 12V power. See 12V
