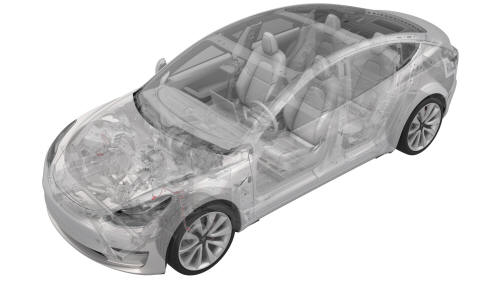
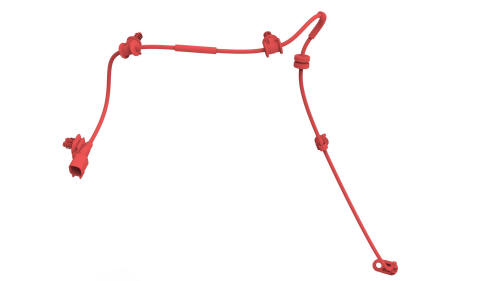
Tesla Model 3: Sensor - Wheel Speed - ABS - Front - LH (Remove and Replace)
Remove
- Remove the front LH wheel. See Wheel (Remove and Install).
- Remove the front LH wheel arch liner. See Wheel Arch Liner - Front - LH (Remove and Replace).
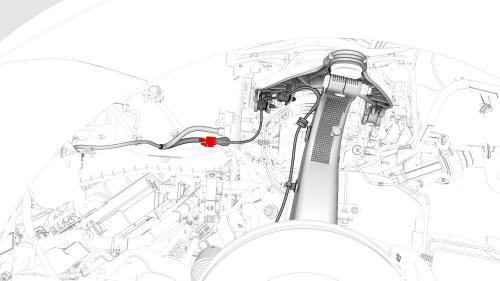
- Disconnect the electrical harness from the front LH ABS wheel speed sensor connector.
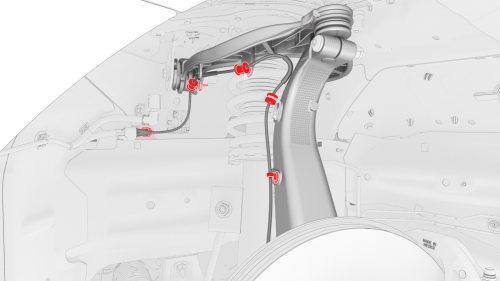
- Release the clips and remove the grommet that attach the front LH ABS wheel speed sensor to the body and front LH suspension.
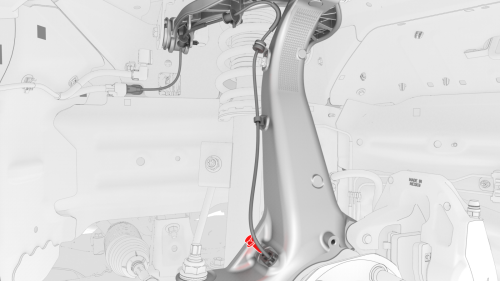
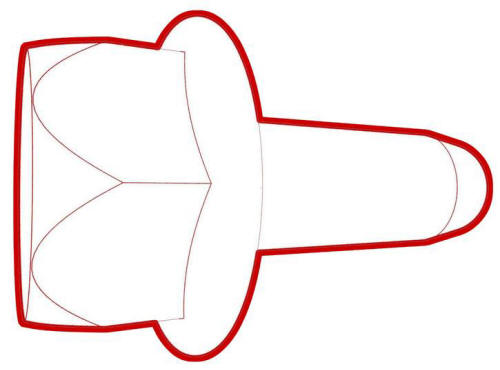
- Remove and discard the bolt that attaches the front LH ABS wheel speed sensor to the knuckle, and then
remove the sensor from the vehicle.
Install
- Install the front LH ABS wheel speed sensor to the
knuckle, and then install a new bolt to attach the
sensor to the knuckle.
 Torque 5 Nm
- Fasten the clips (x4) and install the grommet that attach the front LH ABS wheel speed sensor cable to the body and front LH suspension.
Caution: Perform a push-pull check on each clip and the grommet to make sure they are fully attached to the body, to the upper control arm, and to the knuckle.
- Connect the electrical harness to the front LH ABS wheel speed sensor connector.
- Install the front LH wheel arch liner. See Wheel Arch Liner - Front - LH (Remove and Replace).
- Install the front LH wheel. See Wheel (Remove and Install).
READ NEXT:
 Sensor - Wheel Speed - ABS - Rear - LH (Remove and Replace)
Remove
Remove the rear LH wheel. See Wheel (Remove and
Install).
Booster - Brake - Electromechanical (LHD) (Remove and Replace)
SPECIAL TOOLS
Flare nut crowfoot set (1079041-00-A)
SEE MORE:
Decor Trim - Center Console (Remove and Replace)
Remove
Open the LH front door.
Move the LH front seat to the lowest and most rearward position.
Clip Locations on Center Console
Clip Locations on Decor Trim
Release the clips (x9) that attach the LH center console decor trim to
the center console, and then remove the decor trim.
SIM Card - Car Computer (Remove and Replace)
DRAFT
Warning:
This procedure was derived from pre-production computer models, and
might not reflect the real-world situation. Warnings and cautions might be
missing. Follow safety requirements and use extreme caution when working on or
near high voltage systems and components.
Remove
Remove
