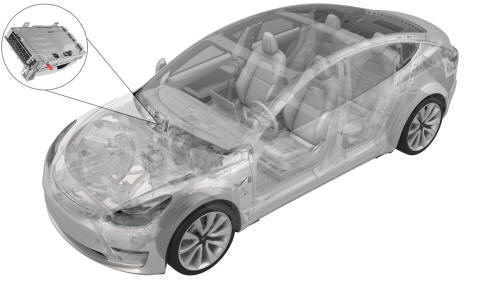
Tesla Model 3: SIM Card - Car Computer (Remove and Replace)
Tesla Model 3 2017-2026 Service Manual / Infotainment / Car Computer / SIM Card - Car Computer (Remove and Replace)
DRAFT
Warning:
This procedure was derived from pre-production computer models, and might not reflect the real-world situation. Warnings and cautions might be missing. Follow safety requirements and use extreme caution when working on or near high voltage systems and components.
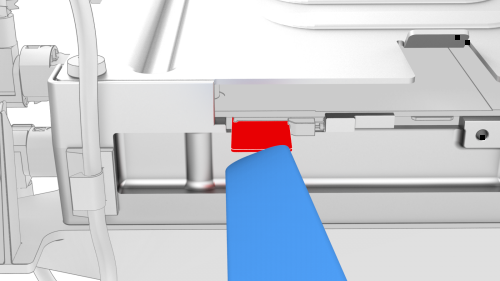
Remove
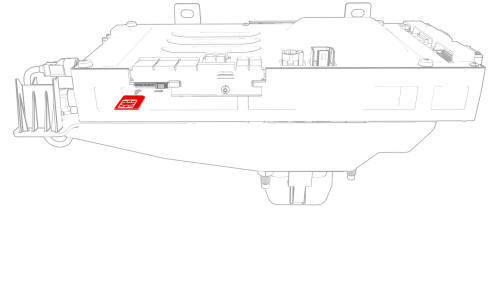
- Remove the car computer connectivity board. See Connectivity Board - Car Computer (Remove and Replace).
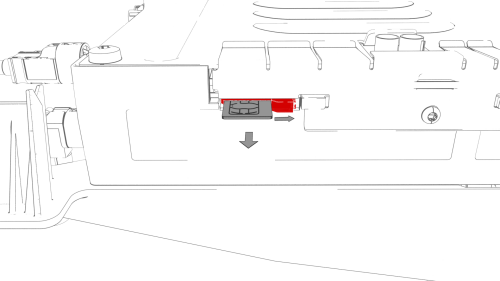
- Use a trim tool to move the catch to the right, and release the SIM card from the slot in the car computer.
- Remove the SIM card from the car computer
Install
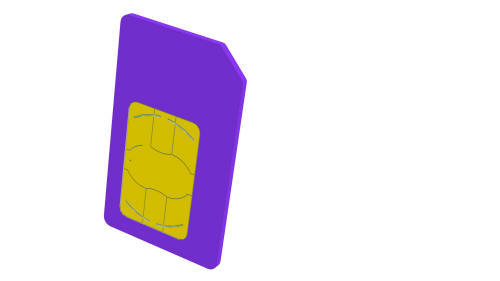
- Install the SIM card into the car computer slot with the notch up and the gold pads facing away from the bulkhead.
Caution: Make sure that the SIM card goes into the slot, before releasing your grip of the SIM card.
- Carefully press the SIM card fully into the slot, so that the catch engages.
Caution: If using a thin tool to press the SIM card in, use the tool as shown.
- Install the car computer connectivity board. See Connectivity Board - Car Computer (Remove and Replace).
READ NEXT:
 Amplifier - Audio - External (Remove and Replace)
Remove
Remove the subwoofer. See Subwoofer (Remove and Replace).
Remove the screws that attach the audio amplifier to the subwoofer
assembly, and remove the amplifier from the subwoofer.
To
Speaker - Dash - Center (Remove and Replace)
Remove
Remove the LH and RH instrument panel end caps. See End Cap - Instrument
Panel - LH (Remove and Replace).
Remove the LH and RH middle A-pillar trims. See Trim - A-Pillar - Middle
- LH
SEE MORE:
Underhood Storage Unit (Remove and Replace)
Underhood Storage Unit (Remove and Replace) -
Remove
Remove
Remove the rear underhood apron. See
Underhood Apron - Rear (Remove and Replace).
Remove the cabin intake duct. See
Duct - Cabin Intake (Remove and Replace).
Remove the hood latch cover. See
Cover - Hood Latch (Remove and Replace
Cap - Penthouse HV (Remove and Replace)
Remove
Remove the 2nd row lower seat cushion. See
Seat Cushion - Lower - 2nd Row (Remove and Replace).
Lift the HV cap straight up from over the DC input connector on the LH
side of the penthouse, and then remove the HV cap from the vehicle.
Install
Installation procedure is the reverse
© 2019-2026 Copyright www.tmodel3.com
