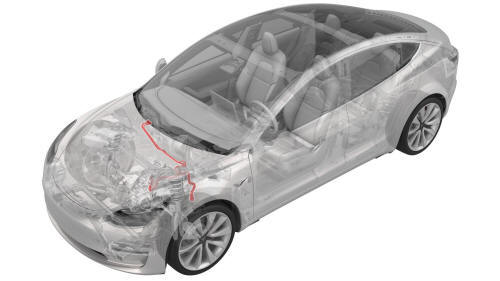
Tesla Model 3: Hose - Chiller to Car Computer and HV Battery Supply Manifold (Dual Motor) (Remove and Replace)
Tesla Model 3 2017-2025 Service Manual / Thermal Management / Cooling System / Hose - Chiller to Car Computer and HV Battery Supply Manifold (Dual Motor) (Remove
and Replace)
SPECIAL TOOLS
Plug,Car Computer Fluid Port (1119171-00-A)
Kit, Svc Plug, Cooling Hose, Model 3 (1135762-00-A)
Remove
- Remove the front subframe assembly. See Subframe Assembly - Front (Dual Motor) (Remove and Install).
.png)
- Disconnect the electrical harness from the chiller and EXV assembly hose coolant temperature sensor connector.
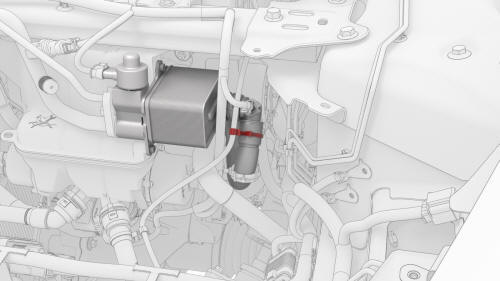
- Release the clip that attaches the 12V battery vent hose to the chiller-car computer and HV battery supply manifold hose.
- Release the clip that attaches the electrical harness to the chiller-car computer and HV battery supply manifold hose.
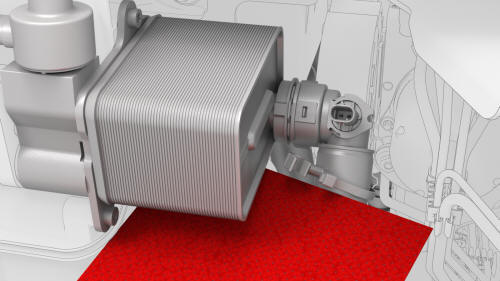
- Place an absorbent towel under the chiller.
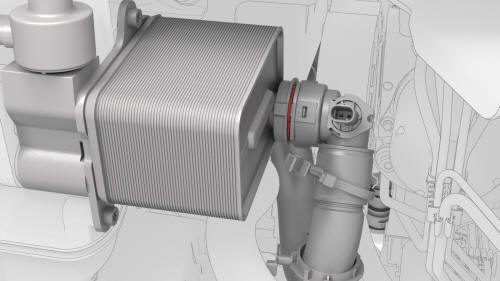
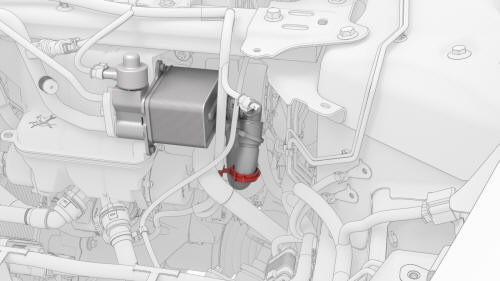
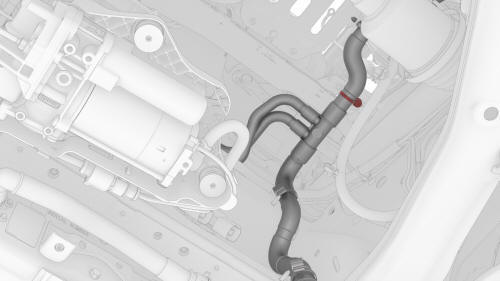
- Release the clip that connects the hose to the chiller and EXV assembly, and then disconnect the hose from the chiller.
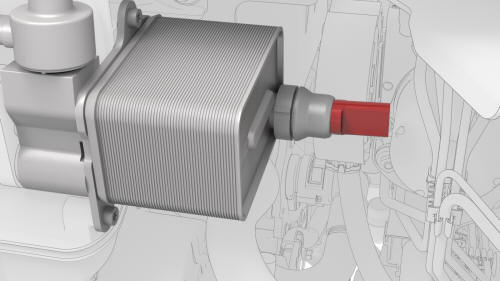
- Plug the chiller coolant outlet.
- Place an absorbent towel under the car computer coolant connections, as shown.

- Release the clip that connects the LH car computer coolant hose to the car computer coolant port, and then disconnect the hose.
- Release the clip that connects the RH car computer coolant hose to the car computer coolant port, and then disconnect the hose.
- Plug the car computer coolant ports.
- Fully raise the vehicle, and then position a coolant drain container underneath the LH front side of the HV battery.
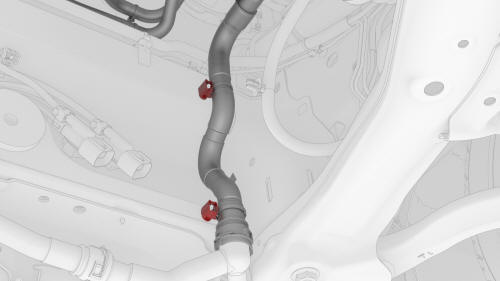
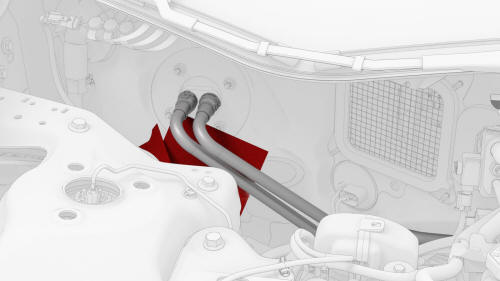
- Release the clips that attach the chiller-car computer and HV battery supply manifold hose to the vehicle.
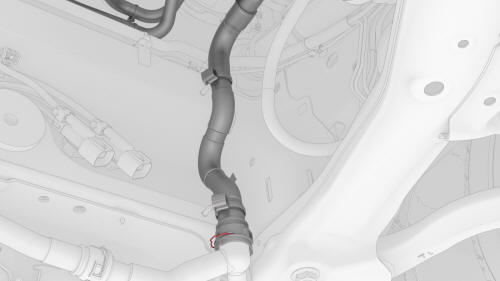
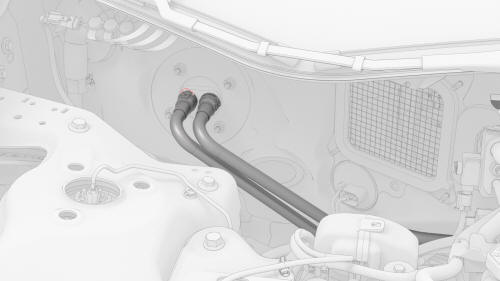
- Release the clip that connects the chiller-car computer and HV battery supply manifold hose to the HV battery supply manifold.
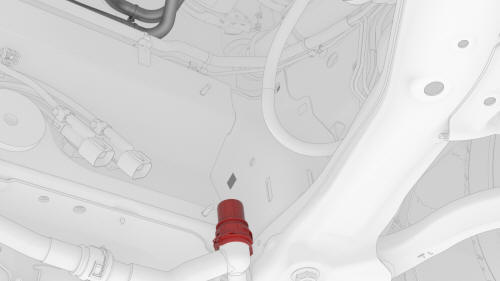
- Plug the HV battery supply manifold.
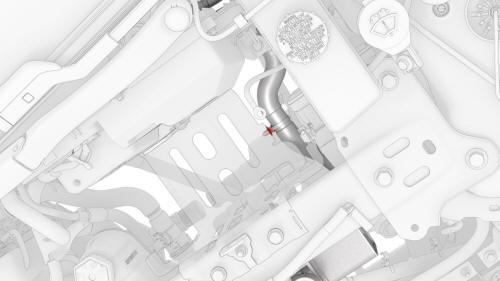
- Release the clip that attaches the chiller-car computer and HV battery supply manifold hose to the 12V battery bracket.
- Release the clip that attaches the chiller-car computer and HV battery supply manifold hose to the 12V battery beam.
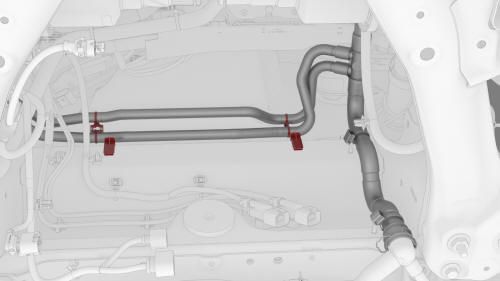
- Release the clips that attach the chiller-car computer and HV battery supply manifold hose to the vehicle.
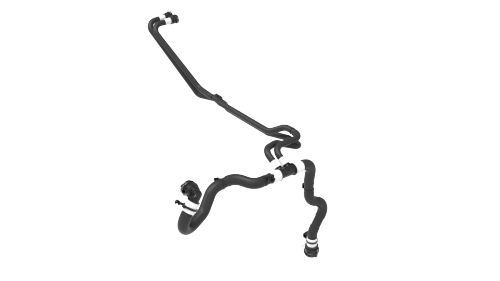
- Remove the chiller-car computer and HV battery supply manifold hose from
the vehicle.
Install
Installation procedure is the reverse of removal.
READ NEXT:
 Hose - Return - HV Battery (Remove and Replace)
Remove
Remove the HV battery. See HV Battery (RWD) (Remove and Install).
Release the clip and disconnect the RH inner HV battery return hose
fitting from the RH end of the HV battery platter
Hose - Return - Powertrain (Remove and Replace)
Remove
Remove the HV battery. See HV Battery (RWD) (Remove and Install).
Release the clips (x5) that attach the powertrain return (lower) hose to
the RH side of the HV battery, and remove the
Hose - Supply - Powertrain (Remove and Replace)
Remove
Remove the HV battery. See HV Battery (RWD) (Remove and Install).
Release the clip and disconnect the powertrain supply hose fitting from
the RH underside of the penthouse.
Releas
SEE MORE:
Bracket - Taillight - LH (Remove and Replace)
Remove
Remove the 2nd row lower seat cushion.
Open the trunk and remove the LH liftgate stop.
Remove the trunk floor trim.
Remove the trunk sill trim.
Remove the LH 2nd row seat side bolster.
Remove the LH 2nd row seatback.
Remove the RH 2nd row seat side bolster
Remove the RH 2nd row
Cooling System (Partial Refill and Bleed)
DRAFT
Warning:
This procedure was derived from pre-production computer models, and
might not reflect the real-world situation. Warnings and cautions might be
missing. Follow safety requirements and use extreme caution when working on or
near high voltage systems and components
Procedure
Use To
© 2019-2025 Copyright www.tmodel3.com
