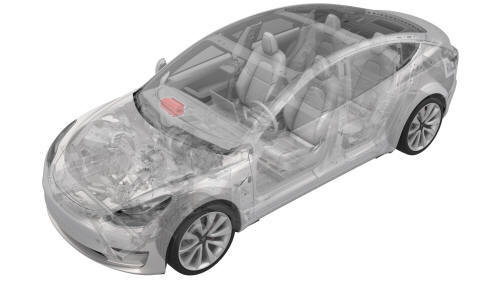
Tesla Model 3: Airbag - Front Passenger (Remove and Install)
Tesla Model 3 2017-2026 Service Manual / Safety and Restraint / Airbags / Airbag - Front Passenger (Remove and Install)
DRAFT
Warning: This procedure was derived from pre-production computer models, and might not reflect the real-world situation. Warnings and cautions might be missing. Follow safety requirements and use extreme caution when working on or near high voltage systems and components.
Remove
- Remove the IP carrier. See IP Carrier (Remove and Replace).
- Apply pressure along the front edge of the airbag assembly, and while doing so, flex the IP passenger airbag surround to release each of the 6 airbag tabs from the IP carrier surround.
- Pivot the airbag up, unhook the 7 tabs at the rear of the airbag from
the IP carrier surround, and then remove the airbag from the IP carrier.
Install
- Insert the 7 tabs of the rear of the airbag into the matching openings of the IP carrier surround.
- Pivot the airbag into the IP carrier until the 6 tabs at the front of the airbag lock into place.
- Install the IP carrier. See IP Carrier (Remove and Replace).
READ NEXT:
 Airbag - Front Passenger (Remove and Replace)
DRAFT
Warning:
This procedure was derived from pre-production computer models, and
might not reflect the real-world situation. Warnings and cautions might be
missing. Follow safety requirements a
Airbag - Knee - Driver (Remove and Install)
Remove
Remove the LH center console side panel carpet. See Carpet - Side Panel
- Center Console - LH (Remove and Replace).
Disconnect 12V power. See 12V Power (Disconnect and Connect).
Remove
Airbag - Knee - Driver (Remove and Replace)
Note:
This procedure was formulated using a release candidate or production
model. Follow safety requirements and use extreme caution when working on or
near high-voltage systems and components.
SEE MORE:
Actuator - Latch - Hood - Primary (Remove and Replace)
Remove
Remove the rear underhood apron. See Underhood Apron - Rear (Remove and
Replace).
Remove the cabin intake duct. See Duct - Cabin Intake (Remove and
Replace).
Remove the hood latch cover. See Cover - Hood Latch (Remove and
Replace).
Remove the underhood storage unit. See Underhoo
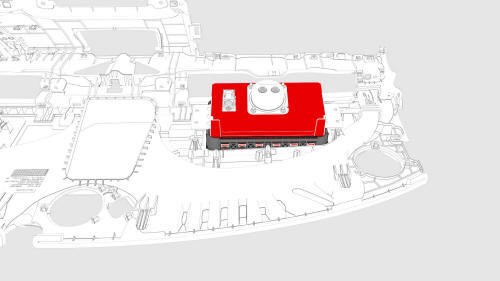
HV Battery (RWD) (Remove and Replace)
HV Battery (RWD) - Remove
SPECIAL TOOLS
Adapter, Lift Pad, Model 3 (1453419-00-A)
Key, Seat Belt Release, Model 3 (1133787-00-A)
ASY, Battery Table, Manual Lift (1020566-00-F)
Top Plate, Battery Table, Manual Lift (1020566-99-A)
Hoist, H-Frame EMEA (1129166-00-A)
Gantry, Adjustable, Aluminum (107336
© 2019-2026 Copyright www.tmodel3.com
