Tesla Model 3: Airbag - Knee - Driver (Remove and Install)
Tesla Model 3 2017-2026 Service Manual / Safety and Restraint / Airbags / Airbag - Knee - Driver (Remove and Install)
Remove
- Remove the LH center console side panel carpet. See Carpet - Side Panel - Center Console - LH (Remove and Replace).
- Disconnect 12V power. See 12V Power (Disconnect and Connect).
- Remove the driver footwell cover. See Cover - Footwell - Driver (Remove and Replace).
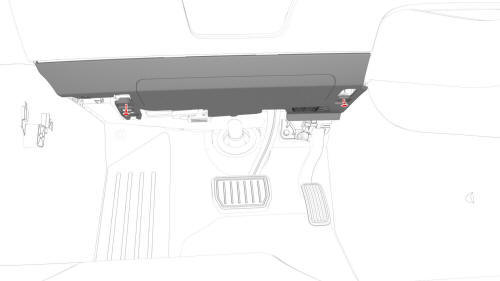
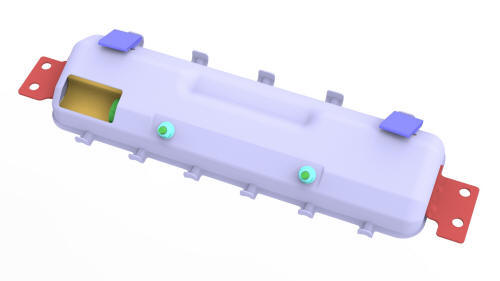
- Remove the T20 bolts (x2) that attach the driver knee airbag to the
vehicle.
.jpg) Torque 2 Nm
Torque 2 Nm
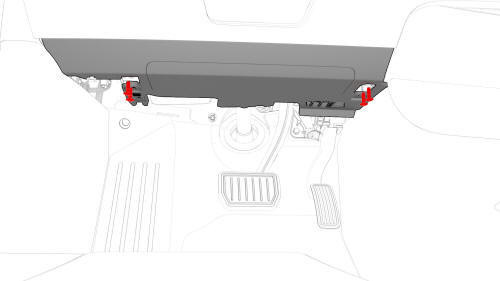
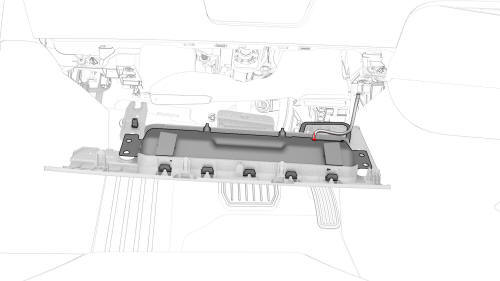
- Remove and discard the bolts (x4) that attach the driver knee airbag to
the instrument panel.
 Torque 8 Nm or
  Torque 8 Nm
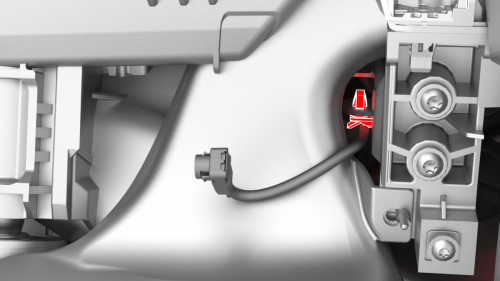
- Release the clip that attaches the driver knee airbag electrical harness to the lower instrument panel.
- Disconnect the wiring harness connector from the driver knee airbag, and
then remove the airbag from the vehicle.
Install
Installation procedure is the reverse of removal, except for the following:
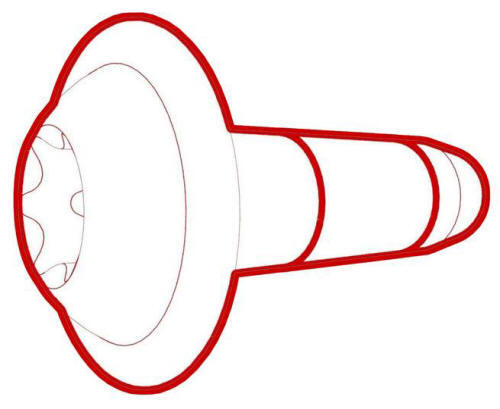
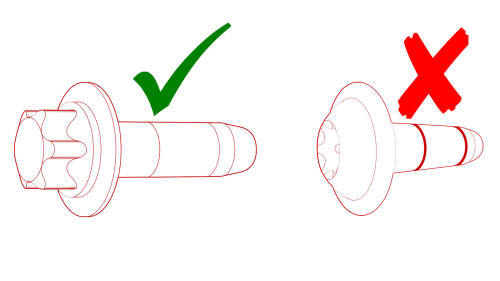
Note: Install new Torx External E10 bolts (x4) on the driver knee
air bag. Do not use Torx T30 bolts (pictured).
Caution: Replace all patchbolts.
Make sure that the clips on the rear edge of the driver knee airbag cover engage the IP carrier.
READ NEXT:
 Airbag - Knee - Driver (Remove and Replace)
Note:
This procedure was formulated using a release candidate or production
model. Follow safety requirements and use extreme caution when working on or
near high-voltage systems and components.
Airbag - Knee - Front Passenger (Remove and Replace)
Remove
Remove the 2nd row lower seat cushion. See Seat Cushion - Lower - 2nd
Row (Remove and Replace).
Remove the rear underhood apron. See Underhood Apron - Rear (Remove and
Replace).
Disco
Airbag - Side - Driver (Remove and Replace)
DRAFT
Warning:
This procedure was derived from pre-production computer models, and
might not reflect the real-world situation. Warnings and cautions might be
missing. Follow safety requirements a
SEE MORE:
HV Battery (Dual Motor) (Remove and Install)
HV
Battery (Dual Motor) - Remove
SPECIAL TOOLSAdapter, Lift Pad, Model 3 (1453419-00-A)Key, Seat Belt Release, Model 3 (1133787-00-A)
ASY, Battery Table, Manual Lift (1020566-00-F)Top Plate, Battery Table, Manual Lift (1020566-99-A)
Hoist, H-Frame EMEA (1129166-00-A)Kit, Alignment
Platter Enclosure Coolant (Drain and Refill)
SPECIAL TOOLS
Drive Unit Pressure Test Fixture (1053600-00-C)
Kit, Coolant Leak Test Adapters, Model 3 (1132185-00-B)
Kit, Coolant Drain & Fill Adapters, M3 (1133843-00-A)
Kit, Svc Plug, Cooling Hose, Model 3 (1135762-00-A)
Kit, Battery Coolant Drain and Fill (GSN-TL-000564)
Drain
Disconnect 1
© 2019-2026 Copyright www.tmodel3.com
