Tesla Model 3: Air Distribution
Tesla Model 3 2017-2026 Service Manual / Thermal Management / Air Distribution
Active Grille Shutter (Remove and Replace)
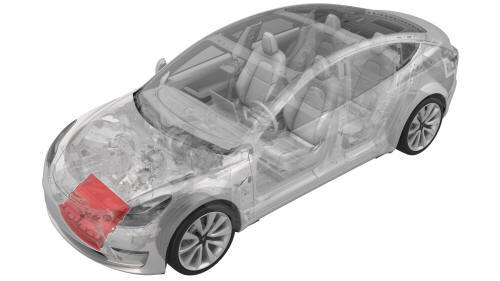
Remove
- Remove the cooling fan module. See Module - Cooling Fan (Remove and Install).
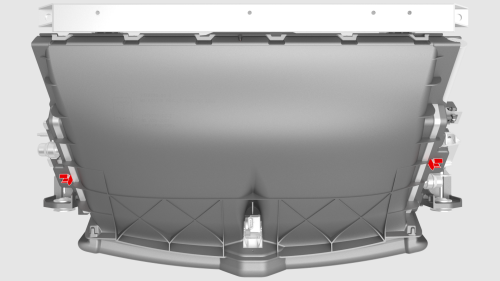
- Release the side clips that attach the active grille shutter to the condenser fan module.
- Release the lower clips that attach the active grille shutter to the bottom of the condenser fan module.
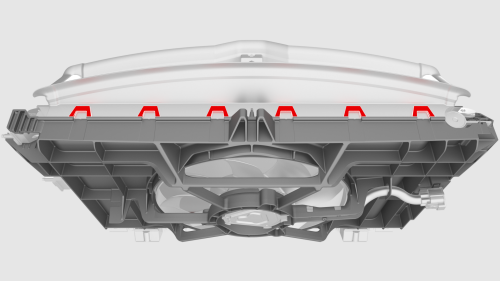
Note: Make sure that the active grille shutter assembly is push up and away from the cooling fan module.
- Release the upper clips that attach the active grille shutter to the top of the condenser fan module.
- Lift the active grille shutter up, and then remove the active grille shutter from the condenser fan module.
Install
- Position the active grille shutter onto the cooling fan module.
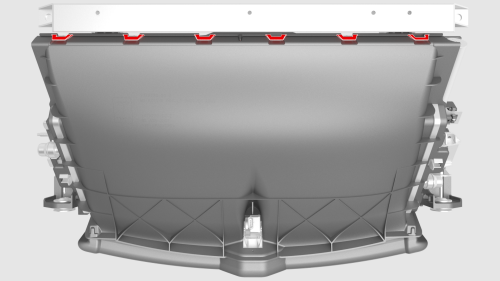
- Secure the lower clips (x6) that attach the active grille shutter to the cooling fan module.
- Secure the side clips that attach the active grille shutter to the cooling fan module.
- Secure the upper clips (x6) that attach the active grille shutter to the condenser fan module.
- Install the cooling fan module. See Module - Cooling Fan (Remove and Install).
READ NEXT:
 Airbag - Curtain - LH (Remove and Replace)
Airbag - Curtain - LH - Remove
DRAFT
Warning:
This procedure was derived from pre-production computer models, and
might not reflect the real-world situation. Warnings and cautions might be
missin
SEE MORE:
Tire - Front - LH (Dismount and Mount)
Warning:
Always read and understand the tire equipment operator's
manual before operating the tire changer.
Note: These instructions are based on the Hunter TC3900 tire
changer. Some steps might be different for other tire
changers. Refer to the
Condenser (Remove and Replace)
Remove
Remove the cooling fan module. See
Module - Cooling Fan (Remove and Install).
Release the clips (x14) that attach the active grille shutter to the
cooling fan module, and then remove the active grille shutter from the
module.
Remove the screws (x2) that attach the radiato
© 2019-2026 Copyright www.tmodel3.com
