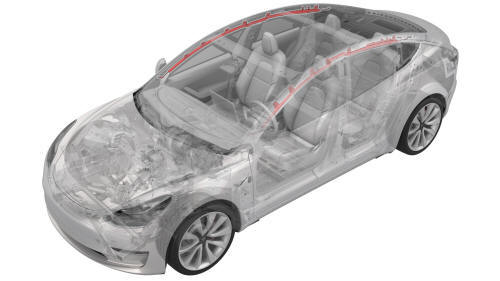
Tesla Model 3: Airbag - Curtain - LH (Remove and Replace)
DRAFT Warning: This procedure was derived from pre-production computer models, and
might not reflect the real-world situation. Warnings and cautions might be
missing. Follow safety requirements and use extreme caution when working on or
near high voltage systems and components. Remove
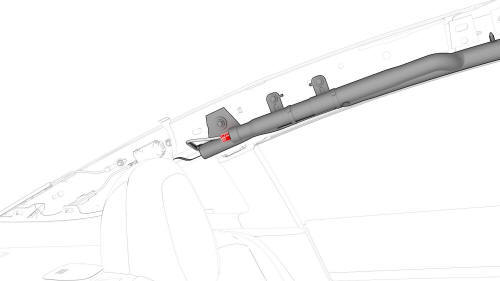
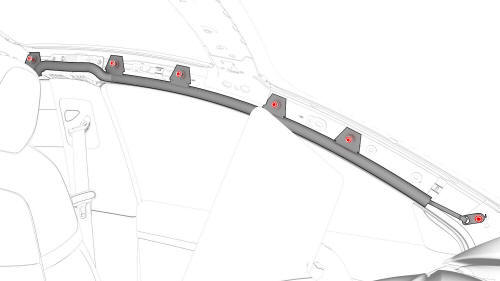
Warning: If any clips are damaged, the airbag must be replaced
Install
Warning: If any clips are damaged, the airbag must be replaced.
Airbag - Curtain - LH - Remove
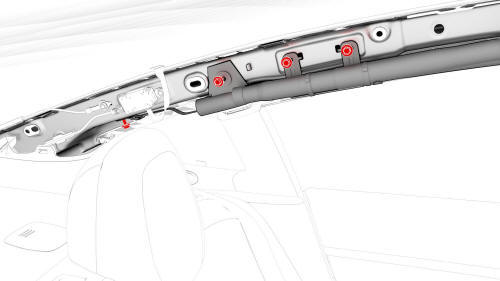
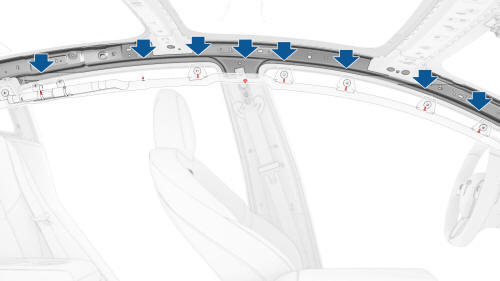
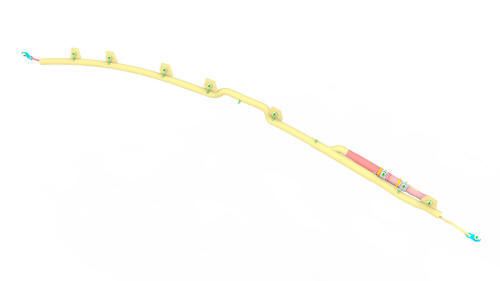
Airbag - Curtain - LH - Install
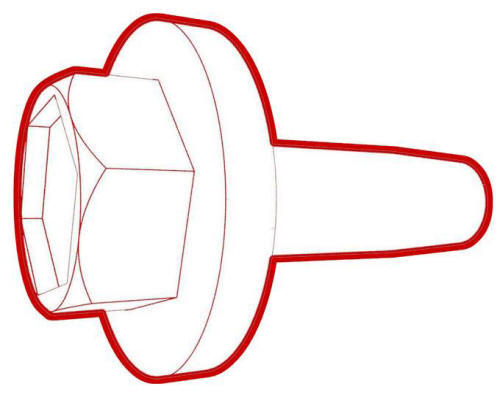 Torque
9 Nm
Torque
9 Nm
READ NEXT:
 Airbag - Driver (Remove and Replace)
Remove
Remove the 2nd row lower seat cushion. See Seat Cushion - Lower - 2nd
Row (Remove and Replace).
Remove the rear underhood apron. See Underhood Apron - Rear (Remove and
Replace).
Disco
SEE MORE:
Duct - Air Wave - LH (Remove and Replace)
Remove
Remove the IP carrier. See
IP Carrier (Remove and Replace).
Remove the screws (x2) that attach the LH air wave duct to the cross bar
beam, and then remove the duct from the vehicle.
Install
Install the LH air wave duct to the cross car beam, and then install the
screws (x
Airbag - Knee - Front Passenger (Remove and Replace)
Remove
Remove the 2nd row lower seat cushion. See Seat Cushion - Lower - 2nd
Row (Remove and Replace).
Remove the rear underhood apron. See Underhood Apron - Rear (Remove and
Replace).
Disconnect 12V power. See 12V Power (Disconnect and Connect).
Remove the passenger footwell cover. See C
