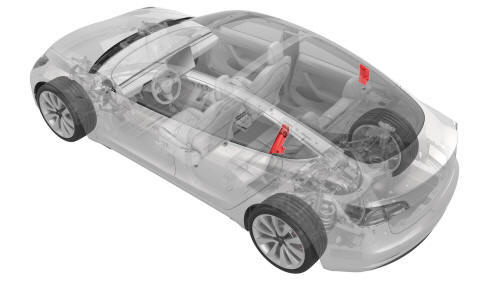
Tesla Model 3: Trim - C-Pillar - Upper - LH (Remove and Replace)
Tesla Model 3 2017-2026 Service Manual / Interior Trim / Pillar and Sill Trim / Trim - C-Pillar - Upper - LH (Remove and Replace)
Remove
- Remove the 2nd row lower seat cushion. See Seat Cushion - Lower - 2nd Row (Remove and Replace).
- Remove the LH 2nd row seat side bolster. See Bolster - Side - Seat - 2nd Row - LH (Remove and Replace).
- Remove the LH side rail trim. See Trim - Side Rail - LH (Remove and Replace).
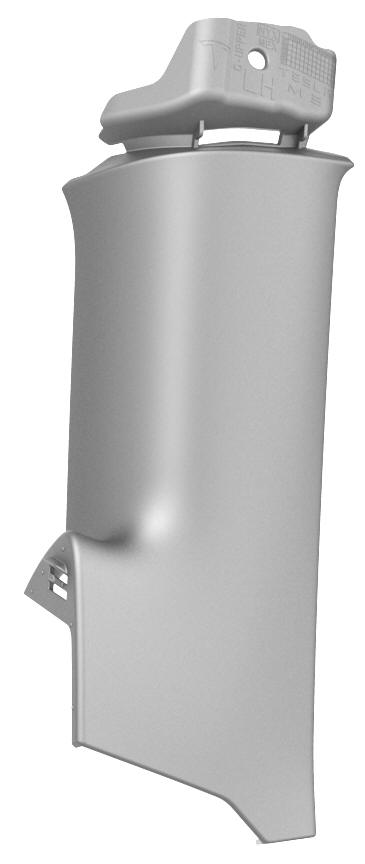
- Release the clips that attach the upper C-pillar trim, and then remove the trim from the vehicle.
.png) Tip:
Pull outward at the lower section of the upper C-pillar trim until both clips
release, and then move the trim slightly downwards to remove the trim from the
vehicle.
Tip:
Pull outward at the lower section of the upper C-pillar trim until both clips
release, and then move the trim slightly downwards to remove the trim from the
vehicle.
Note: Remove any remaining LH upper C-pillar trim clips from the LH
C-pillar, and if the LH upper C-pillar trim is to be later installed, remove all
clips from the trim.
Install
- If reusing the same LH upper C-pillar trim, install new clips onto the trim.
- Install the LH upper C-pillar trim by sliding it under the side curtain airbag, and then align the upper clip. Secure the trim with clips (x2)
- Install the LH side rail trim. See Trim - Side Rail - LH (Remove and Replace).
- Install the LH 2nd row seat side bolster. See Bolster - Side - Seat - 2nd Row - LH (Remove and Replace).
- Install the 2nd row lower seat cushion. See Seat Cushion - Lower - 2nd Row (Remove and Replace).
READ NEXT:
 Trim - Side Rail - LH (Remove and Install)
Remove
Open the LH rear door.
Release the push clips (x2) that attach the LH side rail trim to the LH
side rail.
Tip:
Release the top clip first (closest to the coat hanger) and work t
Trim - Side Rail - LH (Remove and Replace)
Remove
Remove the LH side rail trim. See
Trim - Side Rail - LH (Remove and Install).
Release the clips that attach the old LH side rail tethers to the LH
side rail, and then remove and d
Trim - Sill Panel - Rear - LH (Remove and Replace)
Remove
Open all doors.
Lower all windows.
Remove the 2nd row lower seat cushion. See
Seat Cushion - Lower - 2nd Row (Remove and Replace).
Remove the LH 2nd row seat side bolster. See
Bolster
SEE MORE:
Cover - Airbag - Knee - Front Passenger (Remove and Replace) - Install
Install
Install the passenger knee airbag into the airbag cover by installing
the rear tabs first, and then press down against the airbag while pushing
upwards on the edge of the cover.
Install the electrical connector to the airbag.
Caution:
Support the front passenger knee airbag
Sensor - Radar - Front (Remove and Replace)
Remove
Remove the front fascia. See Fascia - Front (Remove and Install).
Release the clip that attaches the front radar sensor wiring harness to
the front end carrier.
Disconnect the electrical harness connector from the radar sensor.
Release the clips that attach the radar sens
© 2019-2026 Copyright www.tmodel3.com
