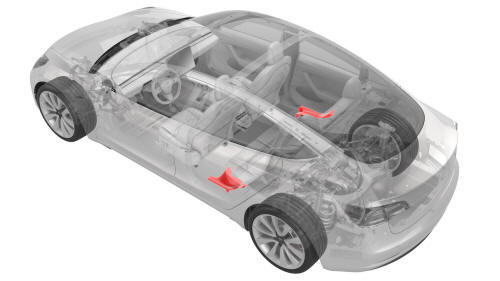
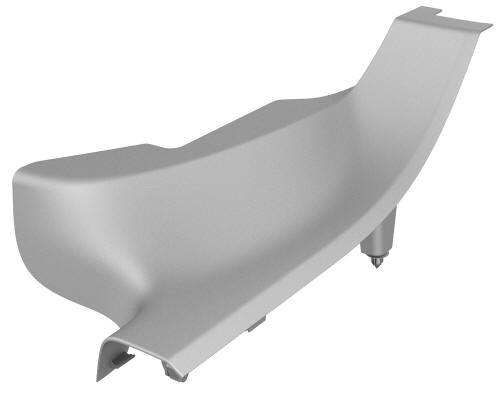
Tesla Model 3: Trim - Sill Panel - Rear - LH (Remove and Replace)
Tesla Model 3 2017-2026 Service Manual / Interior Trim / Pillar and Sill Trim / Trim - Sill Panel - Rear - LH (Remove and Replace)
Remove
- Open all doors.
- Lower all windows.
- Remove the 2nd row lower seat cushion. See Seat Cushion - Lower - 2nd Row (Remove and Replace).
- Remove the LH 2nd row seat side bolster. See Bolster - Side - Seat - 2nd Row - LH (Remove and Replace).
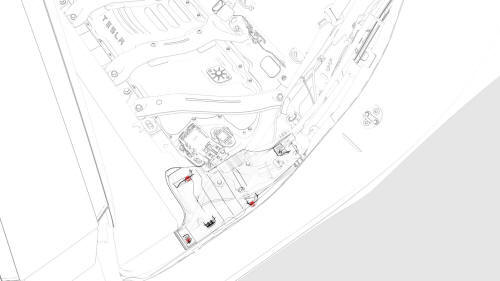
- Pull upward at the lower corner of the rear LH sill panel trim to release clips that attach the rear LH sill panel trim to the lower C-pillar, and then remove the sill panel trim from the vehicle.
Note: Remove any remaining rear LH sill panel trim clips from the
LH C-pillar, and if the rear LH sill panel trim is to be later installed, remove
all clips from the trim.
Install
Installation procedure is the reverse of removal, except for the following:
- If reusing the same rear LH sill panel trim, install new clips onto the trim.
- Align the guiding tab to the slot, and then push downwards to engage the clips.
- Make sure that the seal sits overlap the trim.
READ NEXT:
 Armrest - Center Console (Remove and Replace)
Remove
Remove and attach the customer's belongings from the armrest, if needed.
Lower all the windows, and then move the LH and RH front seats forward.
Remove the center console lower rear pane
Carpet - Side Panel - Center Console - LH (Remove and Replace)
Remove
Note: Although the LH side is described, the procedure is the same
for the RH side.
Move the front LH front seat fully rearward.
Remove the front LH floormat from the vehicle.
Rele
SEE MORE:
Locking Devices
General
Always replace locking devices with ones of the same design.
Caution: Do not use impact tools on fasteners that are threaded into
aluminum components.
Locking Tabs and Washers
Always inspect locking tabs and washers. Do not reuse, if damaged.
Pipe and Hose Unions
To prevent rotational damag
Keys
Three Types of Keys
Model 3 supports three types of keys:
Authenticated phone - You can set up
your personal smartphone to
communicate with Model 3 using
Bluetooth. Supports automatic locking
and unlocking as well as several other
functions using the Tesla mobile app.
Key card - Tesl
© 2019-2026 Copyright www.tmodel3.com
