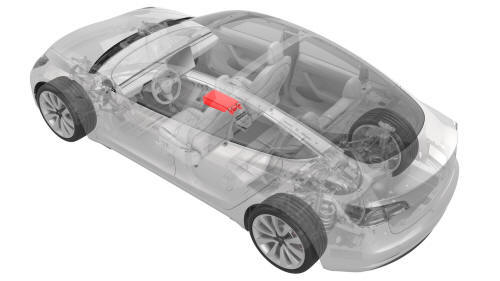
Tesla Model 3: Armrest - Center Console (Remove and Replace)
Tesla Model 3 2017-2026 Service Manual / Interior Trim / Center Console / Armrest - Center Console (Remove and Replace)
Remove
- Remove and attach the customer's belongings from the armrest, if needed.
- Lower all the windows, and then move the LH and RH front seats forward.
- Remove the center console lower rear panel. See Panel - Lower Rear - Center Console (Remove and Replace).
- Remove the center console air vent panel. See Panel - Air Vent - Center Console (Remove and Replace).
- Remove the center console end panel. See End Panel - Center Console (Remove and Replace).
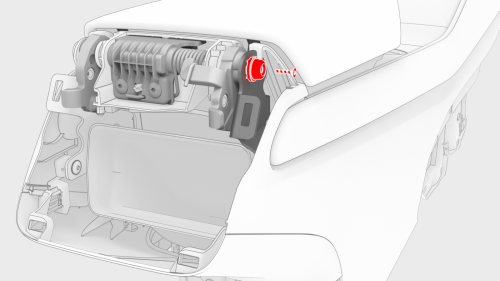
- Remove the screw that attaches the cap of the armrest hinge pin to the
center console, and then remove the cap.
 Torque 1.6 Nm
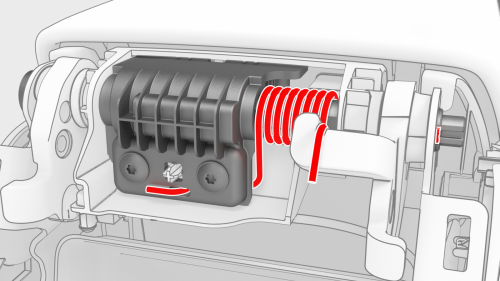
- Open the armrest, and then use a flat screwdriver to release the spring from the hook.
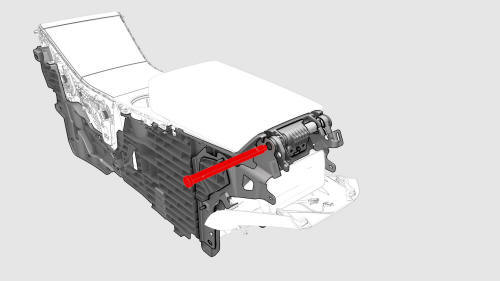
- Close the armrest, and then tap towards the LH side with a hammer and pin to remove the armrest hinge pin from the center console.
Note: The armrest must be closed before proceeding
- Raise the armrest and remove it from the center console.

Install
Installation procedure is the reverse of removal, except for the following:
- Before installing the armrest, make sure it is in the open position as it is fastened.
- Align the slot of the armrest hinge pin with the tab in the armrest pivot hole.
READ NEXT:
 Carpet - Side Panel - Center Console - LH (Remove and Replace)
Remove
Note: Although the LH side is described, the procedure is the same
for the RH side.
Move the front LH front seat fully rearward.
Remove the front LH floormat from the vehicle.
Rele
Center Console (Remove and Install)
Center Console (Remove and Install) - Remove
Remove
Remove and attach the customer's belongings from the center console, if
needed.
Remove the 2nd row lower seat cushion. See
Seat Cushion - L
SEE MORE:
Harness - Trunk (Remove and Replace)
Harness - Trunk- Remove
Remove
Remove the package tray trim. See Trim - Package Tray (Remove and
Install).
Disconnect the trunk electrical harness connectors.
Remove and discard the bolt that attaches the ground strap to the body.
Push the trunk electrical wiring harness through
General Precautions
Dangerous Substances
Model 3 vehicles contain many materials and liquids which, if not handled
with care, can be hazardous to both personal health and the environment.
Warning: Many liquids and substances are poisonous and should under
no circumstances be consumed; they should be kept as far as po
© 2019-2026 Copyright www.tmodel3.com
