Tesla Model 3: Carpet - Side Panel - Center Console - LH (Remove and Replace)
Tesla Model 3 2017-2026 Service Manual / Interior Trim / Center Console / Carpet - Side Panel - Center Console - LH (Remove and Replace)
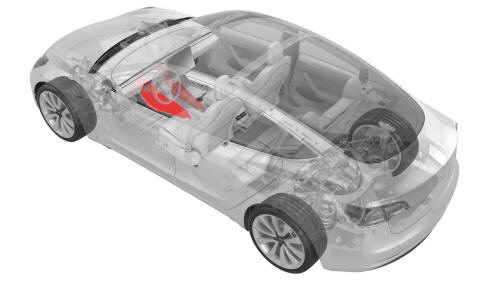
Remove
Note: Although the LH side is described, the procedure is the same for the RH side.
- Move the front LH front seat fully rearward.
- Remove the front LH floormat from the vehicle.
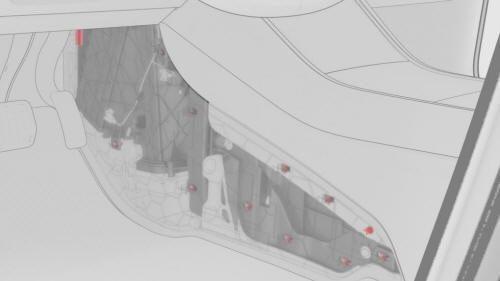
- Release the clips and tabs that attach the center console side panel carpet to the center console, and then remove the side panel from the vehicle.
Note: Release the rearmost clips first and work toward the front of
the vehicle. Transfer any clips that remain in the center console and the cross
car beam to the center console side panel carpet.

Install
Installation procedure is the reverse of removal, except for the following:
Align the tab in the front of the center console side panel carpet before attaching the clips.
READ NEXT:
 Center Console (Remove and Install)
Center Console (Remove and Install) - Remove
Remove
Remove and attach the customer's belongings from the center console, if
needed.
Remove the 2nd row lower seat cushion. See
Seat Cushion - L
SEE MORE:
Ground Strap - Front Drive Unit (Remove and Replace)
Remove
Raise and support the vehicle. See Raise Vehicle - 2
Post Lift.
Remove the 2nd row lower seat cushion. See Seat
Cushion - Lower - 2nd Row (Remove and Replace).
Remove the rear underhood apron. See Underhood Apron
Compressor (Remove and Replace)
Compressor- Remove
Warning:
Only technicians who have been trained in High Voltage Awareness are
permitted to perform this procedure. Proper personal protective equipment (PPE)
and insulating HV gloves with a minimum rating of class 0 (1000V) must be worn
at all times a high voltage cable, bus
© 2019-2026 Copyright www.tmodel3.com
