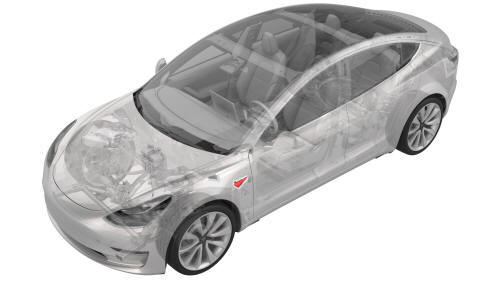
Tesla Model 3: Light - Side Repeater - Front - LH (Remove and Replace)
Tesla Model 3 2017-2026 Service Manual / Electrical / Exterior Lights / Light - Side Repeater - Front - LH (Remove and Replace)
Remove
- Raise and support the vehicle. See Raise Vehicle - 2 Post Lift.
- Apply protective tape to the LH fender around the front side repeater light.
- Remove the LH front wheel. See Wheel (Remove and Install).
- Remove the LH front wheel arch liner. See Wheel Arch Liner - Front - LH (Remove and Replace).
.jpg)
- Disconnect the electrical connectors from the front side repeater light.
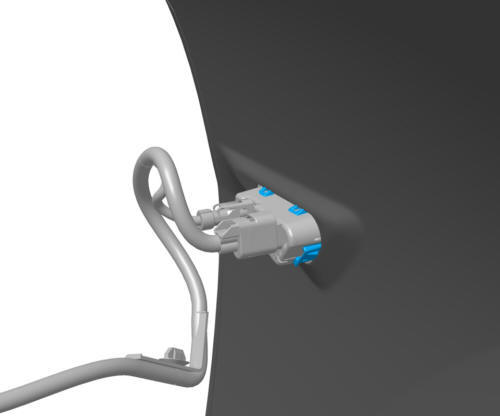
- Release the fixed tabs at the top that attach the front side repeater light to the fender, and then remove the lamp from the vehicle.
Note: The tabs must be removed from the front side repeater light in order to remove the light from the fender.
Note: The front side repeater light is one-time use only.
Discard the front side repeater light after removal.
Install
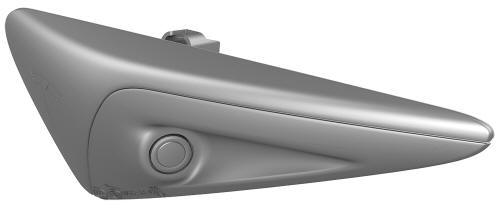
- Install the new front side repeater light into the fender by securing it with clips (x2).
Note: Make sure that the tabs on the front side repeater light are fully secured.
- Connect the electrical connectors for the front side repeater light.
- Remove the protective tape from the LH fender around the front side repeater light.
- Install the LH front wheel arch liner. See Wheel Arch Liner - Front - LH (Remove and Replace)
- Install the LH front wheel. See Wheel (Remove and Install).
- Connect a laptop with Toolbox Web to the vehicle.
- Click the Clear Calibration Repeaters button.
- Select Service Tools from the list under the Dashboard tab.
- Select DAS Image Capture.
Note: The vehicle must be unoccupied for the ride height to maintain specifications
- Verify that all cameras are displaying images properly in Toolbox Web.
- Disconnect the laptop from the vehicle.
READ NEXT:
 Light - Turn Signal / Fog - Front - LH (Remove and Replace)
Remove
Remove the LH front wheel. See
Wheel (Remove and Install).
Remove the LH front wheel arch liner. See
Wheel Arch Liner - Front - LH (Remove and Replace).
Disconnect the electrical conn
Taillight - LH (Remove and Replace)
Taillight - LH- Remove
SPECIAL TOOLS
SKT, BUMP STOP, MDL 3 (1460222-00-B)
Remove
Remove the 2nd row lower seat cushion. See
Seat Cushion - Lower - 2nd Row (Remove and Replace).
Open the trunk,
SEE MORE:
Handle - Exterior Release - Door - Front - LH (Remove and Replace)
Warning: The side impact airbag deployment depends on the front door
sensor's ability to detect a side impact from air pressure. Make sure that there
are no uncovered holes in the front door shells. Additionally, always reinstall
plugs or tape when servicing or inspecting the front doors and t
Valance - Front Fascia (Remove and Replace)
Remove
Remove the front aero shield panel.
Release the clips (x2) that attach the valance to the stabilizer bar
brackets.
Remove the push clips (x4) that attach the LH and RH sides of the
valance to the wheel liners.
Note: Remove the outer clips as necessary to allow for easier
ac
© 2019-2026 Copyright www.tmodel3.com
