Tesla Model 3: Seat Back - 2nd Row - LH (Remove and Install)
Tesla Model 3 2017-2026 Service Manual / Seats / 2nd Row Seat Assemblies and Hardware / Seat Back - 2nd Row - LH (Remove and Install)
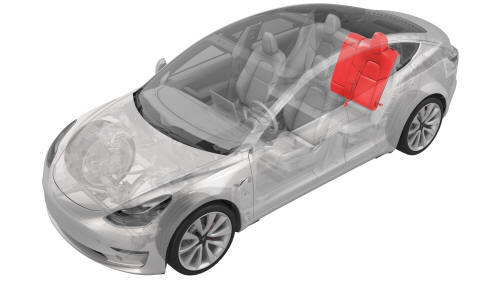
Remove
- Remove the 2nd row lower seat cushion. See Seat Cushion - Lower - 2nd Row (Remove and Replace).
- Remove the LH 2nd row seat side bolster. See Bolster - Side - Seat - 2nd Row - LH (Remove and Replace).
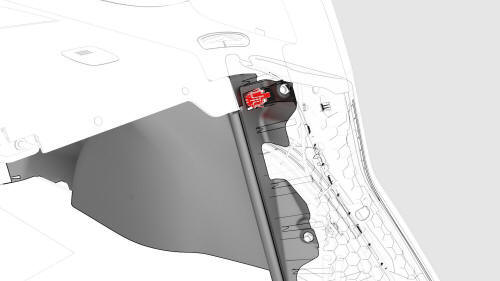
- Release the clips that attach the bolster bracket, and remove the bracket from the vehicle.
- Remove the LH 2nd row buckle. See Buckle - 2nd Row - LH (Remove and Replace).
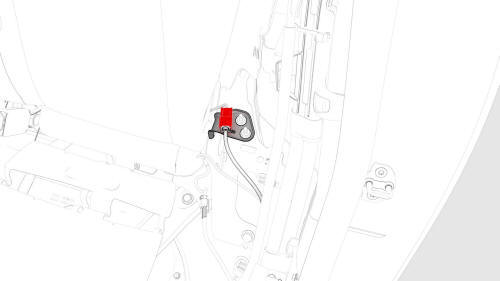
- Disconnect the electrical harness from the heated seat connector for the LH 2nd row seat back assembly, if equipped.
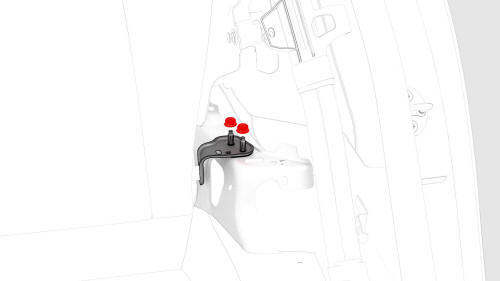
- Remove the nuts that attach the LH seat back assembly hinge bracket to
the body.
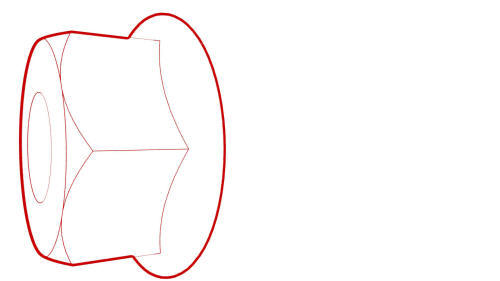 Torque 18 Nm
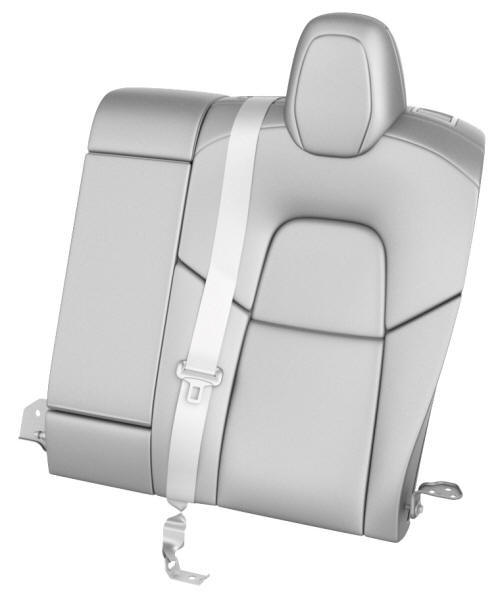
 - Lift the left side of the LH seat back assembly up, move forward and to the left, and pull the inner pivot out of the RH seat back assembly.
- Remove the LH seat back assembly from the vehicle.
Install
Installation procedure is the reverse of removal, except for the following:
Caution:
Replace all patchbolts.
READ NEXT:
 Seat Back - 2nd Row - RH (Remove and Install)
Remove
Remove the 2nd row lower seat cushion. See
Seat Cushion - Lower - 2nd Row (Remove and Replace).
Remove the RH 2nd row seat side bolster. See
Bolster - Side - Seat - 2nd Row - LH (Remove an
 Seat Cushion - Lower - 2nd Row (Remove and Replace)
Remove
Move the driver seat and the front passenger seat fully forward.
Note: Note the position of the driver seat and the front passenger
seat prior to movement so that both seats are restored
 Striker - Seat Back - 2nd Row - LH (Remove and Replace)
Remove
Remove the 2nd row lower seat cushion. See
Seat Cushion - Lower - 2nd Row (Remove and Replace).
Remove the LH and RH 2nd row seat side bolsters. See
Bolster - Side - Seat - 2nd Row - LH
SEE MORE:
 Car Computer (Remove and Replace)
Car Computer - Remove
SPECIAL TOOLS
Plug,Car Computer Fluid Port (1119171-00-A)
Kit, Battery Coolant Drain & Fill (1065131-00-A)
Kit, Computer Purge Adapters, Model 3 (1473522-00-A)
Kit, Svc Plug, Cooling Hose, Model 3 (1135762-00-A)
Remove
If "Tow Mode" is active, then disable "Tow Mode."
 Module - Cooling Fan (Remove and Replace)
Remove
Remove the cooling fan module. See Module - Cooling Fan (Remove and
Install).
Release the clips (x14) that attach the active grille shutter to the
cooling fan module, and then remove the active grille shutter from the
module.
Remove the screws (x2) that attach the radiat
© 2019-2026 Copyright www.tmodel3.com

