Tesla Model 3: Seat Back - 2nd Row - RH (Remove and Install)
Tesla Model 3 2017-2026 Service Manual / Seats / 2nd Row Seat Assemblies and Hardware / Seat Back - 2nd Row - RH (Remove and Install)
Remove
- Remove the 2nd row lower seat cushion. See Seat Cushion - Lower - 2nd Row (Remove and Replace).
- Remove the RH 2nd row seat side bolster. See Bolster - Side - Seat - 2nd Row - LH (Remove and Replace).
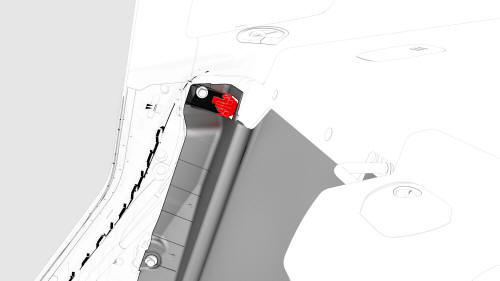
- Release the clips that attach the bolster bracket, and the remove the bracket from the vehicle.

- Disconnect the electrical harness from the heated seat connector for the RH 2nd row seat back, if equipped.
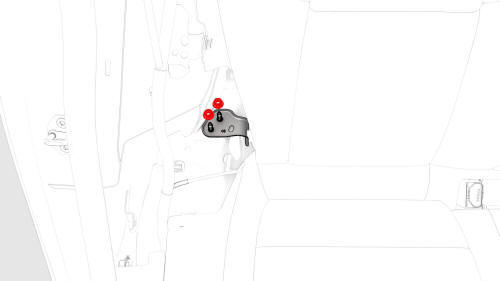
- Remove the nuts that attach the RH seat back hinge bracket to the body.
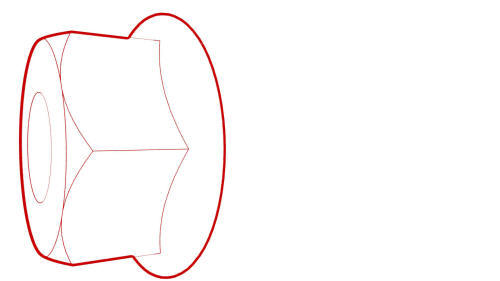 Torque 18 Nm
 - Lift the right side of the RH seat back assembly up, move forward and to the right, and pull the inner pivot out of the LH seat back assembly.
- Remove the RH 2nd row seat back from the vehicle.
Install
Installation procedure is the reverse of removal.
READ NEXT:
 Seat Cushion - Lower - 2nd Row (Remove and Replace)
Remove
Move the driver seat and the front passenger seat fully forward.
Note: Note the position of the driver seat and the front passenger
seat prior to movement so that both seats are restored
Striker - Seat Back - 2nd Row - LH (Remove and Replace)
Remove
Remove the 2nd row lower seat cushion. See
Seat Cushion - Lower - 2nd Row (Remove and Replace).
Remove the LH and RH 2nd row seat side bolsters. See
Bolster - Side - Seat - 2nd Row - LH
Striker - Seat Back - 2nd Row - RH (Remove and Replace)
Remove
Remove the 2nd row lower seat cushion. See
Seat Cushion - Lower - 2nd Row (Remove and Replace).
Remove the LH and RH 2nd row seat side bolsters. See
Bolster - Side - Seat - 2nd Row - LH
SEE MORE:
Module - TPMS (Sensor ID Learn)
SPECIAL TOOLS
TOOL, TPMS SERVICE,
ATEQ VT30 (1050759-00-A)
TOOL, TPMS SERVICE,
ATEQ VT36 (1050759-00-B)
Procedure
Review the TPMS
serv
Wheel (Remove and Install)
Caution:
Do not install base wheels onto vehicles with performance brakes, or
install performance wheels onto vehicles with base brakes. Base and performance
wheels have different offsets to accommodate base and performance brakes. Refer
to
Wheels for offset information.
Remove
Remove the wh
© 2019-2026 Copyright www.tmodel3.com
