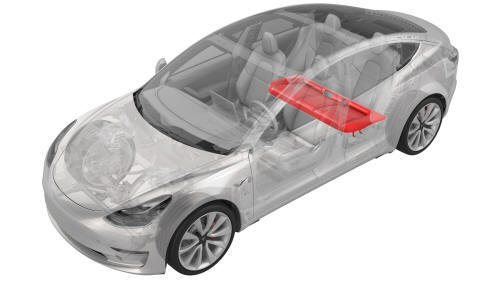
Tesla Model 3: Seat Cushion - Lower - 2nd Row (Remove and Replace)
Tesla Model 3 2017-2026 Service Manual / Seats / 2nd Row Seat Assemblies and Hardware / Seat Cushion - Lower - 2nd Row (Remove and Replace)
Remove
- Move the driver seat and the front passenger seat fully forward.
Note: Note the position of the driver seat and the front passenger seat prior to movement so that both seats are restored to their original position during installation.
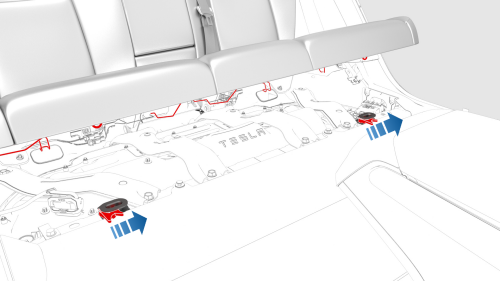
- While pressing the LH and RH tabs towards the LH side of the vehicle, lift the front edge of the seat cushion.
- Disconnect the electrical connectors on each end of the seat cushion,
and then remove the seat cushion from the vehicle.
Install
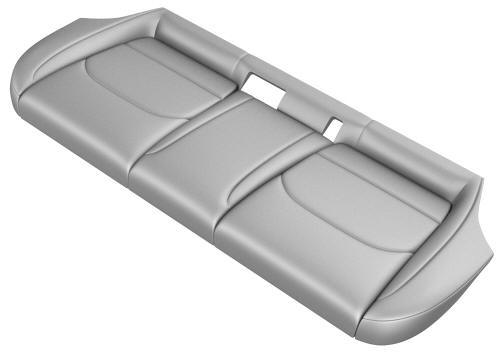
- Position the seat cushion in the vehicle.
- Connect the electrical connectors on each side of the seat cushion.
- Insert the seat belt buckles through the seat cushion holes.
- Slide the seat cushion inward, align the front guide tabs to the locking tabs, and then push the seat cushion into the tabs
- Make sure that the seat cushion is fully seated with a "push and pull" test near the tabs.
- Move the driver seat and the front passenger seat to their original position.
READ NEXT:
 Striker - Seat Back - 2nd Row - LH (Remove and Replace)
Remove
Remove the 2nd row lower seat cushion. See
Seat Cushion - Lower - 2nd Row (Remove and Replace).
Remove the LH and RH 2nd row seat side bolsters. See
Bolster - Side - Seat - 2nd Row - LH
Striker - Seat Back - 2nd Row - RH (Remove and Replace)
Remove
Remove the 2nd row lower seat cushion. See
Seat Cushion - Lower - 2nd Row (Remove and Replace).
Remove the LH and RH 2nd row seat side bolsters. See
Bolster - Side - Seat - 2nd Row - LH
SEE MORE:
Cover - Tow Hook (Remove and Replace)
Remove
Place two thumbs at the 1 and 2 o'clock positions, resting your knuckles on
the bumper fascia surface to support your hand position. Use both thumbs to
apply force on the outer edge of the cover.
Busbar - DCDC Ground (Remove and Replace)
Remove
Disconnect 12V power. See
12V Power (Disconnect and Connect).
Remove and discard the nut that attaches the DCDC ground busbar to the
HV battery at the DCDC passthrough.
Remove the bolt that attaches the DCDC ground busbar to the body, and
then remove the DCDC ground busbar
© 2019-2026 Copyright www.tmodel3.com
