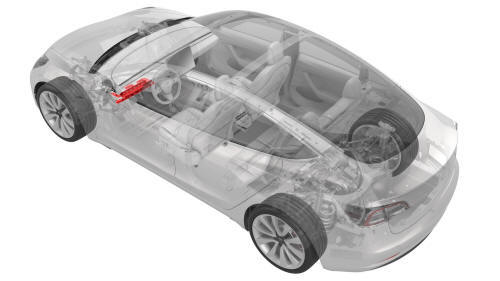
Tesla Model 3: Cover - Airbag - Knee - Driver (Remove and Replace)
Tesla Model 3 2017-2026 Service Manual / Instrument Panel / Cover - Airbag - Knee - Driver (Remove and Replace)
Note:
This procedure was formulated using a release candidate or production model. Follow safety requirements and use extreme caution when working on or near high-voltage systems and components.
Remove
- Remove the driver knee airbag.
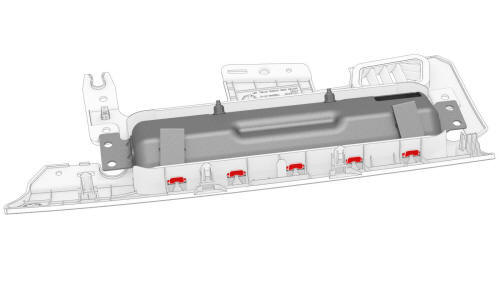
- Use a flat head screwdriver to apply pressure along the rear edge of the
airbag assembly, and while doing so, flex the knee airbag cover surround to
release each of the 5 airbag tabs from the cover.
Install
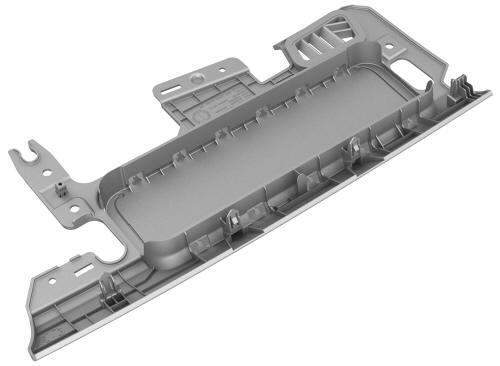
- Install the driver knee airbag into the cover.
Note: Push the tabs into the cover from the side facing the bulkhead, and then push down the remaining tabs into the cover until fully seated
- Pivot the airbag into the cover until the 5 tabs at the rear of the airbag lock into place
- Install the driver knee airbag assembly.
READ NEXT:
 Cover - Airbag - Knee - Front Passenger (Remove and Replace) - Remove
Remove
Disconnect 12V power. See
12V Power (Disconnect and Connect).
Remove the passenger footwell cover. See
Cover - Footwell - Passenger (LHD) (Remove and Replace).
Remove the T20 bolt
Cover - Airbag - Knee - Front Passenger (Remove and Replace) - Install
Install
Install the passenger knee airbag into the airbag cover by installing
the rear tabs first, and then press down against the airbag while pushing
upwards on the edge of the cover.
SEE MORE:
Glass - Backlight (Remove and Replace)
Glass - Backlight (Remove and Replace) - Remove
Remove
Release the clips that attach the screw covers to the LH and RH rear
coat hooks.
Remove the screws that attach the LH and RH rear coat hooks to the body.
Remove the package tray trim. See Trim - Package Tray (Remove and
Install).
Fascia - Rear - Upper (Remove and Replace)
Remove
Remove the rear fascia.
Remove all of the rear parking distance sensors.
Release the tabs that attach the LH and RH rear reflectors to the rear
fascia, and then remove the reflectors from the fascia.
Inside
Outside
Remove the bolts that attach the rear diffuser to the inn
© 2019-2026 Copyright www.tmodel3.com
