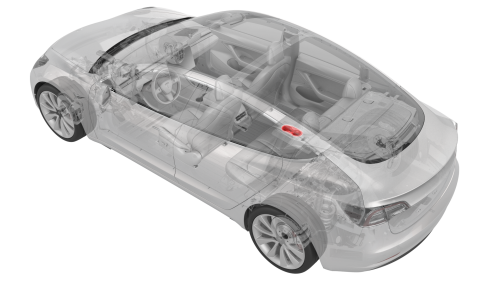
Tesla Model 3: Cup Holder - 2nd Row (Remove and Replace)
Tesla Model 3 2017-2026 Service Manual / Seats / 2nd Row Seat Covers Pads and Trims / Cup Holder - 2nd Row (Remove and Replace)
Remove
- Open the RH rear door.
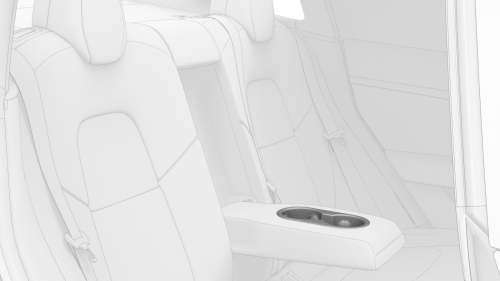
- Fold down the armrest.
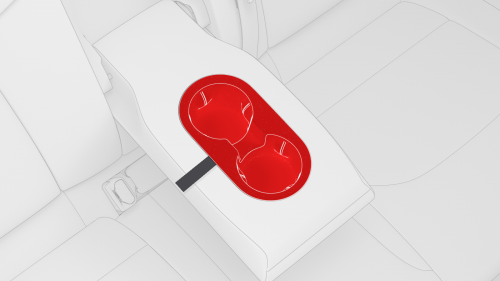
- Use a plastic trim tool to release the cup holder from the locking tabs.
- Lift up on the cup holder and remove it from the vehicle.
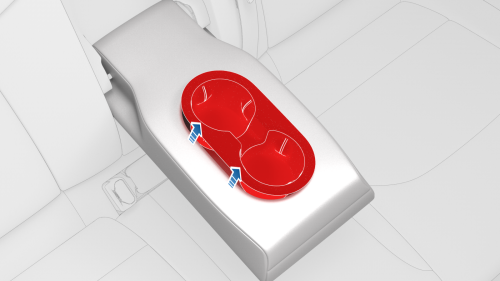
Install
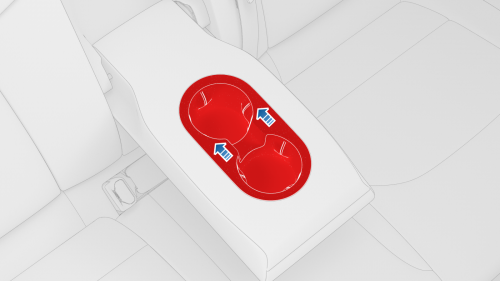
- Install a new cup holder into the armrest.
Note: Press firmly on the edges of the cup holder to engage the locking tabs.
- Return the armrest to the upright position
- Close the RH rear door
READ NEXT:
 Beam - Cross Car (Remove and Replace) - Remove
Remove
Remove the IP carrier. See
IP Carrier (Remove and Install).
Remove the LH air wave duct. See
Duct - Air Wave - LH (Remove and Replace).
Remove the LH footwell duct. See
Duct - Footwel
SEE MORE:
Duct - HVAC Plenum - Outer (Remove and Replace)
Remove
Remove the rear underhood apron. See
Underhood Apron - Rear (Remove and Replace).
Remove the cabin intake duct. See
Duct - Cabin Intake (Remove and Replace).
Release the clips that attach the outer HVAC plenum duct to the inner
HVAC plenum duct, and then remove the outer HVAC pl
Connectivity Board - Car Computer (Remove and Replace)
Note: This procedure was formulated using a release candidate or
production model. Follow safety requirements and use extreme caution when
working on or near high-voltage systems and components.
Remove
Remove the front passenger knee airbag. See Airbag - Knee - Front
Passenger (Remove and Re
© 2019-2026 Copyright www.tmodel3.com
