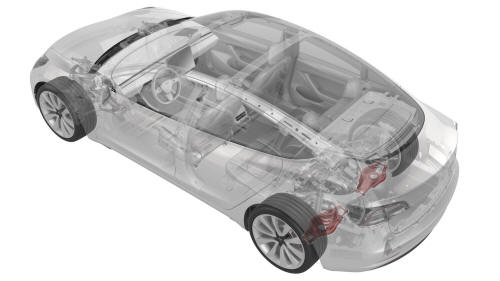
Tesla Model 3: Link - Aft - Lower - Rear - LH (Remove and Replace)
SPECIAL TOOLS
Tool, Spring Compressor, Hook, Model 3
(1135103-00-A)
Tool, Rear Ride Height Torque, Model 3
(1137855-00-A)
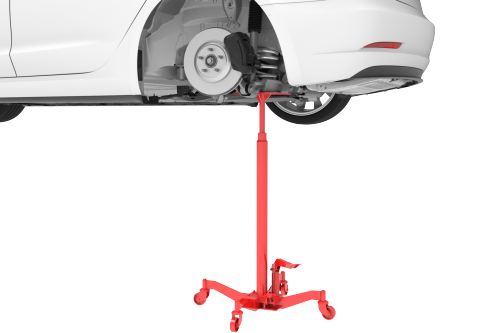
Remove
Install
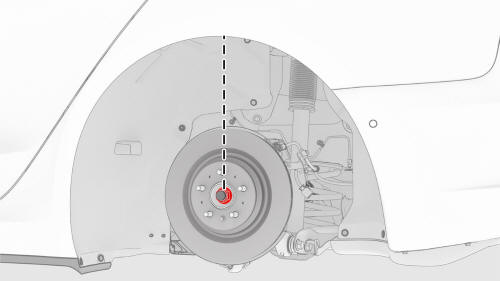
Note: Remove the lug nut previously installed
for early production vehicles.
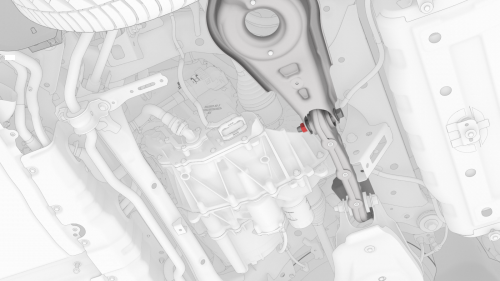
Tighten the bolt that attaches the LH rear lower aft
link to the subframe. Mark the bolt with a paint pen
after the bolt is tighten.
Link - Aft - Lower - Rear - LH - Remove
.png)
.jpg)
.jpg)
.jpg)
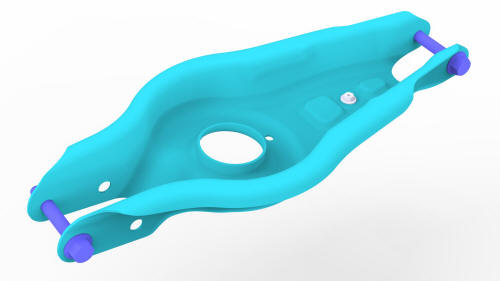
Link - Aft - Lower - Rear - LH - Install
.jpg)
.jpg) Torque 5 Nm
Torque 5 Nm
 Torque 115 Nm
Torque 115 Nm
Torque 115 Nm
 Torque 115 Nm
 Torque 115 Nm
 Torque 115 Nm
 Torque 115 Nm
Torque 5 Nm
READ NEXT:
 Link - Fore - Lower - Rear - LH (Remove and Replace)
Link - Fore - Lower - Rear - LH - Remove
SPECIAL TOOLS
Tool, Spring Compressor, Hook, Model 3
(1135103-00-A)
SEE MORE:
Airbag and Supplementary Restraint System (SRS) Precautions
General Precautions
The Supplementary Restraint System (SRS) includes airbags, pretensioners, and
other safety-related components. The SRS contains components which could be
potentially hazardous to the technician if not serviced and handled correctly.
Warning: Always follow these precautions and
Remove Dirt Inclusion
Apply isopropyl alcohol to the general area of the defect, and then wipe
the area with a clean microfiber towel.
While wearing a nitrile glove, run hand over the area around the dirt
inclusion and check for fine bumps in the paint.
If bumps are detected, perform clay treatment on the
