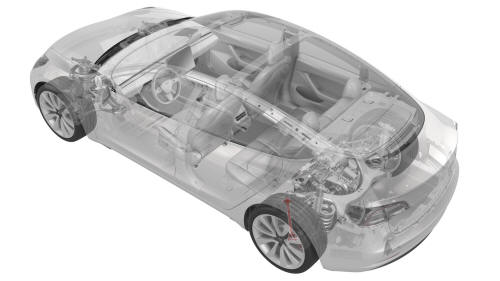
Tesla Model 3: Link - Fore - Lower - Rear - LH (Remove and Replace)
SPECIAL TOOLS
Tool, Spring Compressor, Hook, Model 3
(1135103-00-A)
Install
Note: Make sure that the support stand does not
block access to the spring compressor or
suspension bolts.
Note: Use the rear ride height torque gauge to
verify that the rear suspension is set to ride
height specifications and adjust the support
stand or spring compressor tool , if necessary.
Link - Fore - Lower - Rear - LH - Remove
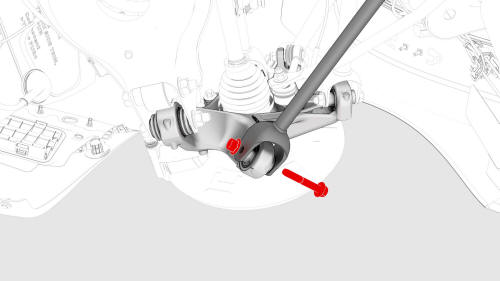
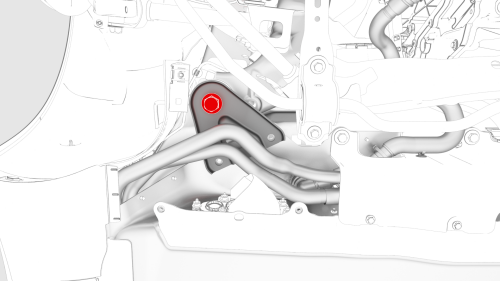
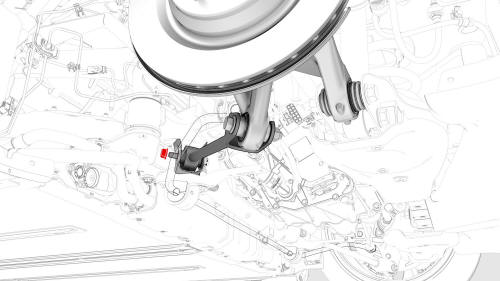
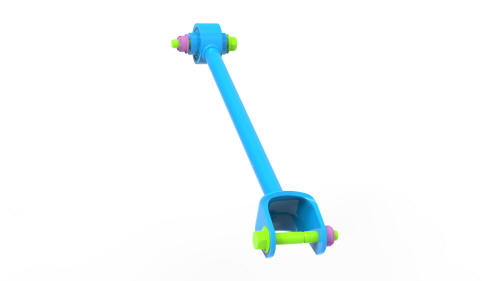
Link - Fore - Lower - Rear - LH - Install
 Torque 165 Nm
 Torque 30 Nm
.png)
.png)
.jpg)
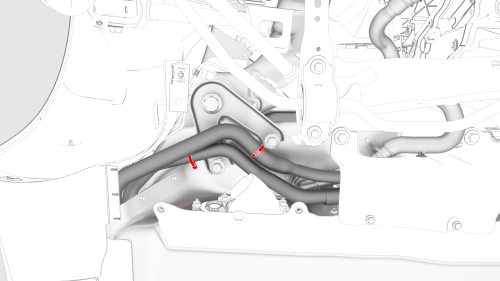
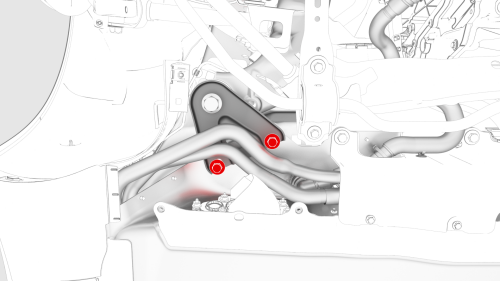
 Torque 76 Nm
READ NEXT:
 Link - Fore - Upper - Rear - LH (Remove and Replace)
SPECIAL TOOLS
Tool, Spring Compressor, Hook, Model 3 (1135103-00-A)
Remove
Remove the rear subframe assembly. See
Subframe Assembly - Rear (Remove and Install).
Remove the bolt and nut that
SEE MORE:
Vehicle Electrical Isolation Procedure
SPECIAL TOOLS
Insulation Multimeter, Fluke 1507 (1076921-00-B)
Test Probes, Slim, Fluke TP38 (1130480-00-A)
Warning: This procedure verifies that high voltage power is no
longer available to high voltage components (PTC heater, A/C compressor,
inverters, etc). Perform this procedure before servici
ABS Modulator (Remove and Replace)
ABS Modulator - Remove
Remove
Raise and support the vehicle. See Raise Vehicle - 2
Post Lift.
Remove the 2nd row lower seat cushion. See Seat
Cushion - Lower - 2nd Row (Remove and Replace).
Remo
