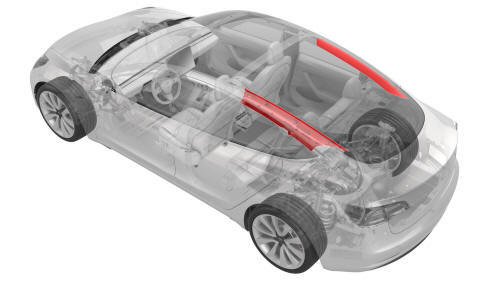
Tesla Model 3: Trim - Side Rail - LH (Remove and Replace)
Tesla Model 3 2017-2026 Service Manual / Interior Trim / Pillar and Sill Trim / Trim - Side Rail - LH (Remove and Replace)
Remove
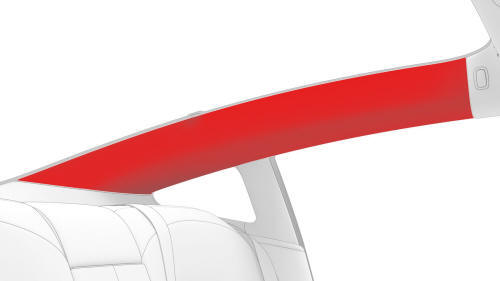
- Remove the LH side rail trim. See Trim - Side Rail - LH (Remove and Install).
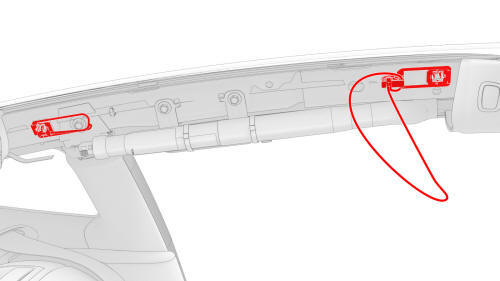
- Release the clips that attach the old LH side rail tethers to the LH
side rail, and then remove and discard the tethers from the vehicle.
Install
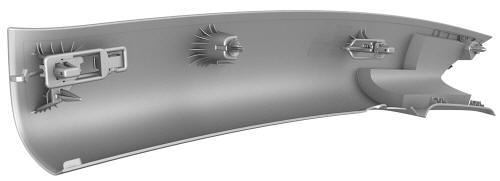
- If not pre-installed, install new push clips (x2) onto the new LH side rail trim.
- Remove the new side rail trim tether clips from the new LH side rail trim.
- Install the new side rail trim tether clips on the LH side rail.
Caution:
Do not remove the clips after they are fully seated on the LH side rail. The clips are one time use.
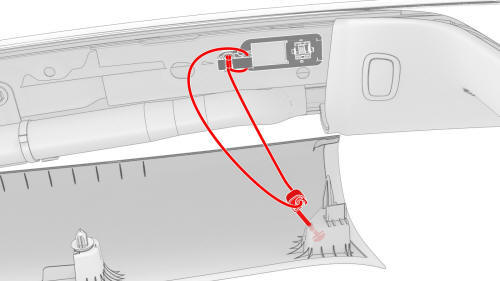
- Hook the LH side rail trim tethers (x2) on the LH side rail trim, and then position the side rail trim on the side rail.
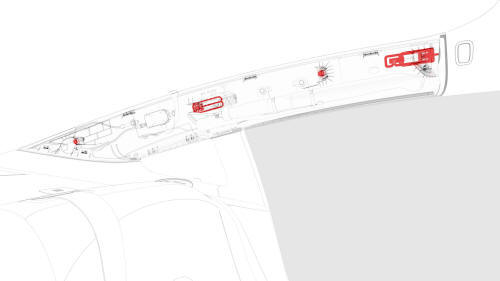
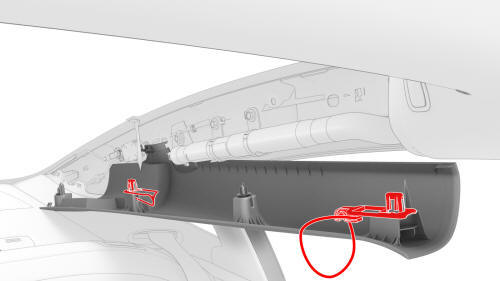
- Firmly fasten the push clips that attach the LH side rail trim to the LH side rail.
Note: Fasten the top clip first near the coat hanger, and work towards the trunk
Important: Make sure each clip makes an audible snap as they engage with the side rail. If there is no audible snap, the clip has not properly attached. Remove the side rail trim, inspect the clips, replace any damaged clips, and then re-install the trim.
READ NEXT:
 Trim - Sill Panel - Rear - LH (Remove and Replace)
Remove
Open all doors.
Lower all windows.
Remove the 2nd row lower seat cushion. See
Seat Cushion - Lower - 2nd Row (Remove and Replace).
Remove the LH 2nd row seat side bolster. See
Bolster
Armrest - Center Console (Remove and Replace)
Remove
Remove and attach the customer's belongings from the armrest, if needed.
Lower all the windows, and then move the LH and RH front seats forward.
Remove the center console lower rear pane
SEE MORE:
Troubleshooting Alerts
Charging equipment faultTry
different charging
equipment(CP_a004)
The charge port is unable to detect whether a
charge cable is inserted or the type of charge
cable connected.
If this alert appears while a charge cable is
connected, it should be determined whether
the issue is caused by the
Subframe Assembly - Rear - Remove
SPECIAL TOOLS
Fixture, Subframe, Model 3 (1099645-00-B)
Lifting Sling, Drive Unit, Model 3 (NA, APAC) (1130279-00-A)
Adapter, Subframe, Body Shop, Model 3 (1130481-00-A)
Tool, Hub Puller, Hydraulic (1096075-00-A)
Tool, Axle Extraction, Model 3 (1133386-00-A)
Lever Lock, HV Connector, Model 3 (1140
© 2019-2026 Copyright www.tmodel3.com
