Tesla Model 3: Brightwork - Upper - LH (Remove and Replace)
Tesla Model 3 2017-2026 Service Manual / Exterior Fittings / Exterior Trim / Brightwork - Upper - LH (Remove and Replace)
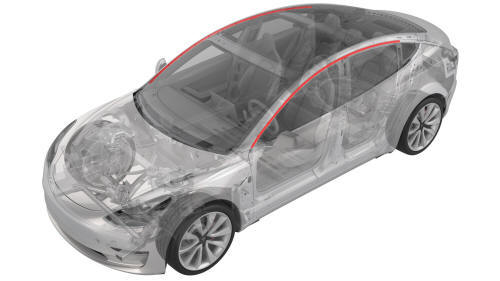
Remove
- Open the LH doors.
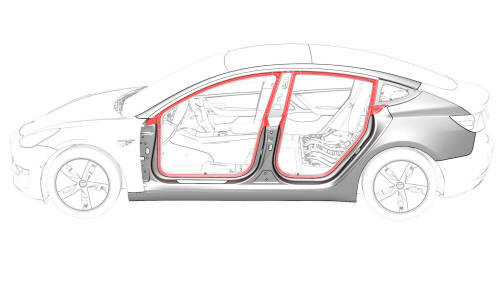
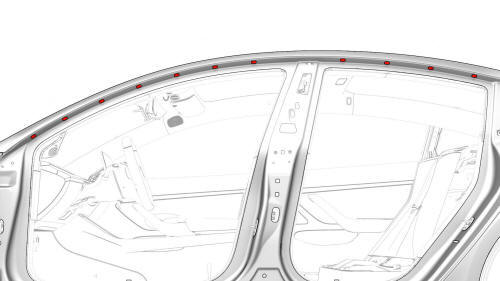
- Pull down to release the front and rear primary body seals from the LH upper brightwork.
Note: It is not necessary to release the seals from the top of the B-pillar applique.
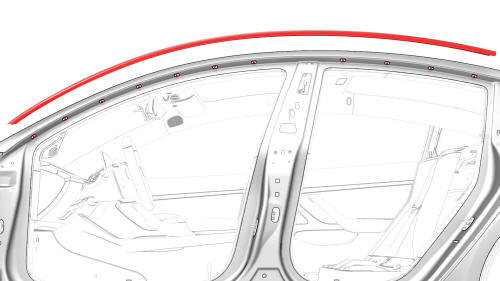
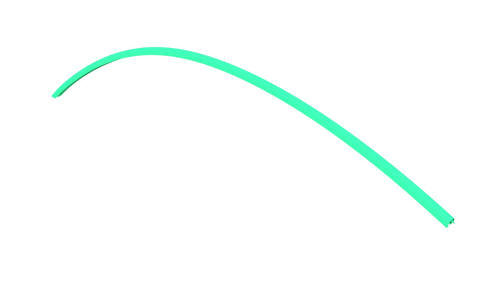
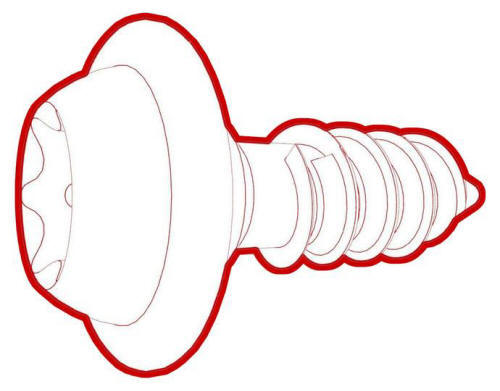
- Remove the push rivet and the screws (x10) that attach the LH upper brightwork to the body, and then carefully remove the brightwork from the vehicle.
Note: Work from the front to the rear.
Caution:
Use an assistant to help remove the brightwork from the rear quarter
glass, so as to minimize damage to the paint and trim.
- Remove and discard the grommets (x10) from the body.
Install
- Wipe where the grommets will install with an IPA wipe.
- Install new grommets (x10) into the body were the LH upper brightwork will install.
- Press the seals into the body at the B-pillar corners.
- With assistance, carefully install the LH upper brightwork into the rear quarter glass.
- Install the LH upper brightwork to the body, and then install the screws
(x10) and push rivet that attach the brightwork to the body.
 Torque 1 Nm Note: Work from the rear
to the front.
Torque 1 Nm Note: Work from the rear
to the front.
- Press up to fasten the rear and front primary body seals to the LH upper brightwork.
Note: Work from the rear corner of each seal forward, and make sure that the seal fully engages the brightwork. When installed correctly, the seal edge is not visible.
- Work each seal around the opening so as to evenly distribute it.
Note: Make sure to push the seal into each corner.
- Close the LH doors.
READ NEXT:
 Cover - Rocker Panel - Lower - LH (Remove and Replace)
Remove
Release the LH lower rocker panel bolt covers.
Remove the bolts that attach the LH lower rocker panel cover to the
body.
Torque 5 Nm
Front
Rear
Release the cli
Spoiler - Rear (Retrofit using Jig)
SPECIAL TOOLS
Kit, Spoiler Alignment, M3 (1479070-00-A )
Procedure
Clean the installation surface of the spoiler with isopropyl alcohol
(IPA) wipes, and allow it to dry before continuing.
Note
SEE MORE:
Hall Sensor - Exterior Release - Door - Rear - LH (Remove and Replace)
Remove
Remove the rear LH door trim panel. See Panel - Door Trim - Rear - LH
(Remove and Install).
Remove the LH rear door inner belt seal. See Seal - Inner Belt - Rear
Door - LH (Remove and Replace).
Remove the rear LH door glass. See Glass - Door - LH - Rear (Remove and
Replace).
Rem
Brake Lines - Master Cylinder to ABS (Remove and Replace)
Brake Lines - Master Cylinder to ABS - Remove
SPECIAL TOOLS
Flare nut crowfoot set (1079041-00-A)
Remove
Caution: Brake fluid dissolves paint. Have c
© 2019-2026 Copyright www.tmodel3.com
