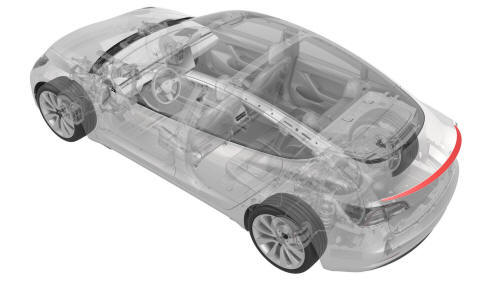
Tesla Model 3: Spoiler - Rear (Retrofit using Jig)
SPECIAL TOOLS
Kit, Spoiler Alignment, M3 (1479070-00-A )
Procedure
- Clean the installation surface of the spoiler with isopropyl alcohol (IPA) wipes, and allow it to dry before continuing.
Note: Clean any moisture or contaminates that might be present from rain or vehicle washing, otherwise this might result in poor adhesion of the rear spoiler.
Note: If the trunk surface requires any paint correction, request assistance from the body shop or shop detailer before the installation of the rear spoiler.
Note: It is recommended to perform this procedure indoors. Acceptable ambient and part temperature for installation is 15-43 degrees Celsius (60-110 degrees Fahrenheit) for proper adhesion.
- Open the trunk.
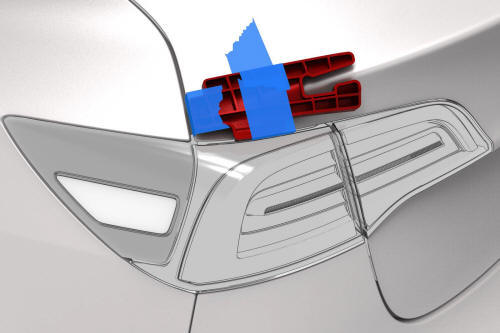
LH side shown, RH similar
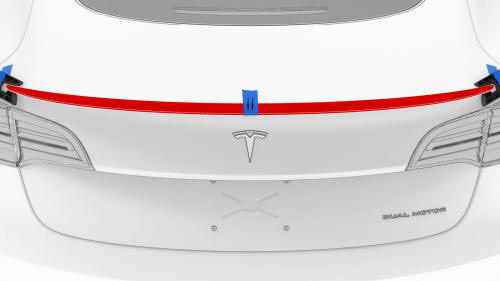
- Place the spoiler jigs special tool on the LH and RH edges of the trunk lid, and then secure them with masking tape.
Note: The spoiler jigs are used to center and align the spoiler and are removed from the vehicle prior to installation.
- Place shop towels on the LH and RH bump stops to keep the trunk from latching, and then partially close the trunk.
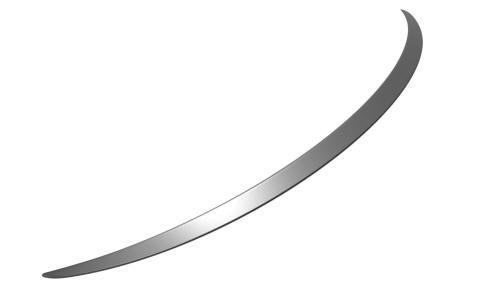
- Dry fit the rear spoiler between the spoiler jigs special tool.
Note: Do not remove the spoiler adhesive tape backing at this time.
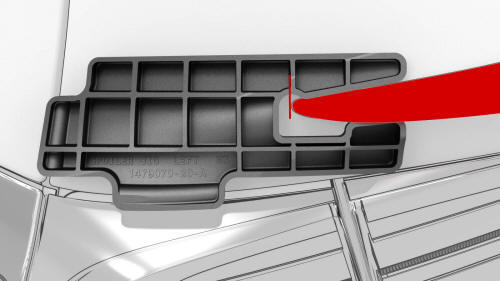
LH shown, RH similar
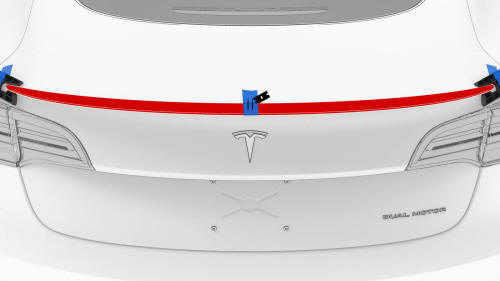
- Apply masking tape to the center of the rear spoiler and the trunk lid, and then mark approximately 25 mm spacing between the centering lines on the masking tape using a paint marker.
- Remove the spoiler jigs special tool.
- Verify the rear spoiler fitment on the trunk lid
Note: Each rear spoiler might have a slight different contour. Make sure the rear spoiler is centered on the trunk lid and its corners are laying flat.
- Cut the masking tape to allow removal of the rear spoiler.
Caution:
Do not damage the surfaces of the trunk lid or rear spoiler while using a plastic razor blade.
- Remove the rear spoiler from the trunk lid.
- Remove the adhesive backing from the rear spoiler.
- Align the two marks on the masking tape on the rear spoiler with the two marks on the masking tape on the trunk lid. Hold the corners of the rear spoiler away from the trunk lid to install the center section of the rear spoiler first.
- Secure each end of the rear spoiler to the trunk lid.
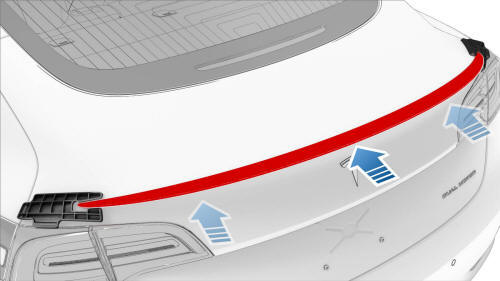
- Perform the wet out of the adhesive: Starting at the center, firmly push downward and in towards the front of the vehicle, and then continue outwards towards both ends of the spoiler.
- Remove the masking tape from the vehicle, and then clean the work area.
Note: Make sure that the rear spoiler corners are laid flat to the trunk lid and symmetrical.
- Perform the Toolbox routine (refer to SI-18-12-002).
READ NEXT:
 Spoiler - Rear (Retrofit using Tape)
Procedure
Clean the installation surface of the spoiler with isopropyl alcohol
(IPA) wipes, and allow it to dry before continuing.
Note: Clean any moisture or contaminates that might be
prese
Cover - Shock Tower - LH (Remove and Replace)
Remove
Remove the rear underhood apron. See
Underhood Apron - Rear (Remove and Replace).
Remove the cabin intake duct. See
Duct - Cabin Intake (Remove and Replace).
Remove the hood latch cove
SEE MORE:
Latch - Door - Rear - LH (Remove and Replace)
Remove
Remove the front LH door closeout panel. See Closeout Panel - Door -
Front - LH (Remove and Install).
Disconnect the electrical harness from the door latch connector.
Remove the bolts that attach the latch to the rear of the door.
Torque 10 Nm
Press the latch cabl
Sensor - Relative Humidity and Temperature (Remove and Replace)
Remove
Remove the lower quad camera cover. See Quad Camera Cover - Lower
(Remove and Replace).
Remove the rear view mirror. See Mirror - Rear View (Remove and
Replace).
Remove the forward facing camera. See Camera - Forward Facing (Remove
and Replace).
Disconnect the electrical co
