Tesla Model 3: Breathers - HV Battery (Remove and Replace)
Tesla Model 3 2017-2026 Service Manual / Battery System / HV Battery Enclosure / Breathers - HV Battery (Remove and Replace)
Remove
- Remove the mid aero shield panel. See Panel - Aero Shield - Mid (Remove and Replace).
.png)
- Release the fir tree clips that attach the coolant hoses to the LH shear plate.
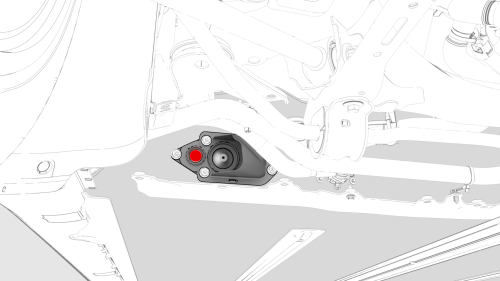
- Remove and discard the HV battery breather from the LH HV battery vent shroud assembly.
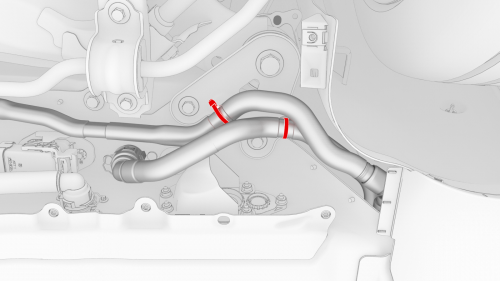
- Release the fir tree clips that attach the coolant hoses to the RH shear plate.
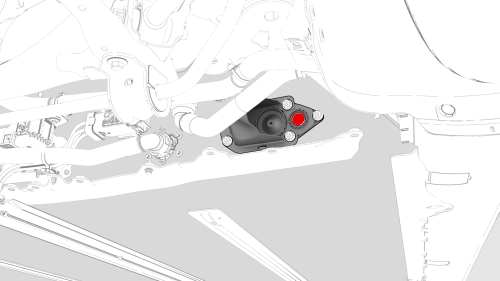
- Remove and discard the HV battery breather from the RH HV battery vent
shroud assembly.
Install
- Use an IPA wipe to clean the holes where the breathers will install.
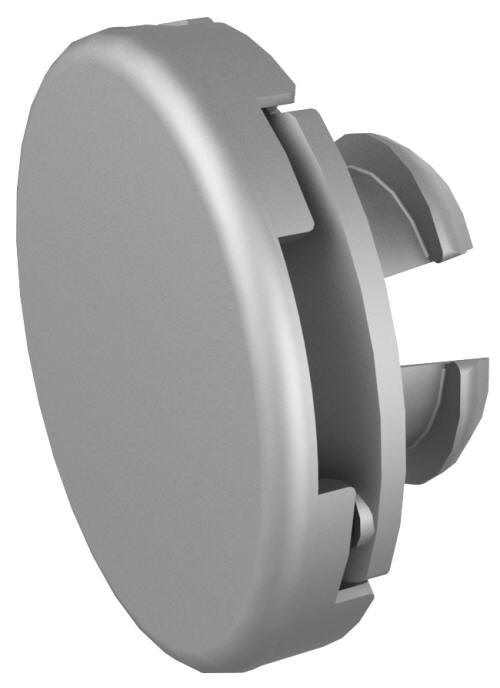
- Install a new HV battery breather into the LH HV battery vent shroud assembly
Note: Press at the center of the breather, and then press at 3 points forming a triangle pattern on the breather, to make sure that the HV battery breather is fully seated.
- Apply sideways pressure on the HV battery breather at several locations to verify that it is attach in the LH HV battery vent shroud.
- Fasten the fir tree clips that attach the coolant hoses to the LH shear plate.
- Install a new HV battery breather into the RH HV battery vent shroud assembly
Note: Press at the center of the breather, and then press at 3 points forming a triangle pattern on the breather, to make sure that the HV battery breather is fully seated.
- Apply sideways pressure on the HV battery breather at several locations to verify that it is attach in the RH HV battery vent shroud.
- Fasten the fir tree clips that attach the coolant hoses to the RH shear plate.
- Install the mid aero shield panel. See Panel - Aero Shield - Mid (Remove and Replace).
READ NEXT:
 Cover - HV Probe - HV Battery (Remove and Replace)
Warning:
Only technicians who have been trained in High Voltage Awareness are
permitted to perform this procedure. Proper personal protective equipment (PPE)
and insulating HV gloves with a minimum
Cover - Penthouse (Remove and Replace)
SPECIAL TOOLS
Asy, Service Cover, Penthouse, Model 3 (1127845-00-A)
Skt, 1/4in Dr, 5-Lobe Torx Plus External (1059330-00-B)
Wrench, Torque + Angle, 1/4" Dr (1076971-02-A)
Cap, Logic Conn, Inv, 3DU
SEE MORE:
Controls
Overview
Touch Controls on the bottom
corner of the touchscreen to control features and
customize Model 3 to suit your preferences. The Controls window appears over the
map. Touch an option on the left side of the window to display the associated
controls and settings. By default, Quick Contro
Sensor - Airbag - C-Pillar - LH (Remove and Replace)
Remove
Open all doors.
Lower all windows.
Remove the 2nd row lower seat cushion. See Seat Cushion - Lower - 2nd
Row (Remove and Replace).
Remove the rear underhood apron. See Underhood Apron - Rear (Remove and
Replace).
Disconnect 12V power. See 12V Power (Disconnect and Connect).
Remov
© 2019-2026 Copyright www.tmodel3.com
