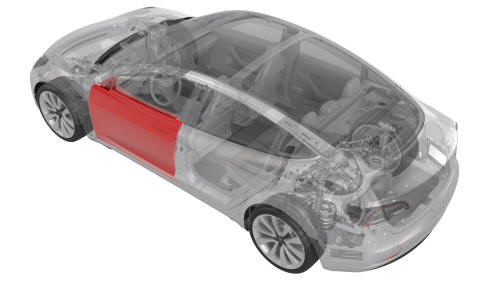
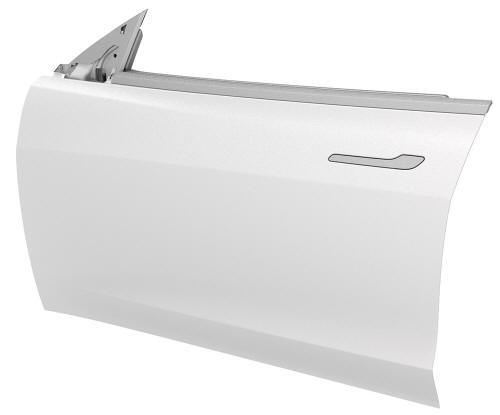
Tesla Model 3: Door - Front - LH (Remove and Replace)
Tesla Model 3 2017-2026 Service Manual / Body / Body Panels / Door - Front - LH (Remove and Replace)
Remove
- Disconnect 12V power.
- Remove the LH front door trim panel.
- Remove the LH front door inner belt seal.
- Remove the LH front door outer belt seal.
- Remove the LH front window motor/regulator assembly.
- Remove the LH door exterior release handle.
- Remove the LH front door latch.
- Remove the LH door mirror.
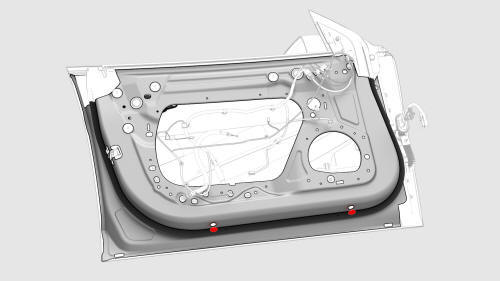
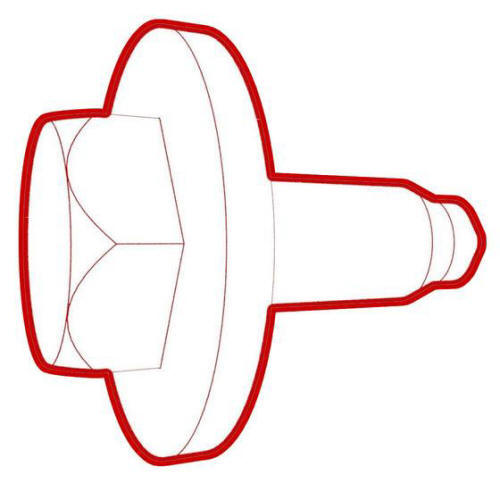
- Remove the button plugs from the bottom of the door.
- Remove the LH lower A-pillar trim.
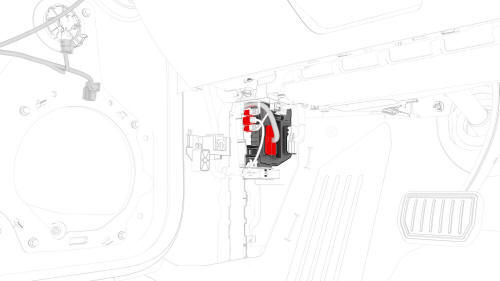
- Disconnect the door wiring harness connectors at the LH body controller module.
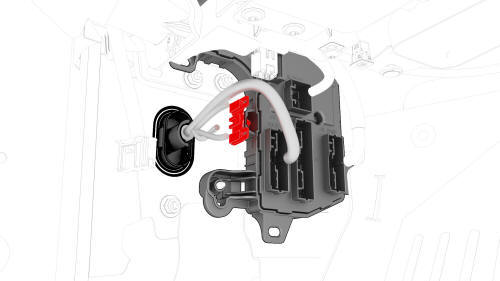
- Release the wiring harness clip from the LH body controller module.

- Push the door wiring harness through the A-pillar bulkhead.
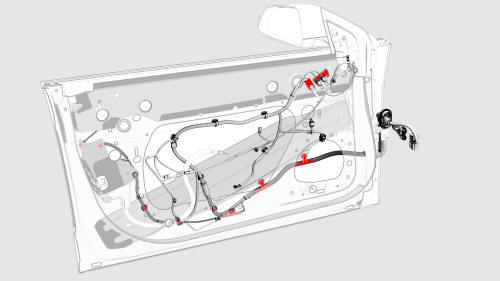
- Release all door harness clips.
- Push the wiring harness through the door bulkhead, and then remove the harness from the door.
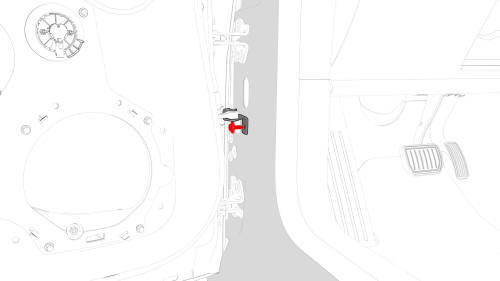
- Remove the bolt that attaches the door check to the A-pillar.
 Torque 24 Nm
Caution:
Unbolting the door check allows the door to swing freely beyond opening limits.
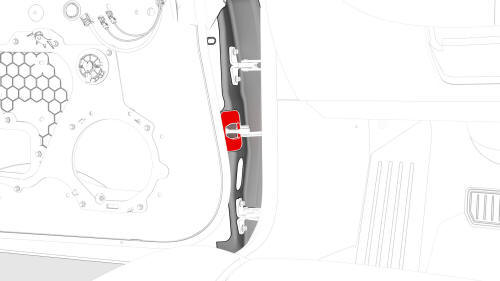
- Release the clips that attach the door check seal to the door, and then remove the seal.
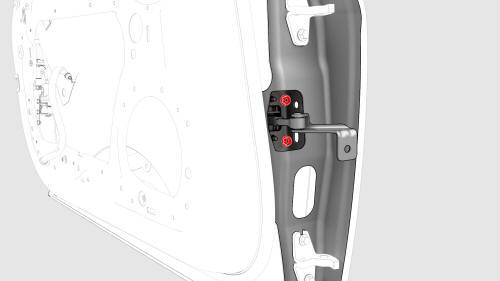
- Remove the nuts that attach the door check inside the door, and then
remove the door check from the door.
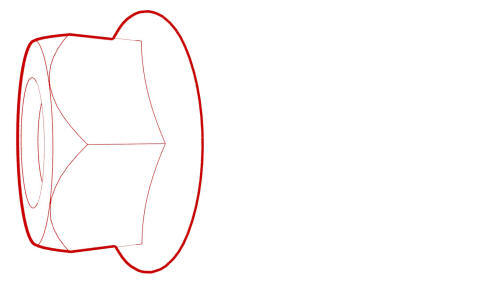 Torque
10 Nm
Torque
10 Nm
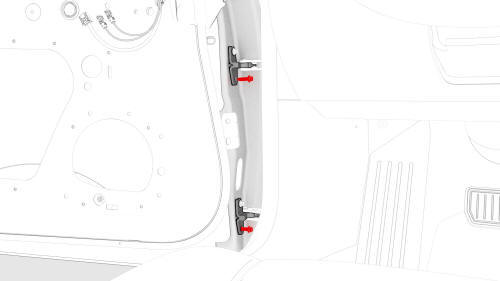
- Loosen the hinge bolts, and then remove the lower bolts for each hinge.
 Torque
24 Nm
Torque
24 Nm
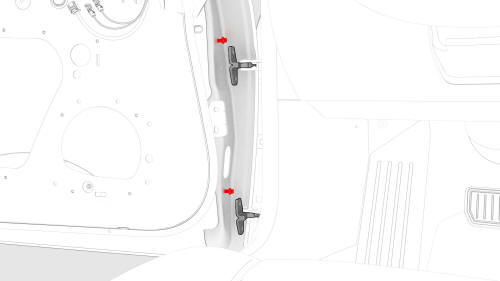
- Partially unthread the upper bolt for each hinge, and with assistance,
lift the door away from the vehicle.
Install
Installation procedure is the reverse of removal, except for the following:
Caution:
Replace all patchbolts. Replace all nyloc nuts.
Install a new LH front door secondary seal on the new door.
Partially thread the upper bolt for each hinge in the door so that the door can set on the hinges to install the lower bolt.
READ NEXT:
 Door - Rear - LH (Remove and Install)
Door - Rear - LH (Remove)
Remove
Open the rear LH door, and fully lower the window.
Pass a shop towel halfway through the striker, and close the door so
that it rests against the shop towel.
SEE MORE:
Amplifier - Antenna - FM (Remove and Replace)
Remove
Remove the LH side rail trim. See Trim - Side Rail - LH (Remove and
Install).
Disconnect the electrical connector from the FM antenna amplifier.
Remove the bolt and release the clip that attach the FM antenna
amplifier to the C-pillar, and then remove the amplifier from the
Sensor - Temperature - RH (Remove and Replace)
Remove
Remove the RH center console side panel carpet. See
Carpet - Side Panel - Center Console - LH (Remove and Replace).
Disconnect the electrical wiring harness conector from the RH
temperature sensor.
Release the tabs that attach the RH temperature sensor to the HVAC
module,
© 2019-2026 Copyright www.tmodel3.com
