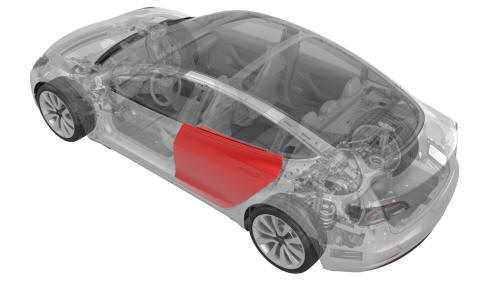
Tesla Model 3: Door - Rear - LH (Remove and Install)
Remove
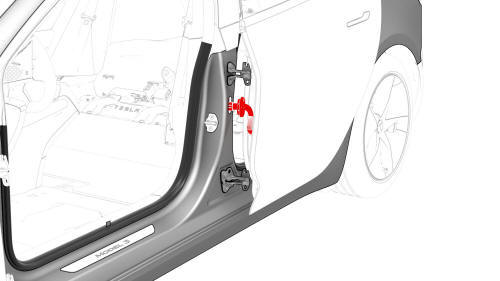
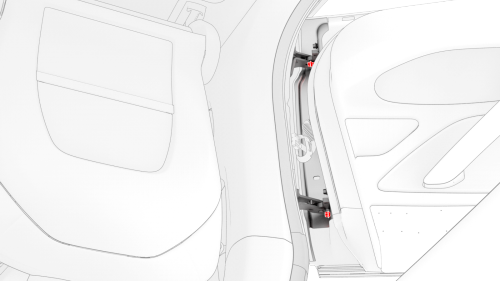
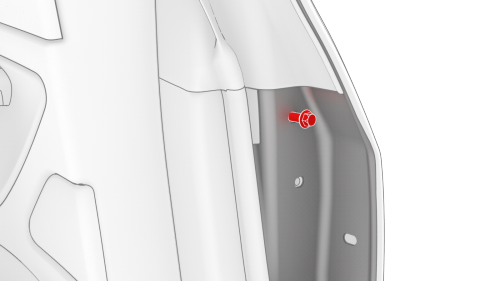
Caution: Do not allow the leading edge of the rear LH door to crush the wiring
harness or connector against the B-pillar.
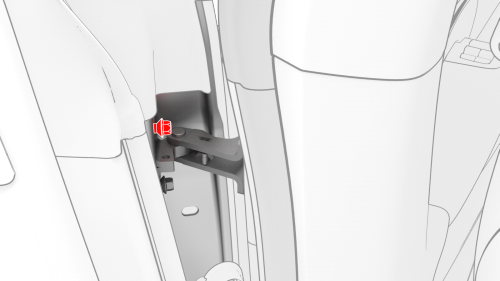
Caution: Unbolting the door check allows the door to swing freely beyond opening
limits.
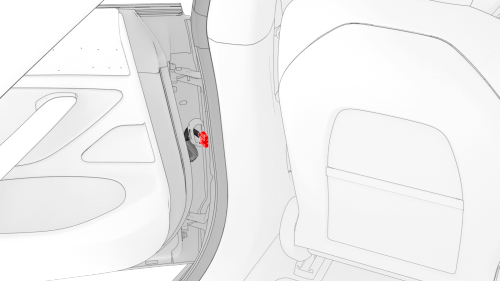
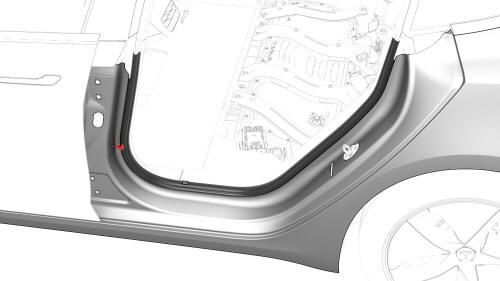
Note: Make sure that the rear LH door wiring harness seal fits
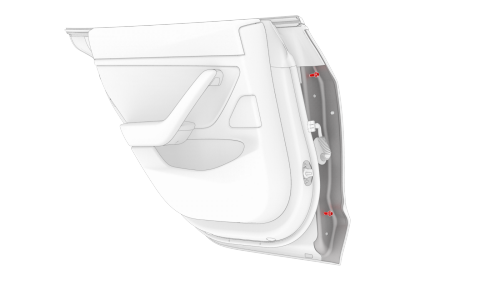
tightly against the B-pillar bulkhead.Door - Rear - LH (Remove)
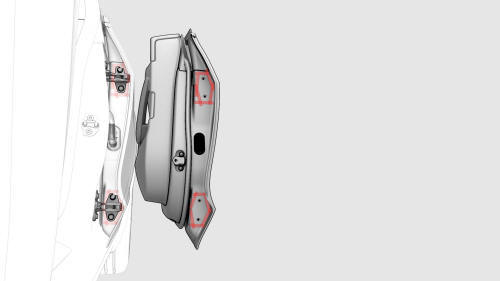


Door - Rear - LH (Install)
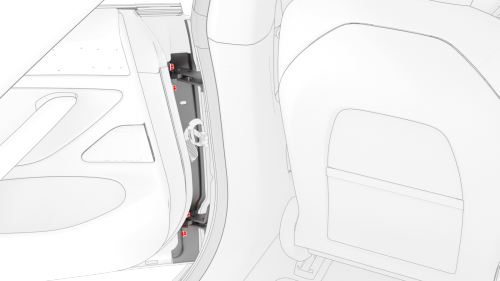
 Torque 24 Nm
 Torque 24 Nm
.jpg)
READ NEXT:
 Door - Rear - LH (Remove and Replace)
Door - Rear - LH (Remove )
Remove
Open the rear LH door, pass a shop towel halfway through the striker,
and then close the door so that it rests against the shop towel.
Remove the rear LH door
SEE MORE:
Brake Pad Kit - Front (Sport Brakes) (Remove and Replace)
Brake Pad Kit - Front (Sport Brakes)- Remove
Remove
Raise and support the vehicle. See Raise Vehicle - 2
Post Lift.
Remove the LH front wheel. See Wheel (Remove and
Install).
Foam - Cushion - Driver Seat (Remove and Replace)
Foam - Cushion - Driver Seat (Remove and Replace) - Remove
Remove
Remove the driver seat. See
Seat - Driver (Remove and Replace).
Remove the driver headrest trim. See
Trim - Headrest - Driver (Remove and Replace).
Remove the side outer cover from the driver seat. See
Cover - Outer Side - Driv
