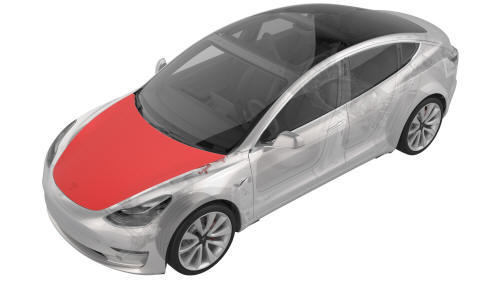
Tesla Model 3: Hood (Remove and Replace)
This procedure assumes the hood striker, hinges, bump stops, and plugs are
undamaged. Inspect these components from the old hood and if necessary, replace
with new parts. Remove
Note: Do not mark the location of the hood striker on the old hood.
Install
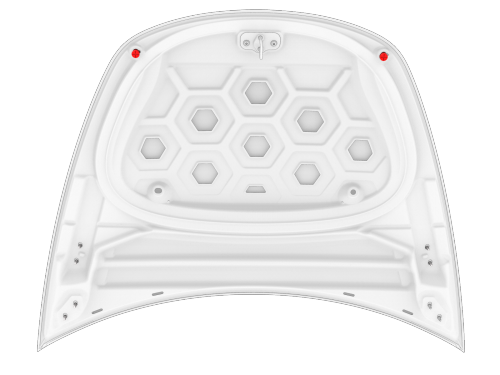
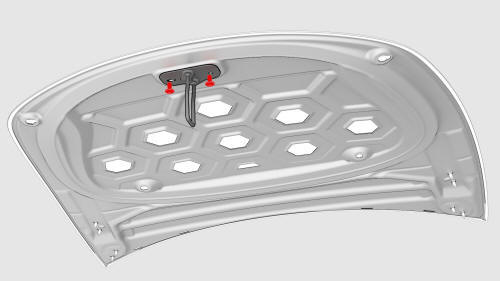
Hood (Remove and Replace)- Remove
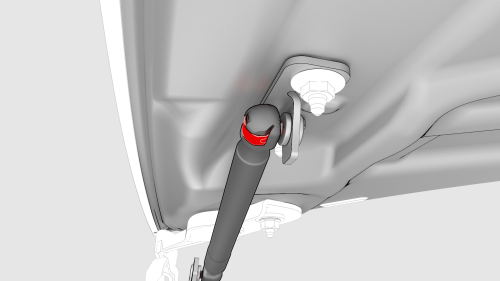
RH shown, LH similar
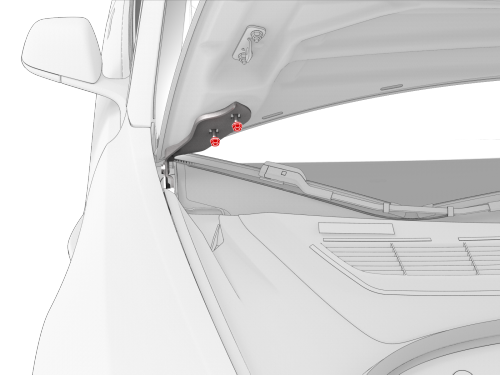
RH shown, LH similar
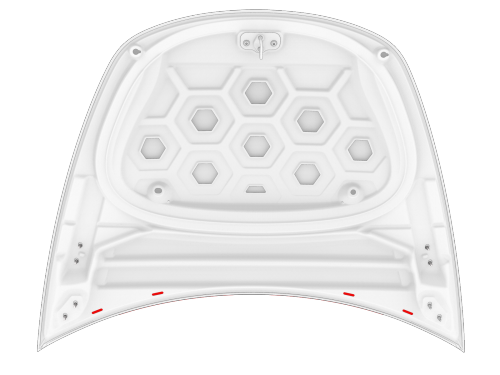
Hood (Remove and Replace) - Install
 Torque 15 Nm
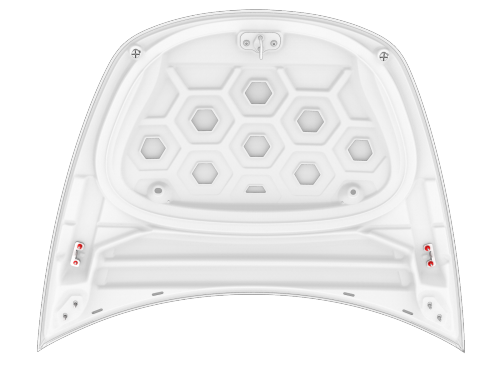
RH shown, LH similar
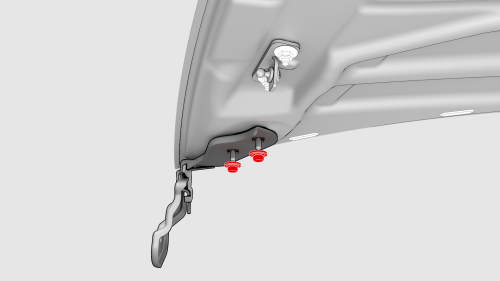
 Torque 18 Nm
READ NEXT:
 Trunk (Remove and Install)
Trunk (Remove and Install)- Remove
Remove
Remove the trunk lid trim. See Trim - Lid - Trunk (Remove and Replace).
Disconnect the LH and RH rear fog/reverse light electrical connectors.
SEE MORE:
Subwoofer (Remove and Replace)
Remove
Disconnect 12V power. See 12V Power (Disconnect and Connect).
Remove the RH trunk side trim. See Trim - Side - Trunk - RH (Remove and
Replace).
Disconnect the electrical harness from the amplifier connectors.
Release the clips that attach the electrical harness to the subwoof
Cup Holder (Remove and Replace)
Remove
Disconnect 12V power. See
12V Power (Disconnect and Connect).
Remove the center console decor trim. See
Decor Trim - Center Console (Remove and Replace).
Remove the screws and release the tabs that attach LH and RH bright
strips to the center console, and then remove the strips
