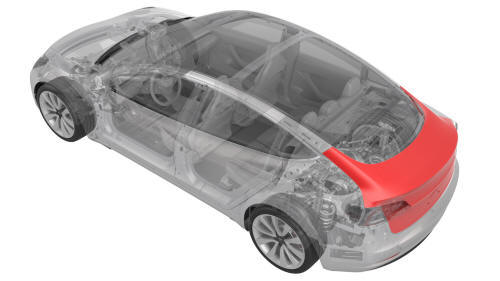
Tesla Model 3: Trunk (Remove and Install)
Remove
Install
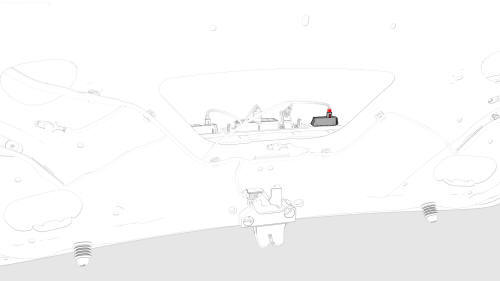
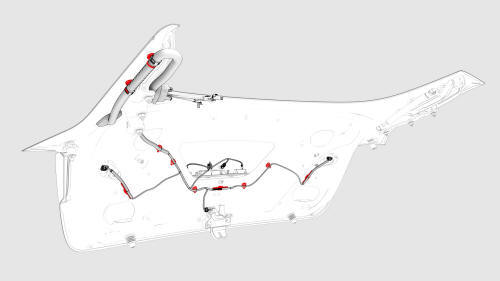
Trunk (Remove and Install)- Remove
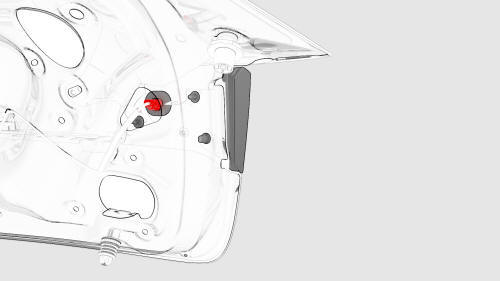
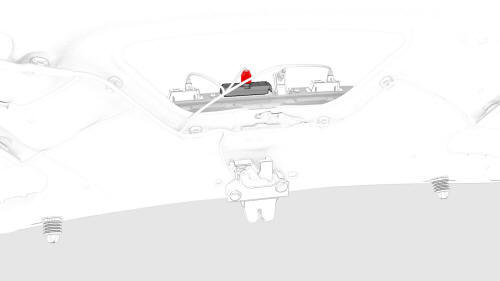
LH shown, RH similar
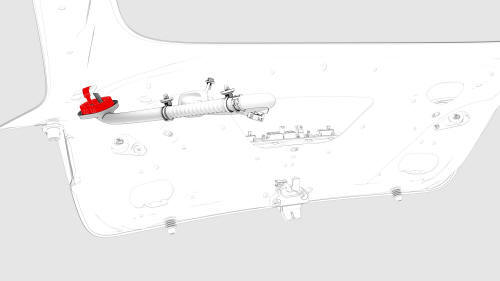
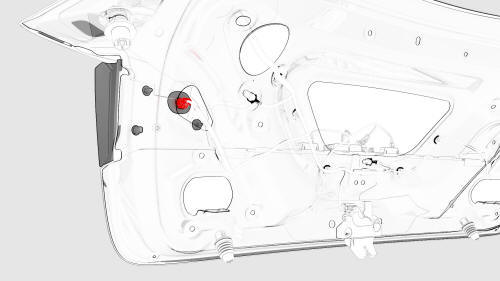
RH shown, LH similar
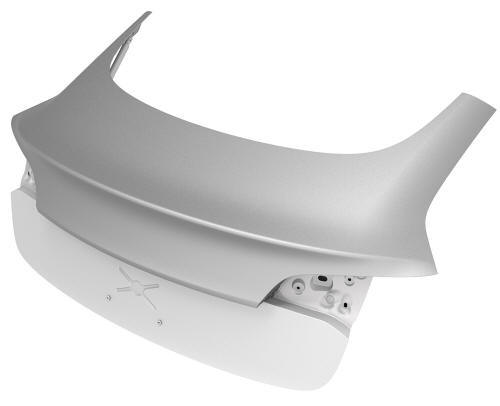
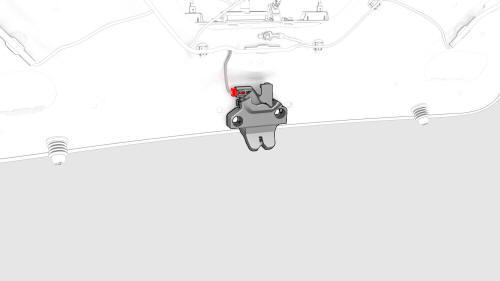
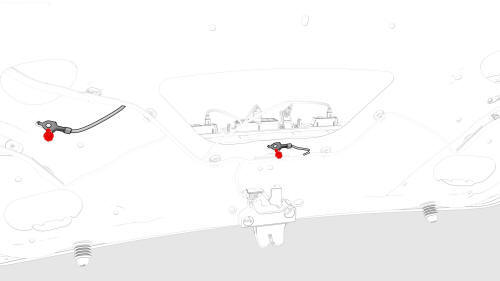
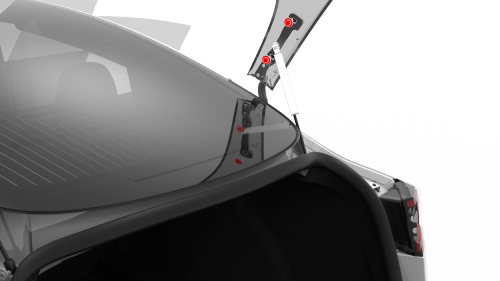
Trunk (Remove and Install) - Install
 Torque 8 Nm
LH shown, RH similar
RH shown, LH similar
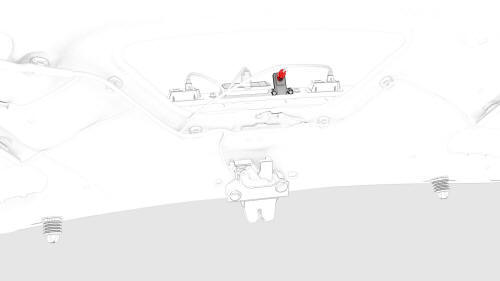
 Torque 24 Nm
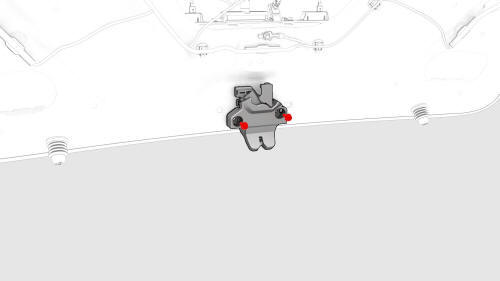
 Torque 8 Nm
READ NEXT:
 Trunk (Remove and Replace)
Trunk (Remove and Replace)- Remove
Remove the rear license plate.
Remove the trunk lid trim. See Trim - Lid - Trunk (Remove and Replace).
Remove the LH and RH rear fog/reverse lights. See Light
SEE MORE:
Duct - Air Wave - RH (Remove and Replace)
Remove
Remove the glove box. See
Glove Box (LHD) (Remove and Replace).
Remove the RH footwell air duct from the HVAC module, and then remove
the duct from the vehicle.
Release the clips that attach the RH air wave duct to the cross car
beam, and then remove the duct from the cross
Stabilizer Bar - Rear (Remove and Replace)
Remove
Raise and support the vehicle. See Raise Vehicle - 2
Post Lift.
Remove the mid aero shield panel. See Panel - Aero
Shield - Mid (Remove and Replace).
